Learn how to create a sourdough starter day-by-day with just flour and water. Let's explore the best practices and what can go wrong when working with wild yeast.
What is a Sourdough Starter?
A sourdough starter, also known as a sourdough culture, is a mixture of flour and water where wild yeast is cultivated.
When the wheat used to make your flour was in the field, various strains of yeast and bacteria collected on the surface of its grains. These made their way into the flour through the milling process. While dormant, they are still present. When we hydrate the flour to start a sourdough culture, these yeast cells wake up and begin feeding on the available nutrients.
It's that simple, but it can get quite complicated, especially if you're new to this. In this post, I’ll share everything I know about making a sourdough starter! Don't forget to check what’s essential to make wild yeast, and how to know if your starter is dead.
To make the start of this journey easy, I'm breaking it down day by day for you, with photos, feeding suggestions, and what you should expect.
Let's start our sourdough culture!
Jump to:
Looking for a different type of starter? Learn how to make a chocolate sourdough starter to infuse your loaves with a rich, deep flavor twist.
Day 1: Start
You can make a sourdough starter with unbleached all-purpose flour/bread flour only, or a mixture of rye flour/whole wheat flour with white flour. Here, I'm giving you both options, both in grams and cups if you still don't have a kitchen scale.
Just make sure the flour is not bleached: you need to make your sourdough starter with unbleached flour.
Making a sourdough starter with all-purpose flour only might take way longer than using a mix of whole wheat and all-purpose flour. I recommend the second.
For the readers using cups, here’s the flour measurements in both grams and cups I used when making this guide. A cup of white flour typically weighs 120 grams. However, this can vary depending on the method of measuring:
- 120 grams is common for the spoon-and-level method.
- It can range from 125g to 150g if scooped directly from the bag or packed more densely.
| Cups | Grams |
| 1 cup | 120 g |
| ½ cup | 60 g |
| ⅓ cup | 40 g |
| ¼ cup | 30 g |
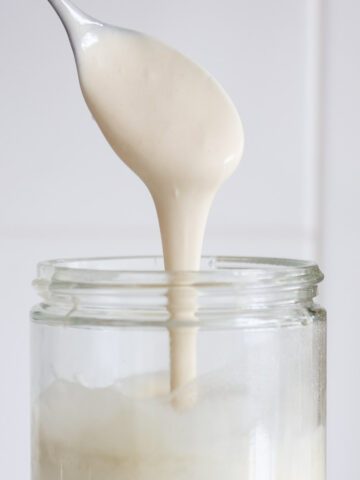
The measurements in cups are approximate. I prefer to use grams, as they’re more reliable. If you’re using cups, the starter needs to look more like a thick batter than a runny one.
For water, cups are way more reliable. Here’s the water measurements in both grams and cups I used when making this guide.
| Cups | Grams |
| 1 cup | 240 g |
| ½ cup | 120 g |
| ⅓ cup | 80 g |
| ¼ cup | 60 g |
- Rye/whole wheat flour + all-purpose/bread flour: add ¼ cup (30g) rye or whole wheat flour + ¼ cup (30g) all purpose or white bread flour + ¼ cup (60g) water.
- Unbleached all-purpose/bread flour: ½ cup (60g) all-purpose flour + ¼ cup (60g) water.
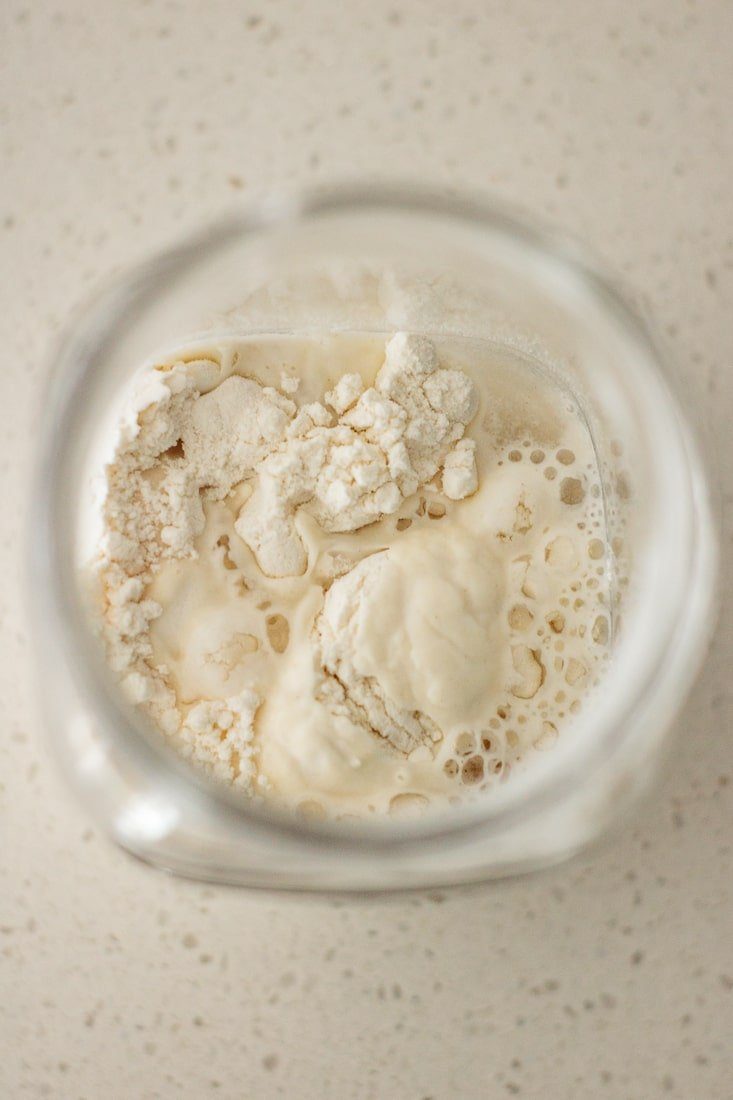
In a clean glass jar, mix the water and flour until there are no clumps or dry bits of flour. Close the jar with a tablecloth secured with a rubber band or simply rest the lid on top without sealing it completely.
Keep your culture iat room temperature, ideally between 70°F and 80°F (21°C to 27°C).
The sourdough culture you can see in the photos was made with unbleached all-purpose flour.
Day 2: Discard and Feed Only if There's Activity
- Rye/whole wheat flour + all-purpose/bread flour: add ¼ cup (30g) rye or whole wheat flour + ¼ cup (30g) all purpose or white bread flour + ¼ cup (60g) water.
- Unbleached all-purpose/bread flour: ½ cup (60g) all-purpose flour + ¼ cup (60g) water.
On Day 2, you might see some fermentation activity in your culture. If there’s activity, it will likely be minimal, and it might die off in a few days. This is totally normal, so don't worry.
Only stir, discard and feed if you see signs of activity. If there's activity, stir, then discard half of your culture (do not use this discard, throw it away). Add water and flour, and stir until homogeneous. Cover and let it rest for another 24 hours at room temperature.
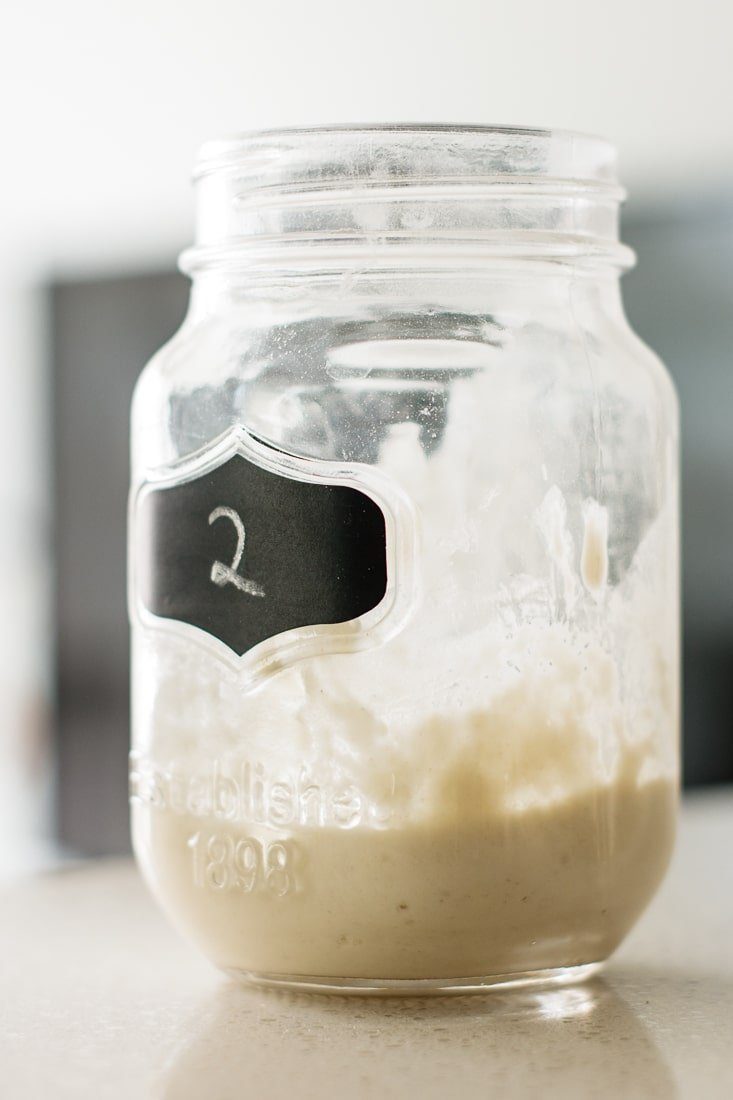
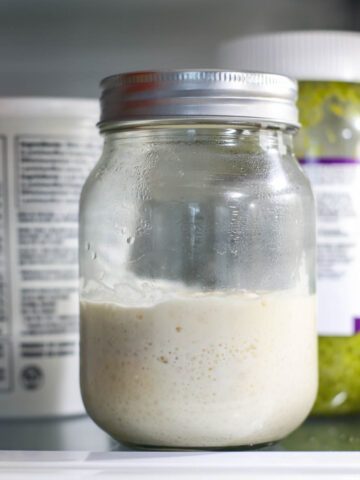
My culture had no visible activity on day 2. It smelled like wet all-purpose flour and had a small amount of liquid on top. I stirred but did not discard.
Remember: every starter is different. Don’t give up if your starter doesn’t look like the one in the photos.
Day 3: Stir, Discard and Feed
- Rye/whole wheat flour + all-purpose/bread flour: add ¼ cup (30g) rye or whole wheat flour + ¼ cup (30g) all purpose or white bread flour + ¼ cup (60g) water.
- Unbleached all-purpose/bread flour: ½ cup (60g) all-purpose flour + ¼ cup (60g) water.
On Day 3, some activity may be present. This is the bad bacteria dying out, not an active starter. Discard, feed, stir, and wait. You can't use the discard to make any recipe yet: it will only be proper to cook with after day 10, or when the starter is properly stablished with all bad bacteria gone.
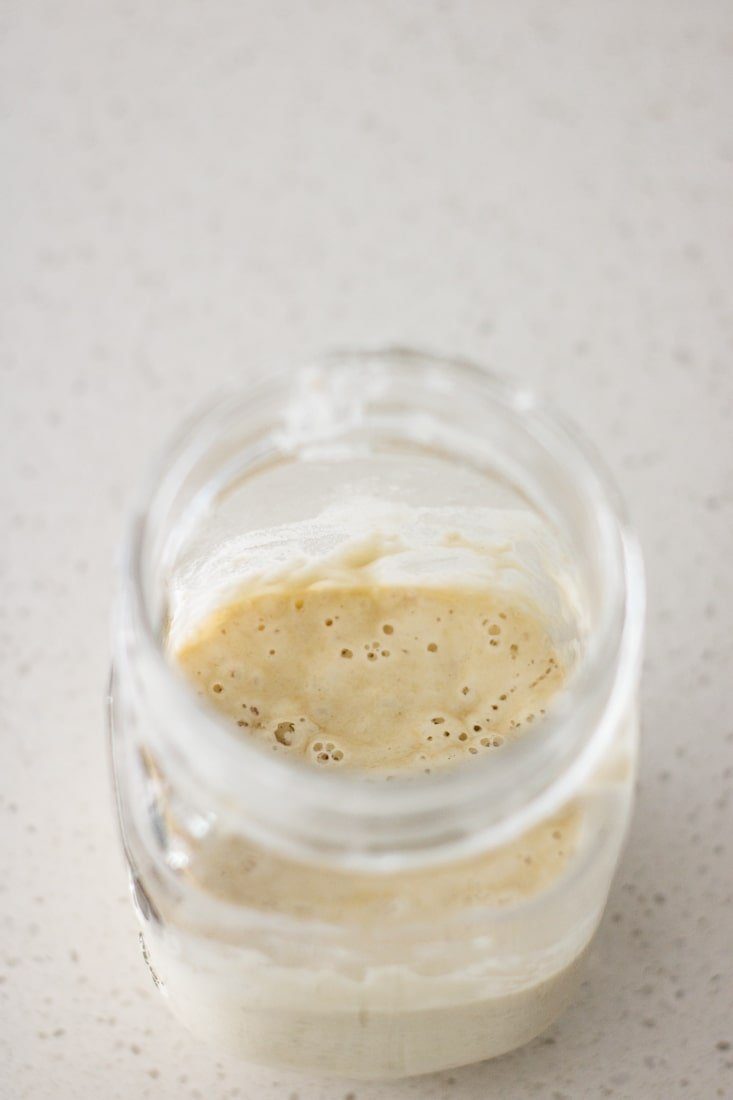
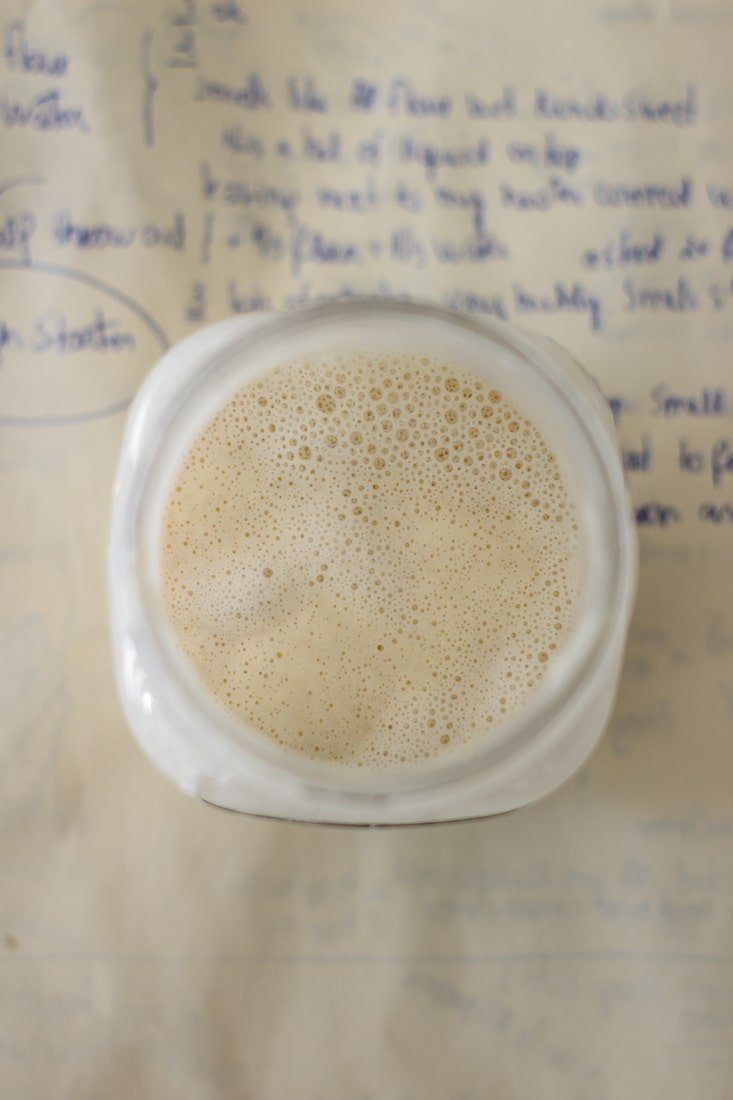
Between day 3 to 5, you might see some small, pinhole-like bubbles that look like a soap foam at the top. It can also smell pretty bad between day 3 to 5.
This activity will die out in a couple of days as your starter stablishes. This is not a sign that your starter is dead. If you're worried about it, or don't know if something is wrong, go check my sourdough starter guide to know if your starter has gone bad.
My starter had small bubbles on day 3. It smelled sweet with just a hint of vinegar.
Day 4: Stir, Discard and Feed
- Rye/whole wheat flour + all-purpose/bread flour: add ¼ cup (30g) rye or whole wheat flour + ¼ cup (30g) all purpose or white bread flour + ¼ cup (60g) water.
- Unbleached all-purpose/bread flour: ½ cup (60g) all-purpose flour + ¼ cup (60g) water.
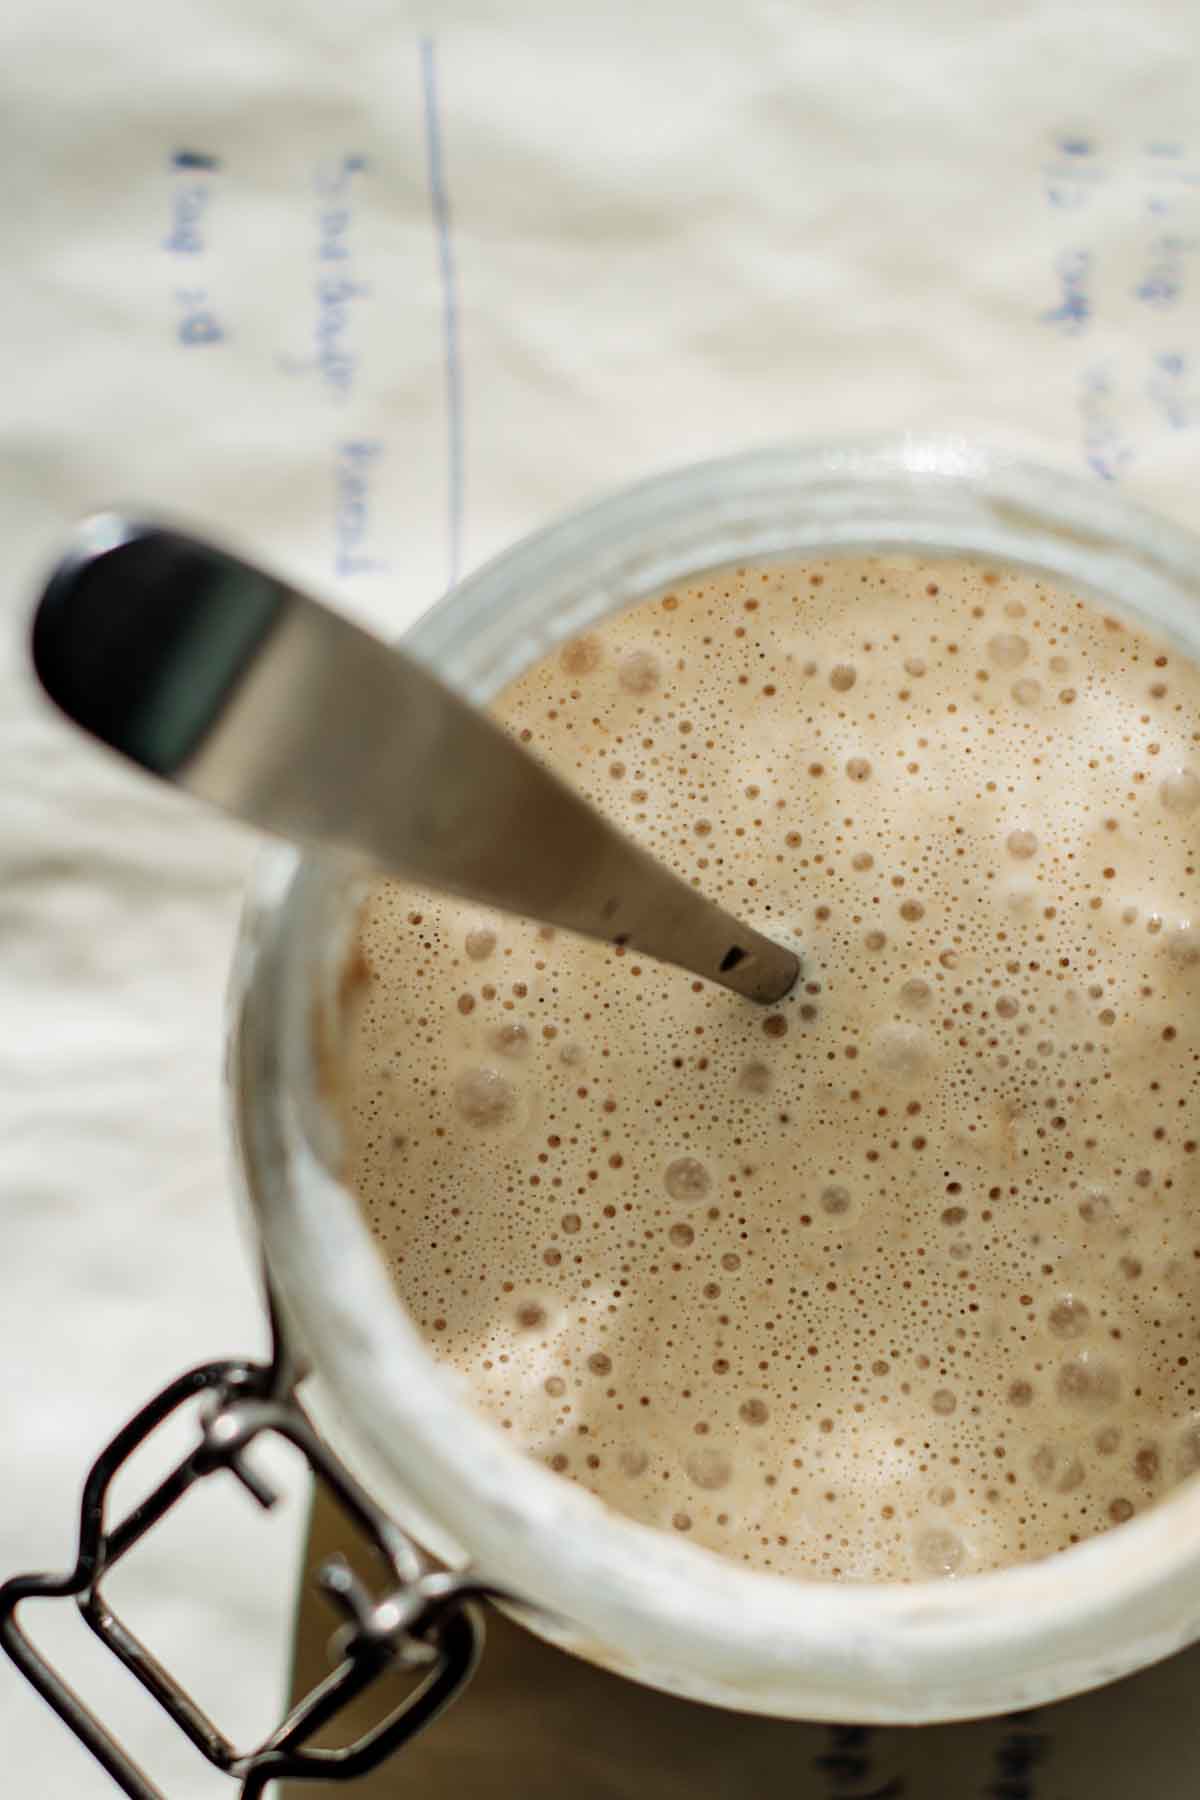
If your starter is fed properly, you should see some sign of activity by Day 4. Look for bubbles on top and on the sides. Your starter may have risen and fallen, indicated by streaks on the sides of your jar.
Don’t give up if there’s no sign of activity: try placing your starter in a warmer environment. Make sure to discard and feed it once a day, stirring well after each feed. Stirring is important and it can help to speed up the starter’s development.
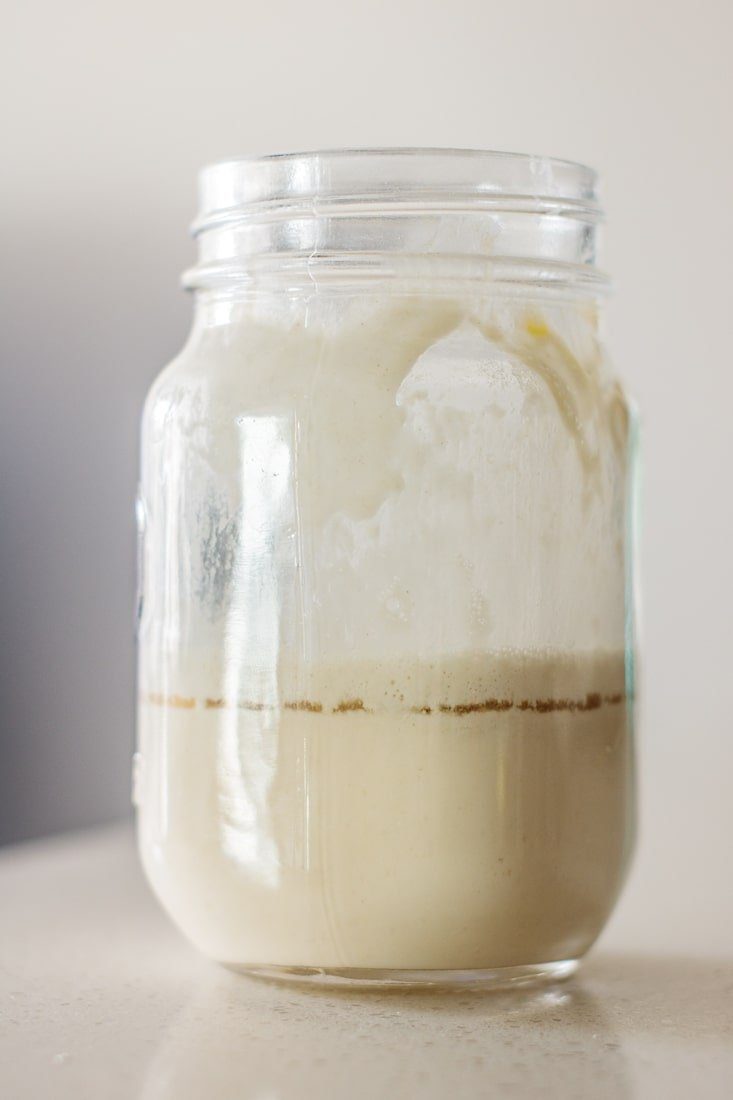
My starter was more liquid than on day 3. There were lots of bubbles at the top, and it had a strong alcohol smell.
If you forget to feed your starter one day, don't worry — it's okay as long as it doesn't show any sign of bad bacteria or mold. Just try not to skip feeding for more than one day at the beginning, as this can weaken your starter and allow harmful bacteria to grow.
Do you see pink streaks or any sign of mold in your starter? Throw it away and start again: you won't get a good starter when there's mold, fungus or bad bacteria present.
Day 5: Stir, Discard and Feed
- Rye/whole wheat flour + all-purpose/bread flour: add ¼ cup (30g) rye or whole wheat flour + ¼ cup (30g) all purpose or white bread flour + ¼ cup (60g) water.
- Unbleached all-purpose/bread flour: ½ cup (60g) all-purpose flour + ¼ cup (60g) water.
Fermentation activity should be more evident and increase each day. Your starter might not double in size yet, and that’s okay.
Mine was less liquid on Day 5. The alcohol smell was not as strong, and the sour smell more prominent. Lots of bubbles on the top and on its sides, but no significant rising activity yet.
I don't recommend using the discard between days 1 to 10. You should throw it away until your starter starts to show signs of activity plus rising twice its size.
Day 6: Stir, Discard and Feed
- Rye/whole wheat flour + all-purpose/bread flour: add ¼ cup (30g) rye or whole wheat flour + ¼ cup (30g) all purpose or white bread flour + ¼ cup (60g) water.
- Unbleached all-purpose/bread flour: ½ cup (60g) all-purpose flour + ¼ cup (60g) water.
Fermentation activity should continue to increase. Your starter may or may not rise to twice its size.

Mine had a lot of small bubbles on top and sides, the sour smell was more pleasant and the alcohol smell was almost gone.
Day 7: Stir, Discard and Feed
- Rye/whole wheat flour + all-purpose/bread flour: add ¼ cup (30g) rye or whole wheat flour + ¼ cup (30g) all purpose or white bread flour + ¼ cup (60g) water.
- Unbleached all-purpose/bread flour: ½ cup (60g) all-purpose flour + ¼ cup (60g) water.
By Day 7, you might see the rise and fall of your starter.
If not, don’t give up! It’s normal for some starters to take longer. The activity level depends on various factors, such as ingredient quality, temperature, and feeding schedule. If your starter isn’t ready, continue feeding it twice a day for a couple more days or even another week.
Starters made with a mix of rye/whole wheat flour and white ap/bread flour might develpo faster than the ones using white flour only.
That said, my first starter made with rye and white bread flour took eight days to show significant rising and falling activity. On Day 12, my culture made with both flours was ready, and I baked a successful loaf of sourdough white bread.
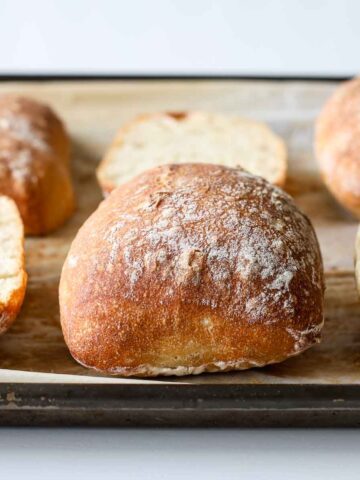
Patience is key. If your starter isn't ready by Day 7, be patient! Stir, discard, feed your sourdough starter, and wait. After Day 7, you can use your sourdough discard to start training your bread techniques baking an artisan sourdough discard bread.
Expert Tips
- You can create a smaller starter for less waste at the beginning. The important thing is to keep the 1:1:1 when starting.
- Is your starter very active and producing a lot of hooch (the liquid at the top that smells like alcohol)? You might want to change the feeding ratio, or even feed it twice a day. If you want to keep feeding it once a day, try a 1:2:2 or a 1:3:3 feeding ratio (one part of starter to 2 or 3 parts of flour and water).
- Don't leave you starter in a cold spot! Choose a warm, draft-free spot, and avoid near windows or exterior walls (these areas often have cold drafts), on cold countertops like stone or marble, or near air conditioning vents or fans.
- Do not store your new sourdough starter in the fridge before at least a month! Daily feedings at the beginning will make a stronger starter with a good flavor profile.
If your starter looks lifeless or smells extra sour, it might need a reset. Learn how to revive a weak sourdough starter and get it back to baking-ready in just a few days.
Is my Sourdough Starter ready?
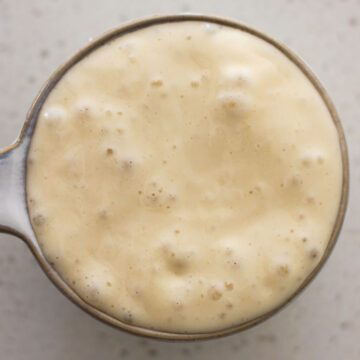
If your sourdough starter is rising twice its size between 4 to 8 hours after a feeding, has lots of bubbles and a pleasant smell, congratulations! Your starter is ready to be used to bake! If you're new to this, try a beginner sourdough bread.
If your Sourdough Culture is still not ready after day 15, check:
- Quality of Ingredients: Is your flour of good quality? Is it organic? Is the water you’re using free of chemicals like chlorine?
- Temperature: Is your starter in a warm or cold spot? Is your kitchen too cold? Has the temperature dropped too much or too suddenly?
- Feeding: Did you remember to clean your jar before starting? Are you feeding your starter twice a day, or at least once? Is the time between feedings appropriate (8 to 14 hours apart)?
Try moving your starter to a warmer spot, especially if you’re in the middle of winter. The temperature can affect a sourdough starter greatly.
If yours still not ready, don't give up! Starter take some time to develop and they can take a whole month to be stable enough to bake with. While you're waiting for it to get more stable, use your sourdough discard to bake some amazing recipes.
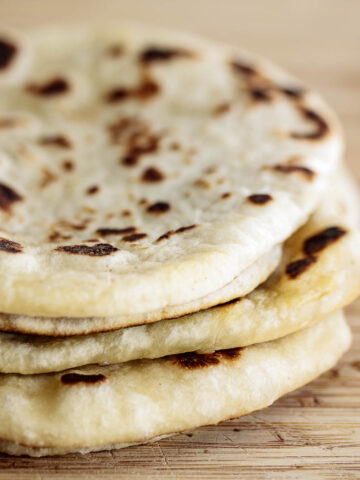
I have a famous recipe for no-fail sourdough tortillas and the softest sourdough discard dinner rolls.
You can also use discard to bake scones and cakes like this easy sourdough lemon cake. Here are some of my favorite sourdough discard recipes for you:


📖 Recipe
How to Make a Sourdough Starter Day By Day
Equipment
- Glass Jar with lid
- Spoon or Fork
Ingredients
- ½ cup flour
- ¼ cup water
Instructions
- In a clean glass jar, mix the water and flour until there are no clumps or dry bits of flour. Close the jar with its lid without sealing it completely.
- Next day, discard half of the sourdough culture.
- Add equal amounts of water and flour, and stir until homogeneous. Cover and let it rest for another 24 hours at room temperature.
- Repeat for the next 7 days, or until the starter is rising and falling on a 6-8 hours interval.

Denise
I found your page AFTER starting a recipe from a homesteader that I did a canning class with. Wonderful lady who knows her stuff but I am worried about the starter I have with her recipe. I started it 12 days ago. Her recipe calls for 1/2 c flour, 1/2 c water and half of the starter, TWICE a day. I am on day 12 and have not seen any doubling, some bubbles but not much activity. To me, it still smells kind of like glue. I am using distilled water and bread flour.
Can I switch to your ratio and use 1/2 c flour and 1/4 c water now or will that mess it up? Also, do you think 2 feedings a day is right? I feel like I am just wasting good flour…
Tatiana Kamakura
Hi Denise,
Are you using white flour only, or a mix of whole wheat and white flour? For a healthy yeast and bacteria population to grow, it’s best to feed your starter at least half whole wheat flour. Whole wheat has more wild yeast cells, with is important in the early days.
Also, distilled water might slow things down because it lacks the minerals that support fermentation. If possible, try switching to spring bottled water or tap water (as long as it’s not heavily chlorinated). They tend to work better.
As for the feeding ratio, you can switch to the one I recommend (½ cup flour and ¼ cup water). That won’t mess anything up. Two feedings a day can be helpful if the starter is active and rising and falling between feedings, but if yours isn’t showing much activity yet, go back to once a day and save some flour while you're building up strength.
Hope this helps!