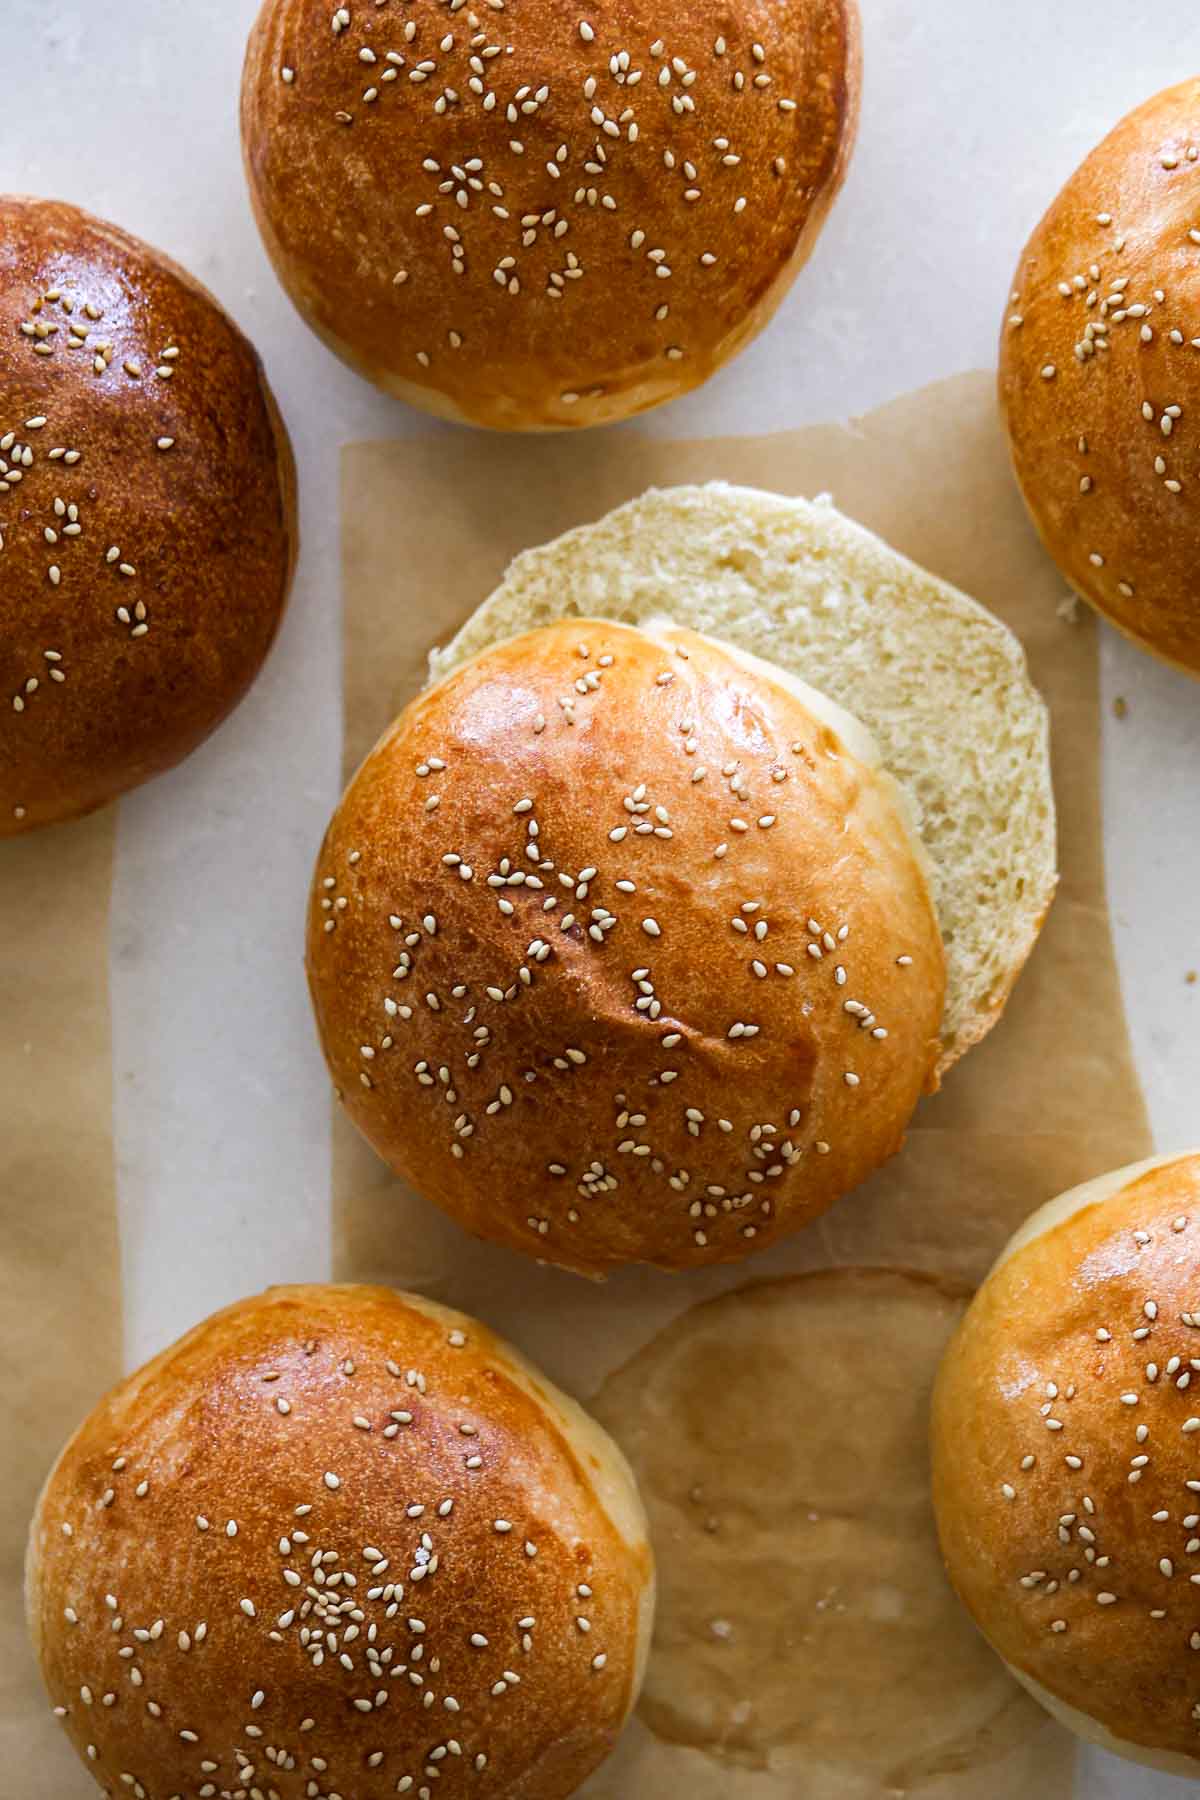
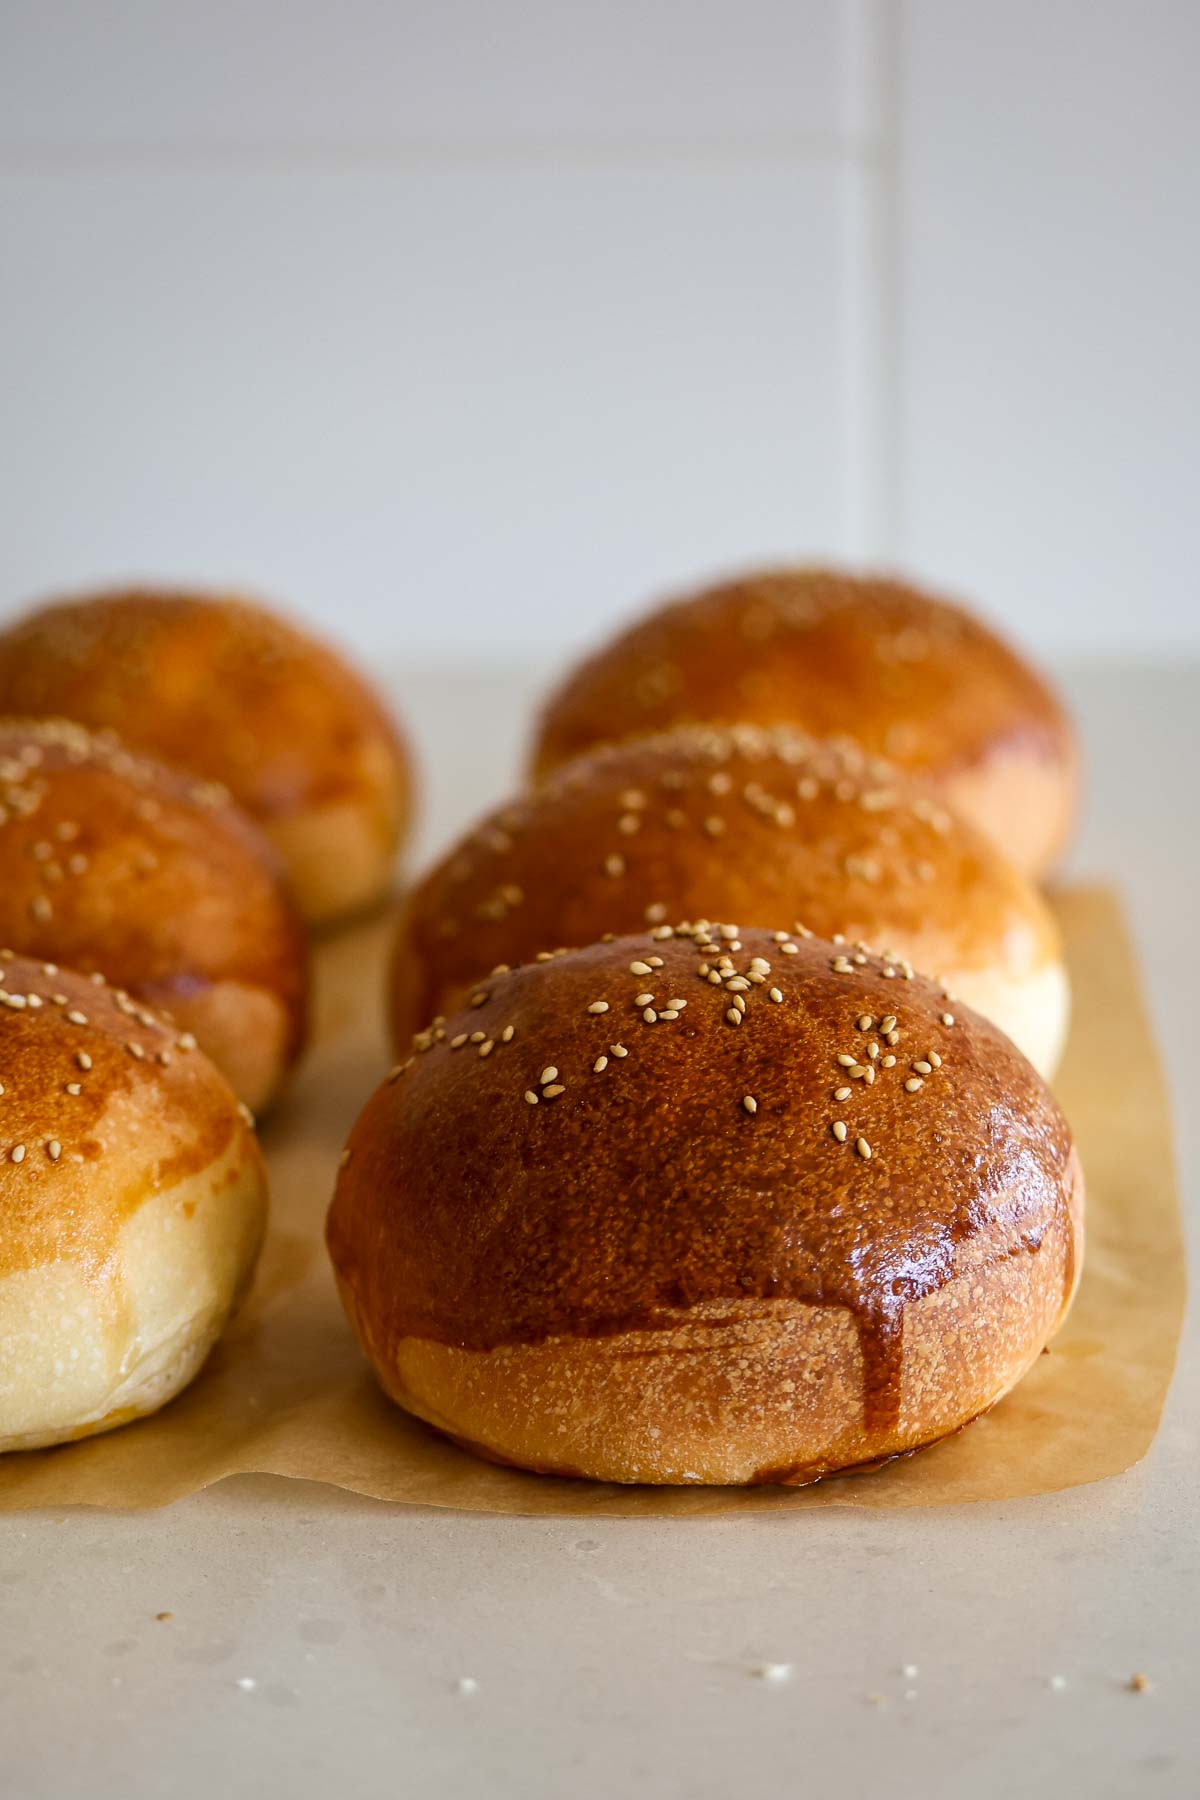
Made with simple ingredients and no yeast, these Sourdough Hamburger Buns are soft, delicious, and easier to bake than you think. Prepare your sourdough starter to bake perfect buns for burgers and BBQs!
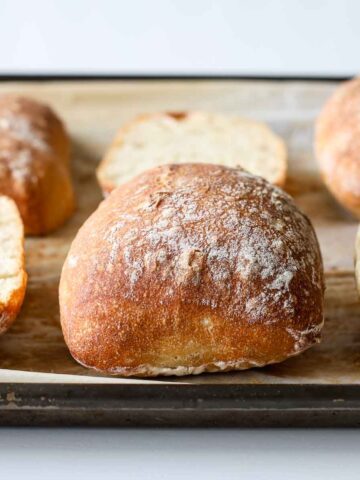
Want more sourdough recipes? My favorite to make bruschettas with is this Parmesan Sourdough: it has the perfect crust and a delicious tasty interior.
If you’re looking for a way to use your discard, have you tried Sourdough Tortillas? Easy to put together, you can make it ahead and freeze
🍞Why bake them
- These hamburger buns have a gentle tangy flavor from the fermentation process, with a subtle sweetness from the sugar added. Their taste is as irresistible as my sourdough dinner rolls!
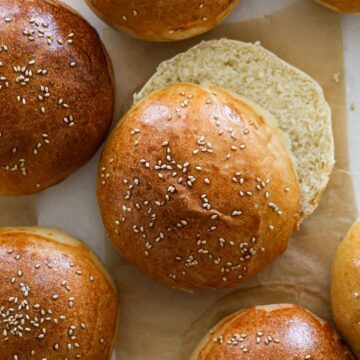
- They’re the best sourdough buns to have with burgers - just as good as my cheddar burger buns;
- These buns don’t fall apart and are also fantastic for sandwiches and sliders;
- You can make this recipe with or without a stand mixer!
📃Ingredients
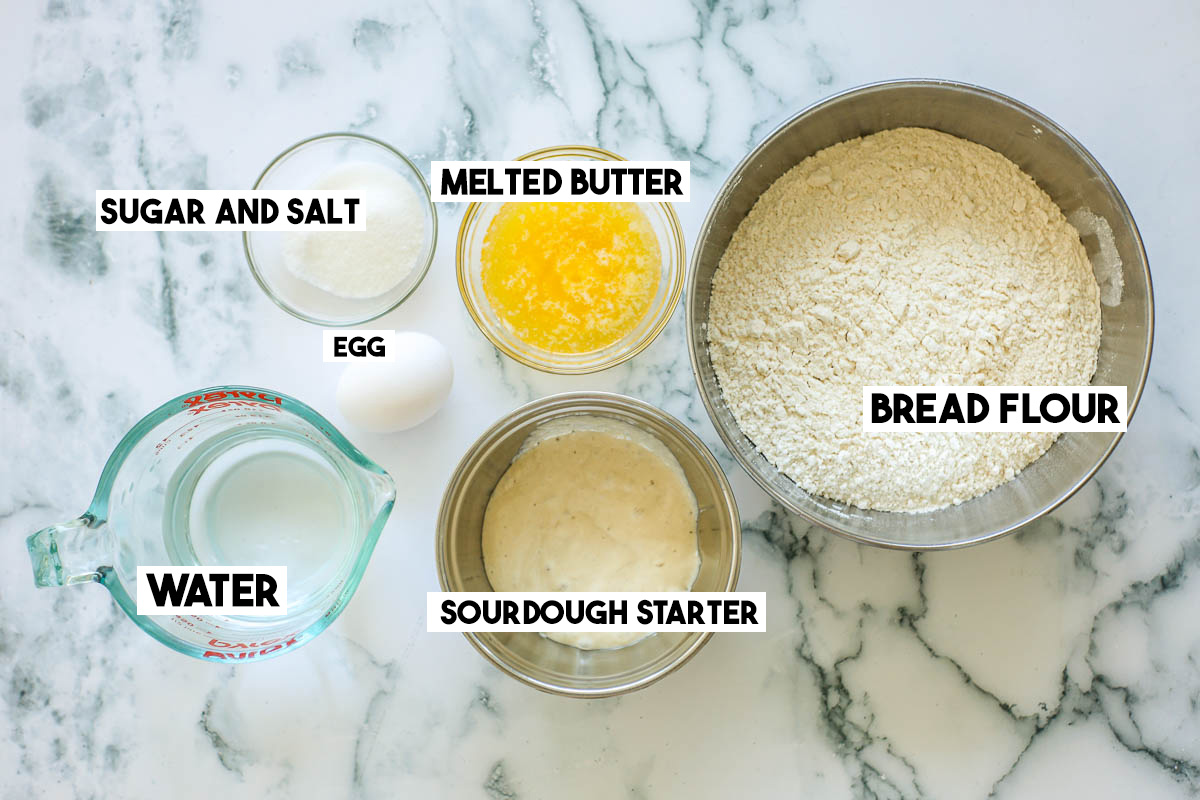
Flour. I’ve tried these buns with both all-purpose and bread flour. They’re slightly softer when made with all purpose. If using all-purpose flour, check the notes on the recipe card.
If using cups, you might need to add less flour (as you can add more flour than needed if not using a scale, as cups are not reliable. Start with 3 cups, and only add the rest if the dough is sticky to knead.
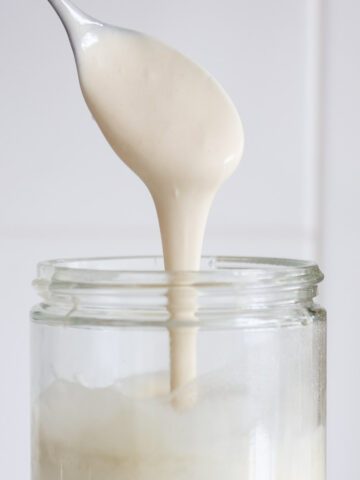
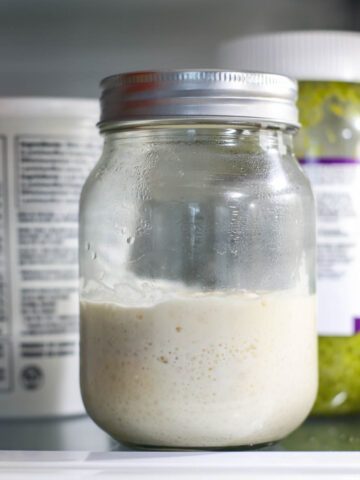
Sourdough Starter. You’ll need an active starter for this recipe. Feed sourdough 4-8 hours (or overnight) before starting the dough. I use a 100% hydration sourdough starter when making these buns.
Looking for a sourdough bun recipe made with discard? Try making burger buns with this sourdough hot dog rolls recipe.
Water. If your kitchen runs cold, or you’re baking during winter, add lukewarm water when making the dough.
Butter. I use unsalted butter when making my recipes, but have tried this one with salted butter and got pretty much the same result. Just make sure the butter is not hot when adding it to the dough.
Sesame Seeds. They’re optional to top after the egg wash, so if you’re not a fan, leave it out, or substitute for poppy seeds or your favorite topping.
🥣How to make them
Making Sourdough Hamburger Buns is easier than you think. Let’s make it together step-by-step.
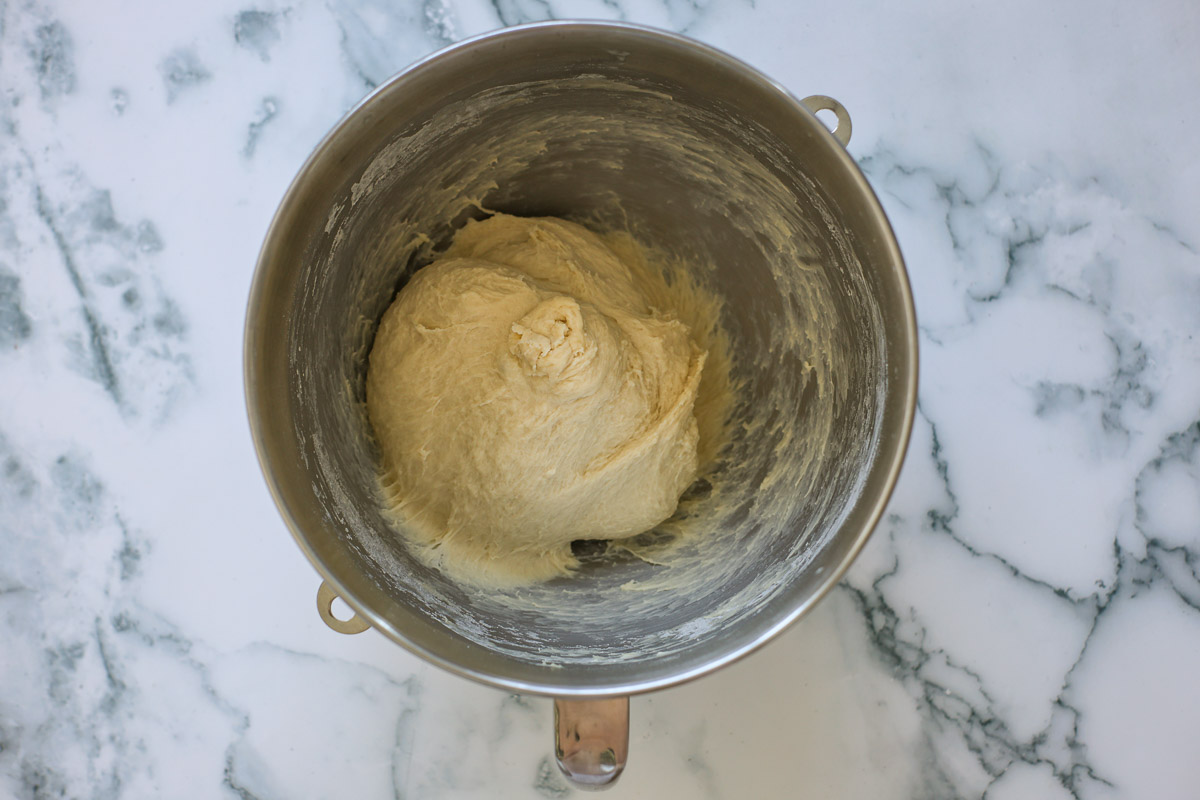
Step 01. In a large bowl, mix all ingredients with a spoon or your hands, until dough is formed.
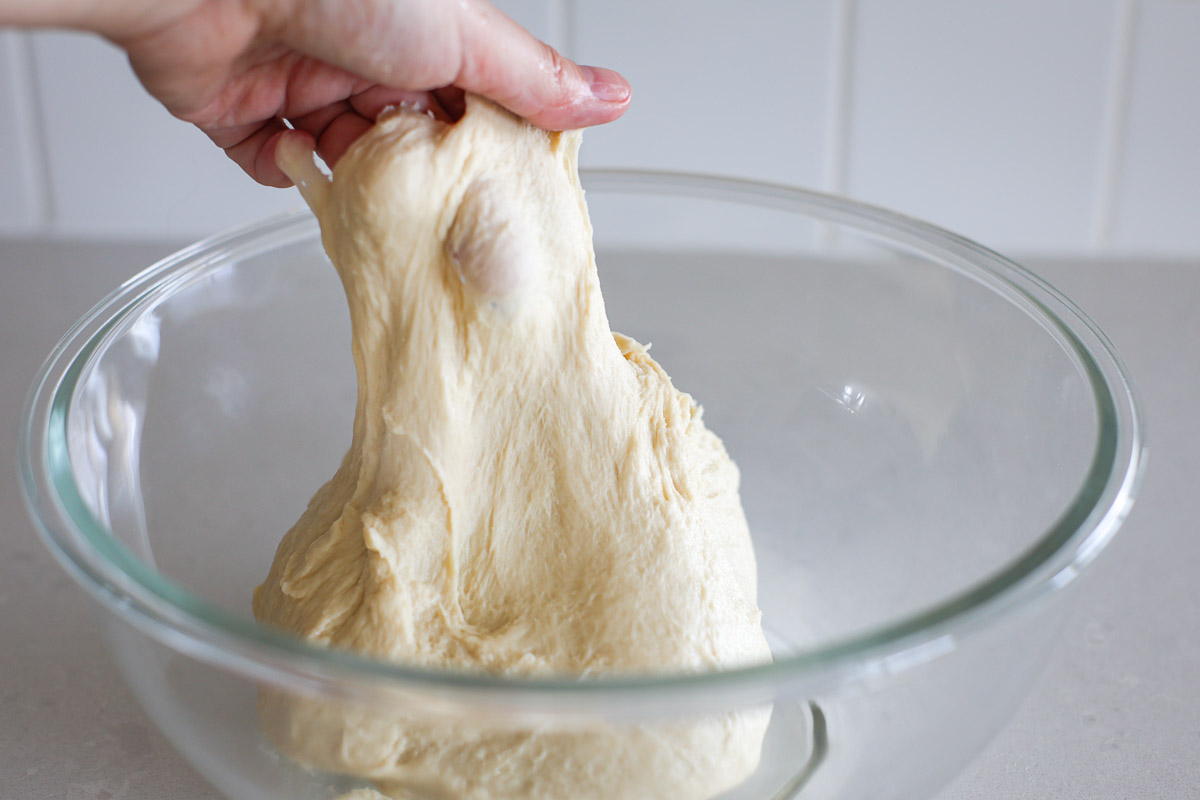
Step 02. With the dough hook (if using a stand mixer), knead for 4-5 minutes. After that time, the dough should have good elasticity and a decent windowpane.
Tip: Careful to not overknead the dough! If you’re using a stand mixer to knead, don’t go over 10 minutes, and if doing by hand, 10-15 minutes should be enough.
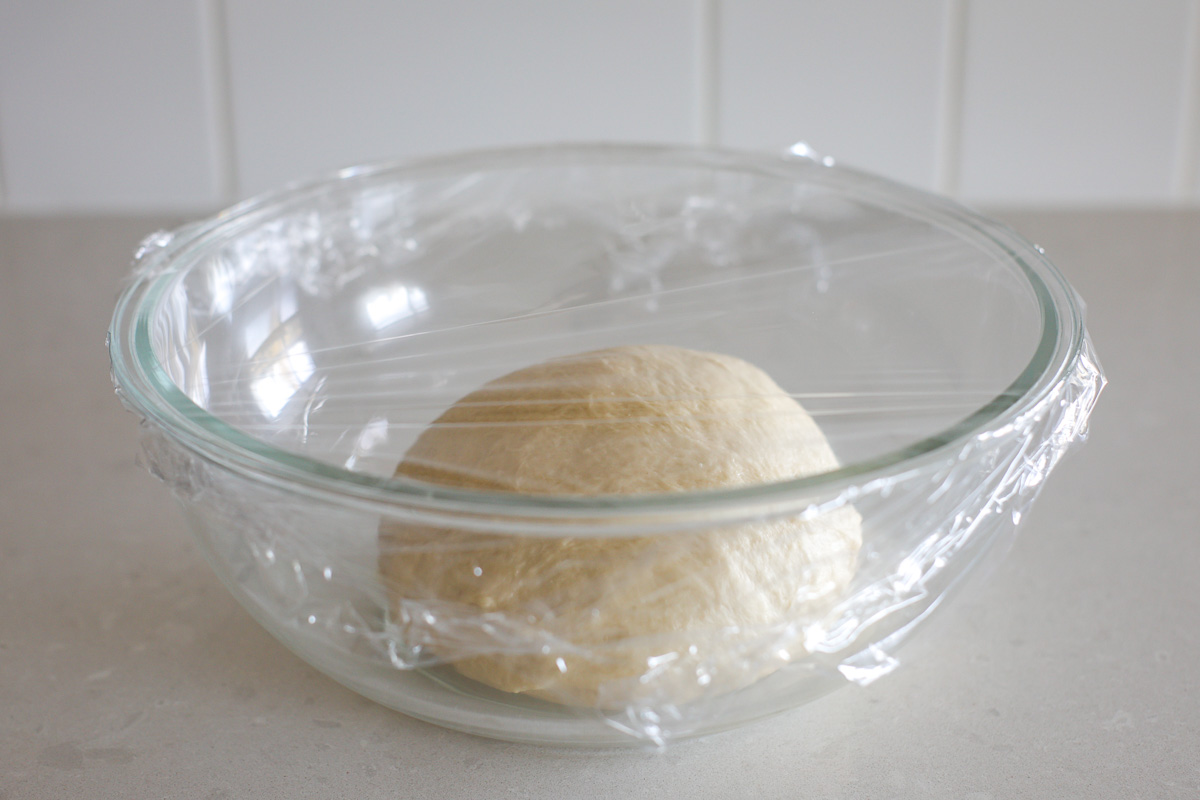
Step 03. Cover the dough with a damp towel or plastic wrap and let it bulk ferment for 3-4 hours in a warm spot.
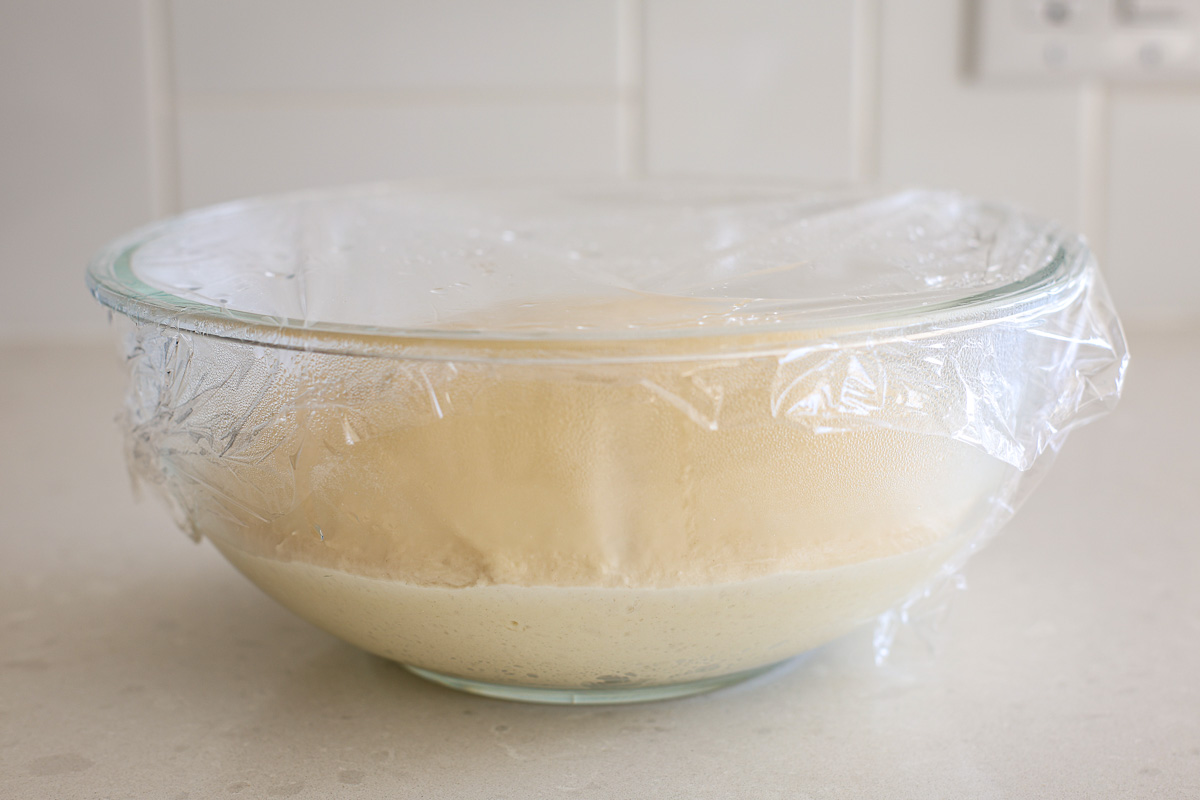
Step 04. When it gets to 50-70% of its size, store it well covered inside your fridge overnight to cold ferment.
Tip: Do not make an overnight fermentation outside the fridge, or the dough might overproof.
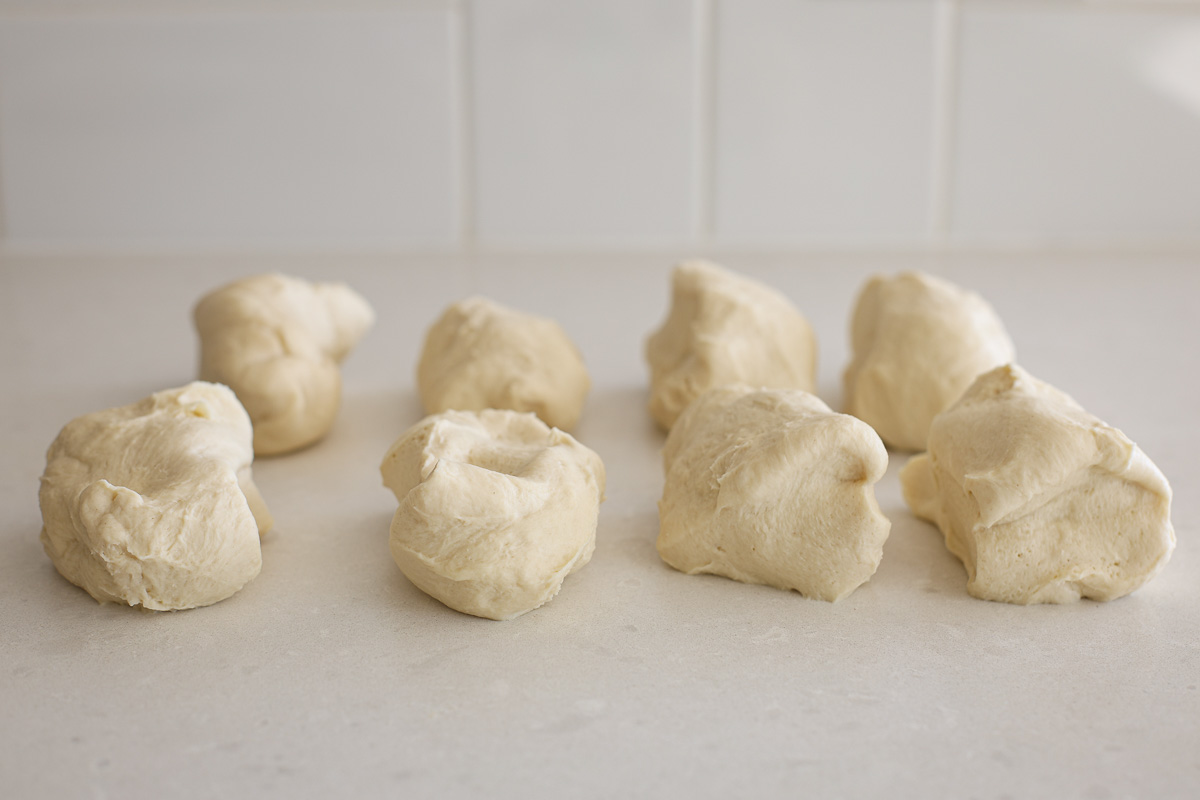
Step 05. Remove dough from the fridge and divide it into 8 equal pieces over a clean counter. This dough is more on the sticky side, so it’s easier to work with while cold.
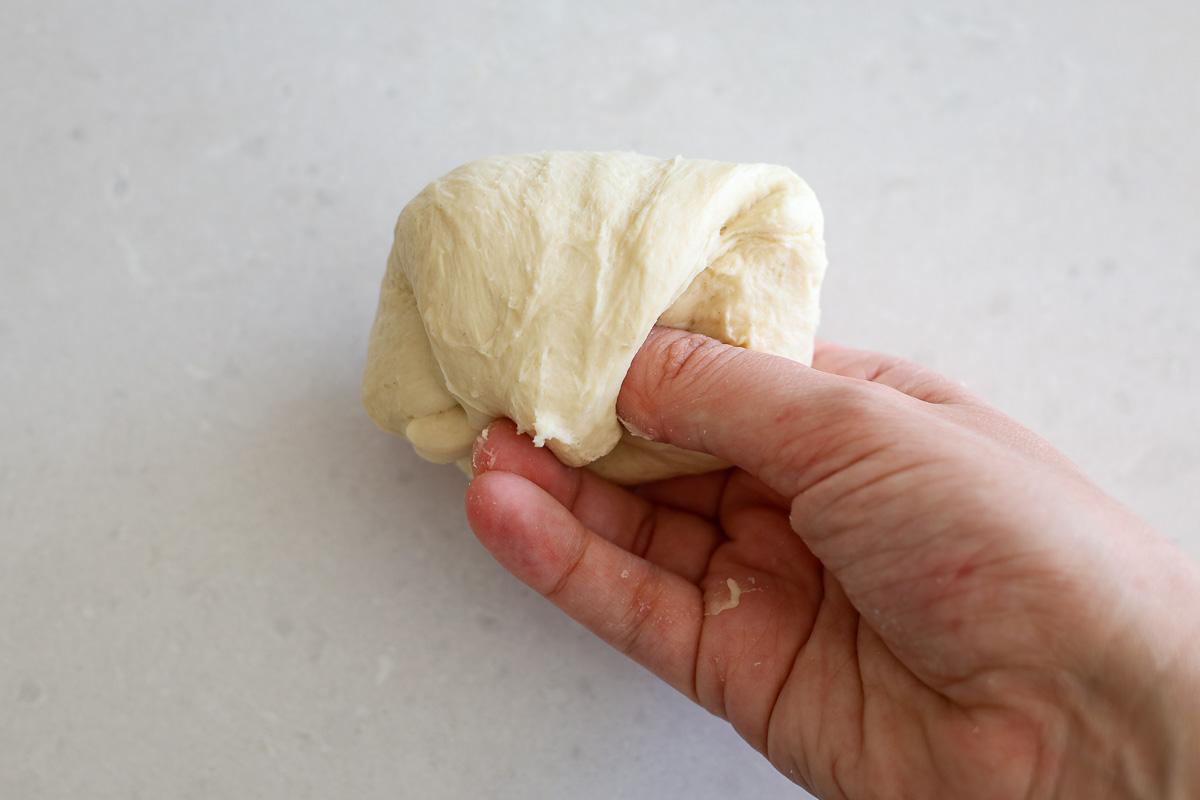
Step 06. Shape each piece into a ball by folding the dough over itself 4 to 5 times.
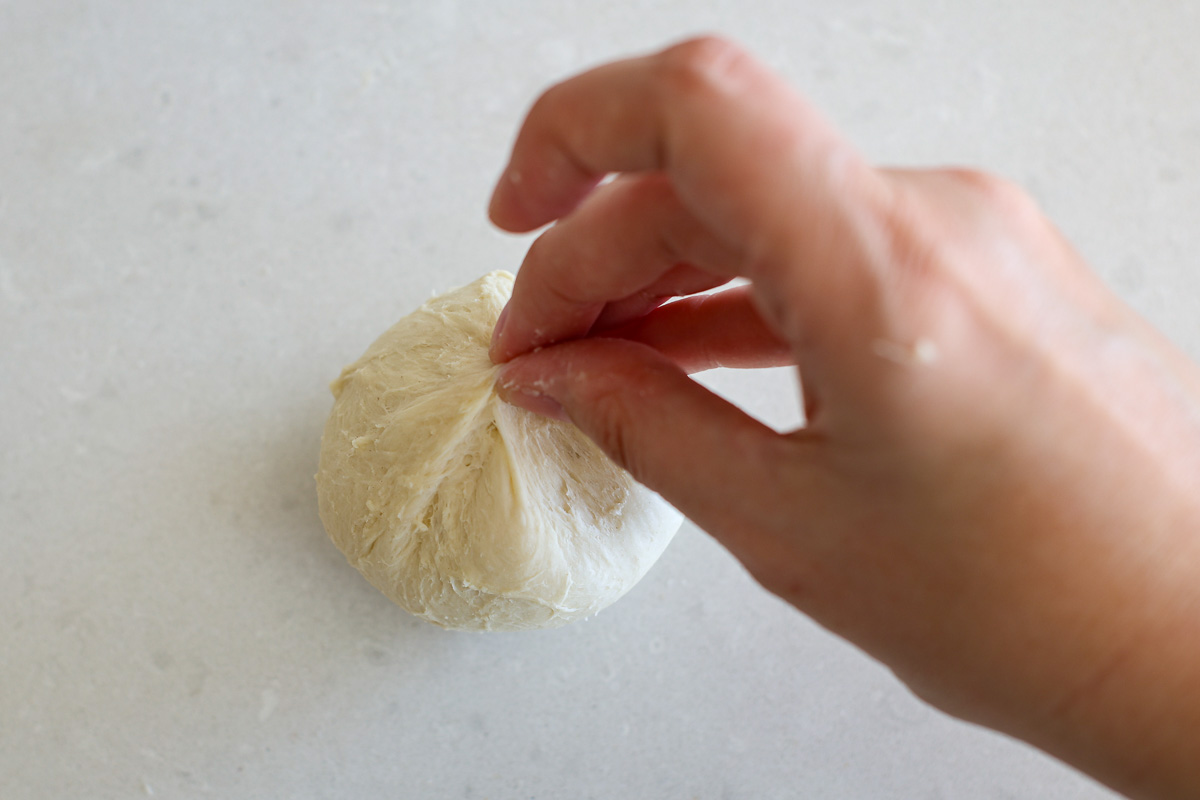
Step 07. Pinch the ends to close.
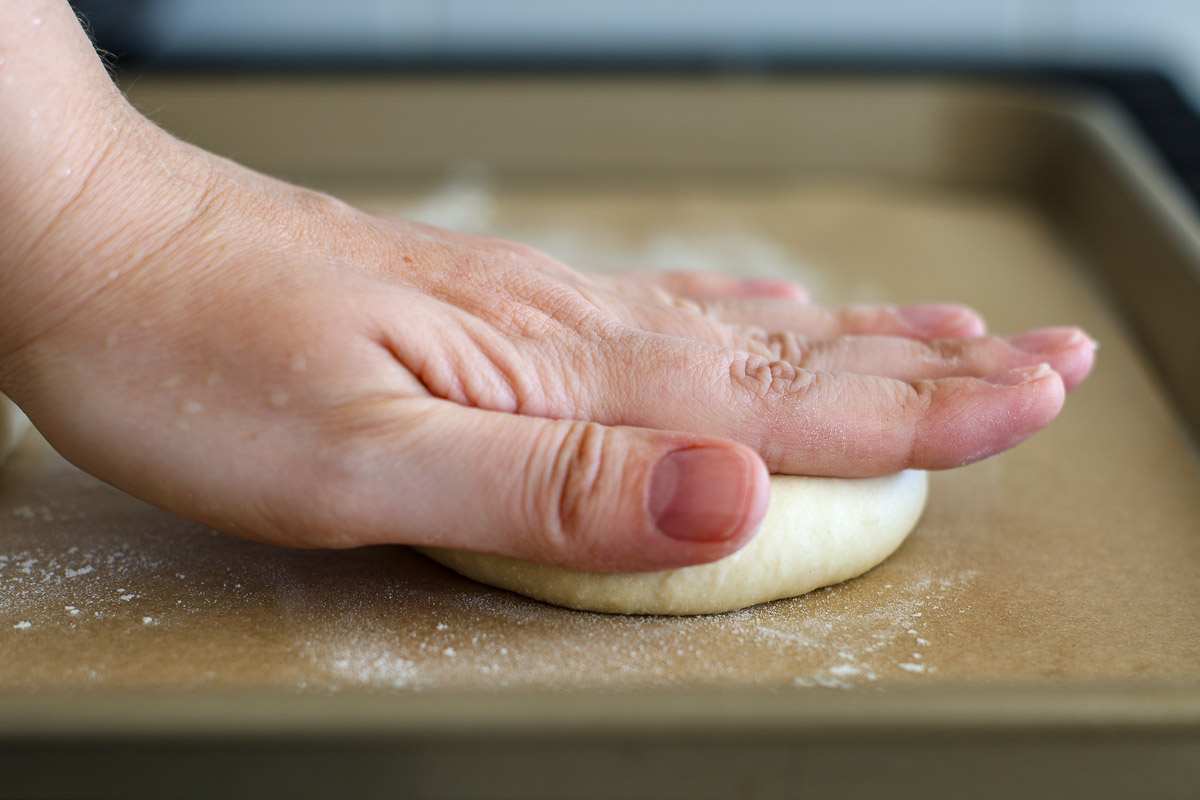
Step 08. Place shaped buns into a floured and lined baking sheet, pinched side down. With the palm of your hand, press each ball down to flatten.

Step 09. Cover the buns and let them rise in a warm spot of your kitchen until looking puffy and light. It should take between 2 to 3 hours, depending on the temperature.
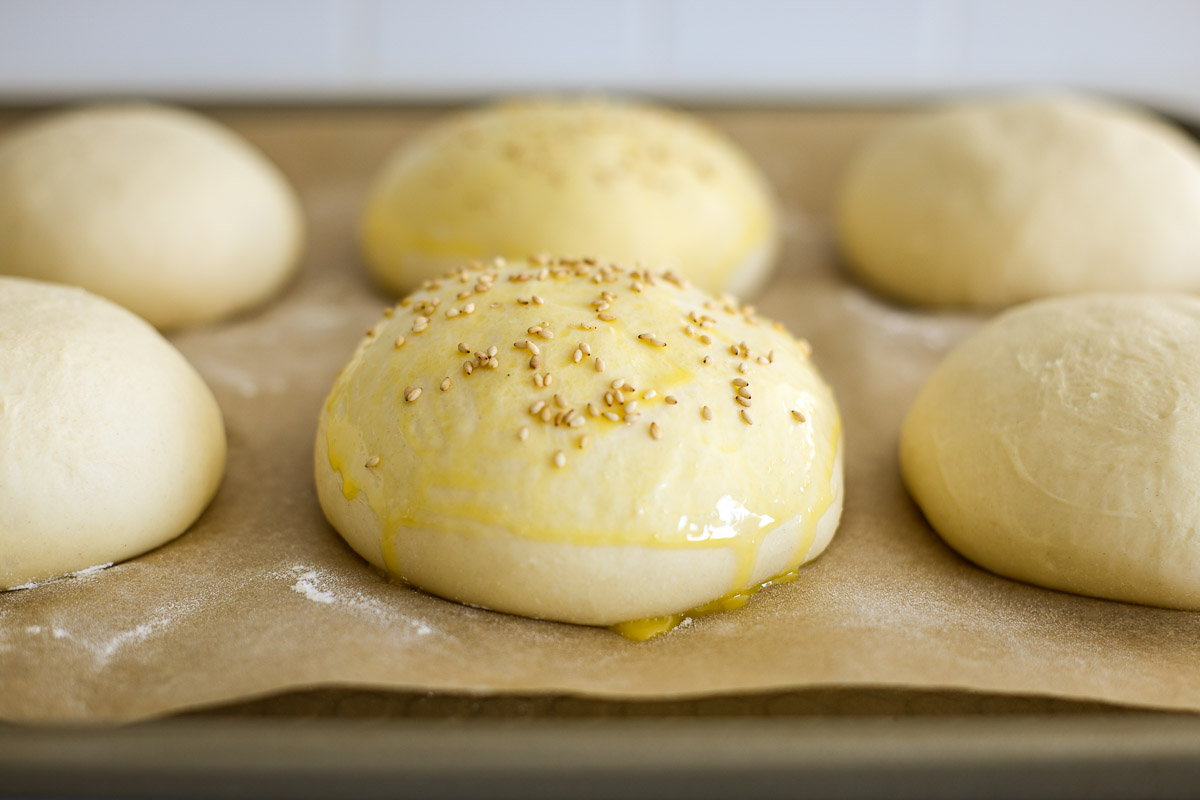
Step 10. Preheat the oven to 375 F. Whisk an egg yolk with 1 teaspoon of water and brush over each bun gently. Top with sesame seeds, and bake for 20 to 25 minutes, until the top is golden brown.
Tip: When fully proofed, buns will be wobbly if you bump the pan. Also, when brushing with the egg wash, they will feel puffy.
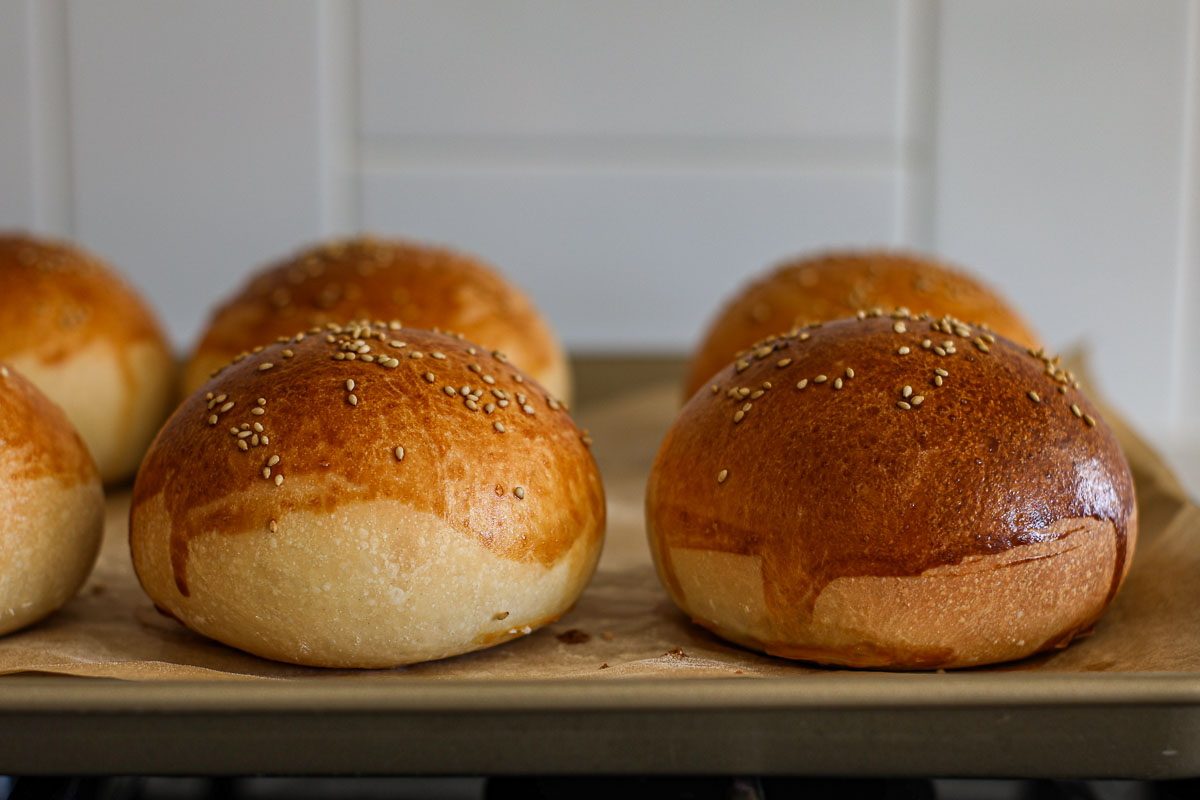
Step 11. Let them cool for at least 10 minutes before serving.
⏲️My Baker’s Schedule
This is my schedule in a 74F/23C kitchen.
Day 01:
- 8 AM. Feed sourdough starter.
- 5 PM. Make the dough and let it bulk ferment.
- 9 PM. Refrigerate the dough.
Day 02:
- 8 AM. Divide and shape dough.
- 09h40 AM. Preheat the oven.
- 10 AM. Brush egg wash, top with sesame seeds and bake buns.
✔️Expert Tips
If you’re baking during winter, rising/proofing times might be longer. Always check how the dough is, instead of relying on time only.
Use lukewarm water during winter/if your kitchen runs cold. It makes the dough a bit warmer, which helps the initial rise.
Before baking, always check if buns are well proofed. They won’t double in size but should look a bit bigger, puffy and feel lighter.

If your oven has a proofing function, use it! It helps greatly when baking with sourdough.
Resist the urge to add more flour. If during kneading, stretching and folding, or shaping, the dough feels too sticky, oil or wet your hands.
🙋🏻♀️FAQ
Yes, but you’ll need to add commercial yeast and adjust the rising/proofing times. If making with discard, add 5g of instant dry yeast when making the dough, let it rise for 1h30, shape the buns and let them rise for another 30-40 minutes before baking.
If you want to add whole wheat flour, substitute 1 to 2 cups max of white bread flour with whole wheat flour. For each cup of whole wheat, add 2 teaspoon more of water when making the dough.
Dense buns are usually the result of baking them before rising time is over. Buns need to look puffy and feel light. They also need to have a slight rise before going to the oven. If you’re baking during winter or in a cold kitchen, it might take your dough a bit more time to rise properly.
🫙Storing and freezing
After cooled, store buns into an airtight container, away from direct sun. You can also check my tips on how to store sourdough bread for more storing options.
These buns freeze well after baking. Allow them to cool completely, then place them into a freezer-safe bag. They’re good for up to 3 months.
If you tried this Sourdough Hamburger Buns Recipe, please leave a 🌟 star rating and let me know how it goes in the comments below!
📖 Recipe
Sourdough Hamburger Buns
Equipment
- Baking sheet
- Parchment paper
Ingredients
For the dough
- ½ cup sourdough starter
- 1 cup water
- 2 ½ tablespoon granulated sugar
- 1 egg large
- 4 cups bread flour
- 1 ½ teaspoon salt
- ¼ cup butter unsalted, melted
For the egg wash
- 1 egg yolk
- 1 teaspoon water
Instructions
Day 1
- In a large bowl, mix sourdough starter, water, egg and melted butter. Make sure the butter is not hot before mixing.
- Add salt, sugar and bread flour, mixing with a spoon or your hands, until dough is formed.
- With a stand mixer, using the dough hook, knead for 4-5 minutes. After that time, the dough should have good elasticity and a decent windowpane. Careful to not overknead the dough! If you’re kneading with a stand mixer, don’t go over 10 minutes, and if doing by hand, 10-15 minutes should be enough.
- Cover the dough with a damp towel or plastic wrap and let it bulk ferment for 3-4 hours in a warm spot. When it gets to 50-70% of its size, store it well covered inside your fridge overnight to cold ferment.
Day 2
- Remove dough from the fridge and divide it into 8 equal pieces over a clean counter. This dough is more on the sticky side, so it’s easier to work with while cold.
- Shape each piece into a ball by folding the dough over itself 4 to 5 times, pinching the ends to close.
- Place shaped buns into a floured and lined (with parchment paper) baking sheet, pinched side down. With the palm of your hand, press each ball down to flatten.
- Cover the buns and let them rise in a warm spot of your kitchen until looking puffy and light. It should take between 2 to 3 hours, depending on the temperature. When fully proofed, buns will be wobbly if you bump the pan.
- Preheat the oven to 375 F.
- Whisk the egg yolk with 1 teaspoon of water and brush over each bun gently. Top with sesame seeds, and bake for 20 to 25 minutes, until the top is golden brown.
- Let them cool for at least 10 minutes before serving.
Video
Notes
- If you’re baking during winter, rising/proofing times might be longer. Always check how the dough is, instead of relying on time only.
- Use lukewarm water during winter/if your kitchen runs cold. It makes the dough a bit warmer, which helps the initial rise.
- Before baking, always check if buns are ready. They won’t double in size but should look a bit bigger, puffy and feel lighter.
- If your oven has a proofing function, use it! It helps greatly when baking with sourdough.
- Resist the urge to add more flour. If during kneading, stretching and folding, or shaping, the dough feels too sticky, oil or wet your hands.

Jeanette
Excellent hamburger bun recipe. I appreciated that it had simple ingredients and easy to follow instructions. I always avoid hamburger buns because the shaping is just a sticky mess. Shaping them cold was a game changer! I didn’t let the buns get puffy in the second proofing, so they turned out a bit dense. I’m going to have to do another batch, but the first attempt was so much better than other recipes I have tried. I have a feeling this will be my go-to hamburger bun recipe.
Liz
One of the best sourdough burger buns that I’ve made. Used all purpose flour instead of bread flour. Thank you!
Jen
The best bun recipe I’ve made!! I make these all the time now!
Anonymous
Turned out perfect! My new favorite for burgers, thanks for the recipe!
Mckenna
So the end result was pretty good! However, I followed the recipe exactly and ended up having to add twice the amount of water in order to get the right consistency of the dough.
The buns are also pretty dense. They hold up well and don’t get soggy but is there a way to make them a bit “lighter”?
Tatiana Kamakura
Hi Mckenna,
Did you use grams or cups? It makes a big difference when baking, as using cups can result in adding more flour than the recipe calls for.
I get really light buns with this recipe. A dense bread, especially when using sourdough starter, might be related to fermentation. Is your sourdough starter strong enough? Was your kitchen too cold? Did you check if the bulk fermentation was complete (with the dough showing bubbles on the side of the bowl and feeling soft to the touch)? After shaping the buns, did you wait for them to become puffy and soft before baking? These are some things that can make my bread dense if I don’t pay enough attention.
Hope it helps!
Cheers!
Olena
Oh! Now I understand what was wrong with my dough. . But it is too late...
Anonymous
Absolutely delicious, I’ll be making this again!