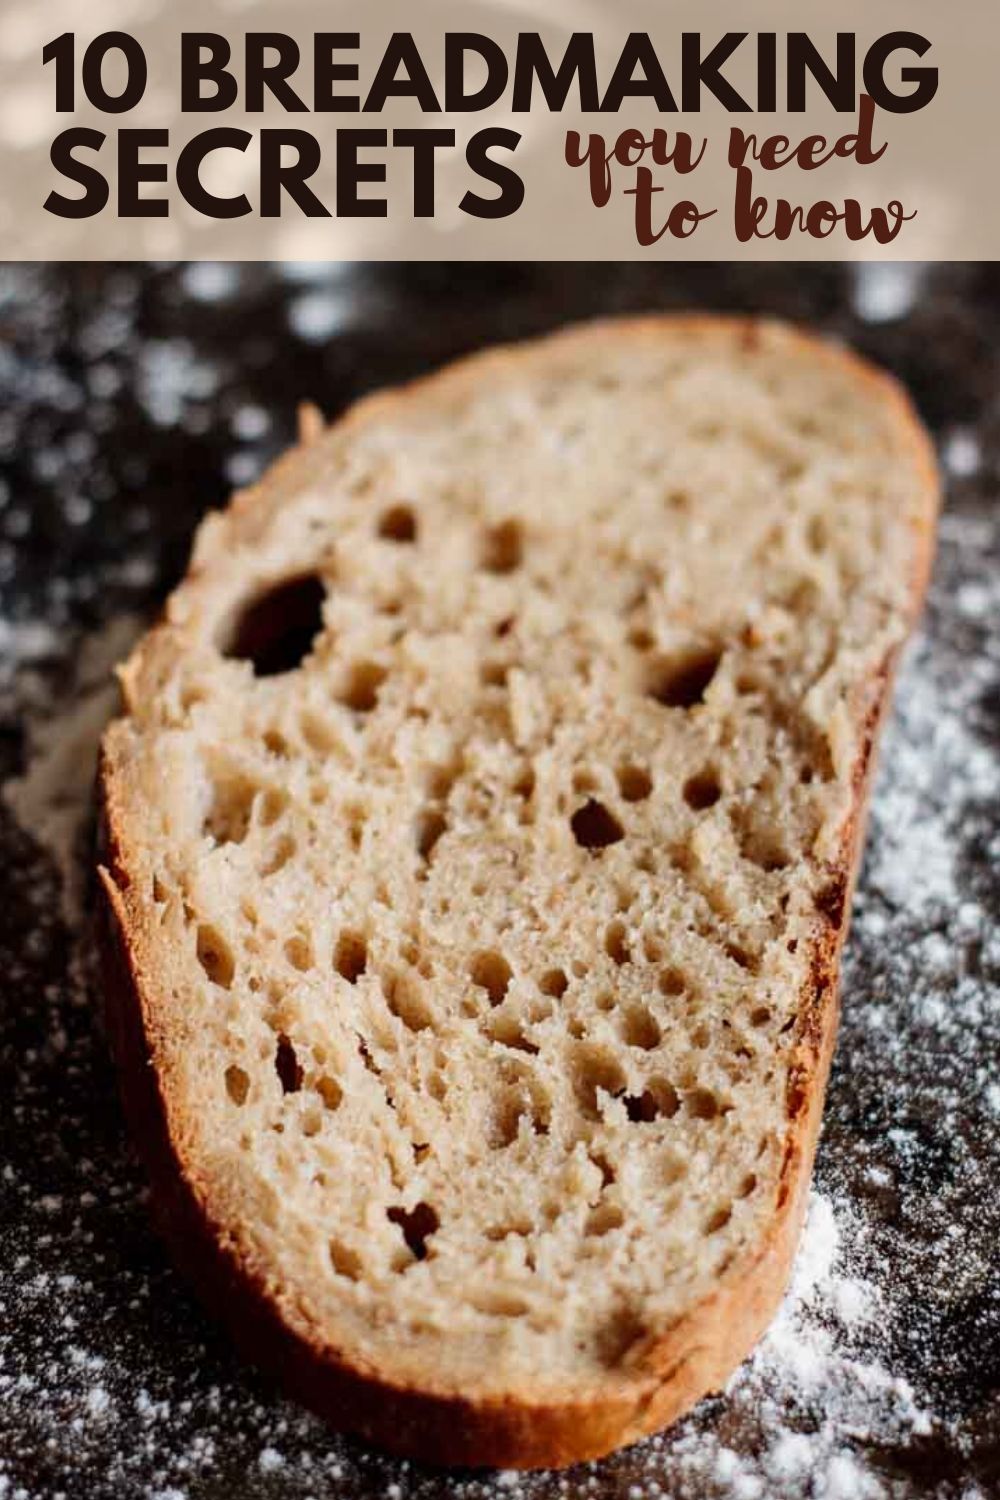
Have you ever wondered how to bake bread so delicious that you just can’t stop eating it? While using a reliable recipe is key, I’ve picked up a few bread-making hints and tips that can make the process easier, especially for beginners!
When I first started baking, my bread never turned out like those bakery-perfect loaves. A few years ago, the idea of making mouthwatering homemade bread felt impossible to me. But after several attempts and plenty of reading, I found what consistently worked for every bread recipe I tried. With these tips, you’ll find that baking bread becomes much, much easier!
These tips work for both yeast bread and sourdough bread.
1. Read the Recipe and Follow It
This might sound obvious, right? But sometimes, we skim the recipe because the instructions seem endless. You might think you can just glance at the ingredients and wing it. Don’t!
When baking bread — especially if you’re just starting out — it’s crucial to read the full instructions. Then, read them again to make sure you’ve got everything down.
Avoid swapping ingredients unless the recipe allows for it. For instance, almond flour isn’t the same as wheat flour, and skipping an egg will change the bread’s texture.
A good recipe will cover everything: what could go wrong, how to fix it, possible ingredient substitutions, and estimated rise and bake times. So, choose a solid recipe, read the notes, and follow each step carefully.
2. Measure Ingredients Correctly
One of the best pieces of advice I can give is to use a kitchen scale when baking, especially when baking bread. Precision is key to getting a perfect loaf every time. While cups and spoons might seem easier, they often result in slightly off measurements.
If you don’t have a scale, you can still use cups — just be sure to measure correctly. For flour (whether it’s all-purpose, bread, whole wheat, or rye), fluff it up, spoon it into the cup, and level it off with a knife. Don’t scoop directly from the bag, as that will add too much flour.
3. Don’t Forget the Salt
Salt is crucial in bread making. It strengthens the dough and slows down fermentation, allowing time for gluten to develop. And good gluten development means a better crumb and crust.
Some say you shouldn’t let salt touch the yeast directly, but I’ve done it in a pinch and haven’t had any issues. However, if you’re worried, just avoid adding salt on top of the yeast.
4. Never Use Hot Water
Hot water (or any hot liquid) will kill yeast, leading to a dense, tough bread. You need lukewarm liquid, which should feel like the warmth of a baby’s bottle. Test it on your wrist — if it’s warm without the sting of heat, you’re good to go.
For recipes that require melted butter (like my no-knead lazy bread) or heated ingredients like tangzhong (a cooked flour paste, used when making japanese milk bread), always wait for them to cool to lukewarm before adding them to your dough.
5. Avoid Cold Ingredients
Temperature matters in bread making. While hot ingredients can kill yeast, cold ones will slow fermentation, or even stop it altogether. Bring your eggs, milk, and butter to room temperature before using them.
6. Check the Yeast’s Expiration Date
Yeast loses its potency over time, especially if it’s been left out of the fridge after opening.
A friend of mine tried one of my recipes and asked what she did wrong, as her bread didn’t rise at all. She didn’t realize that yeast can lose its strength if it’s kept outside the fridge after being opened.
Here’s what you need to know about commercial yeast (both active and instant/quick-rise):
- It has an expiration date, and after that, it will start to lose its strength.
- Once opened, it needs to be stored in a well-sealed container in the fridge.
- Always check the expiration date before starting a recipe.
- It’s a good idea to write the date you opened it on the lid or jar, as yeast starts losing strength about 6 months after opening.
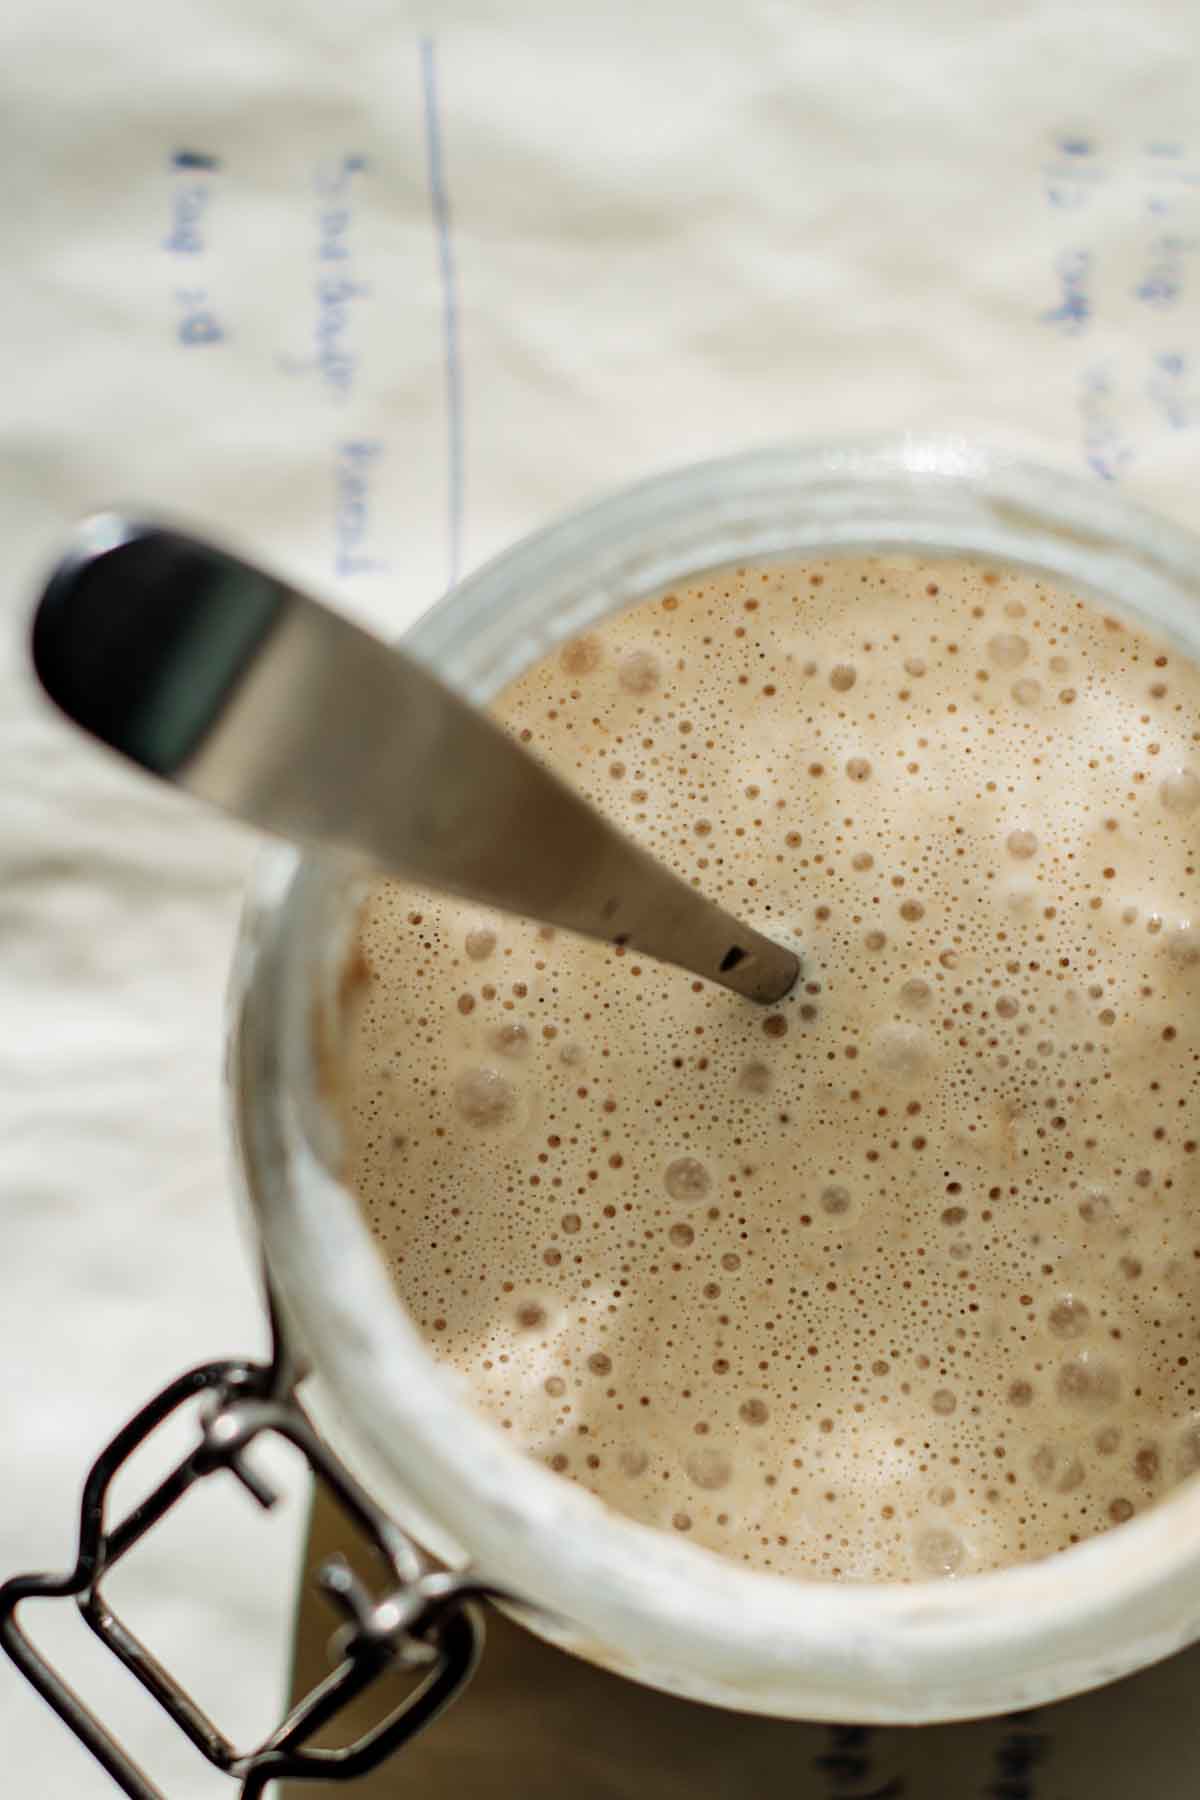
That said, always check the expiration date and store opened yeast in a sealed container in the fridge. If you’re unsure whether it’s still good, proof it by dissolving it in warm water with a pinch of sugar. If it bubbles, you’re good to go.
Wild yeast, also known as sourdough, doesn’t have an expiration date, but it needs to be activated before use and cared for regularly to stay healthy for baking amazing loaves.
7. Don’t Under or Over-Knead Your Dough
If your recipe requires kneading, make sure you knead the dough properly. Under-kneading is a common problem, while over-kneading (especially by hand) is harder to do. Properly kneaded dough should stretch without tearing, forming a "windowpane."
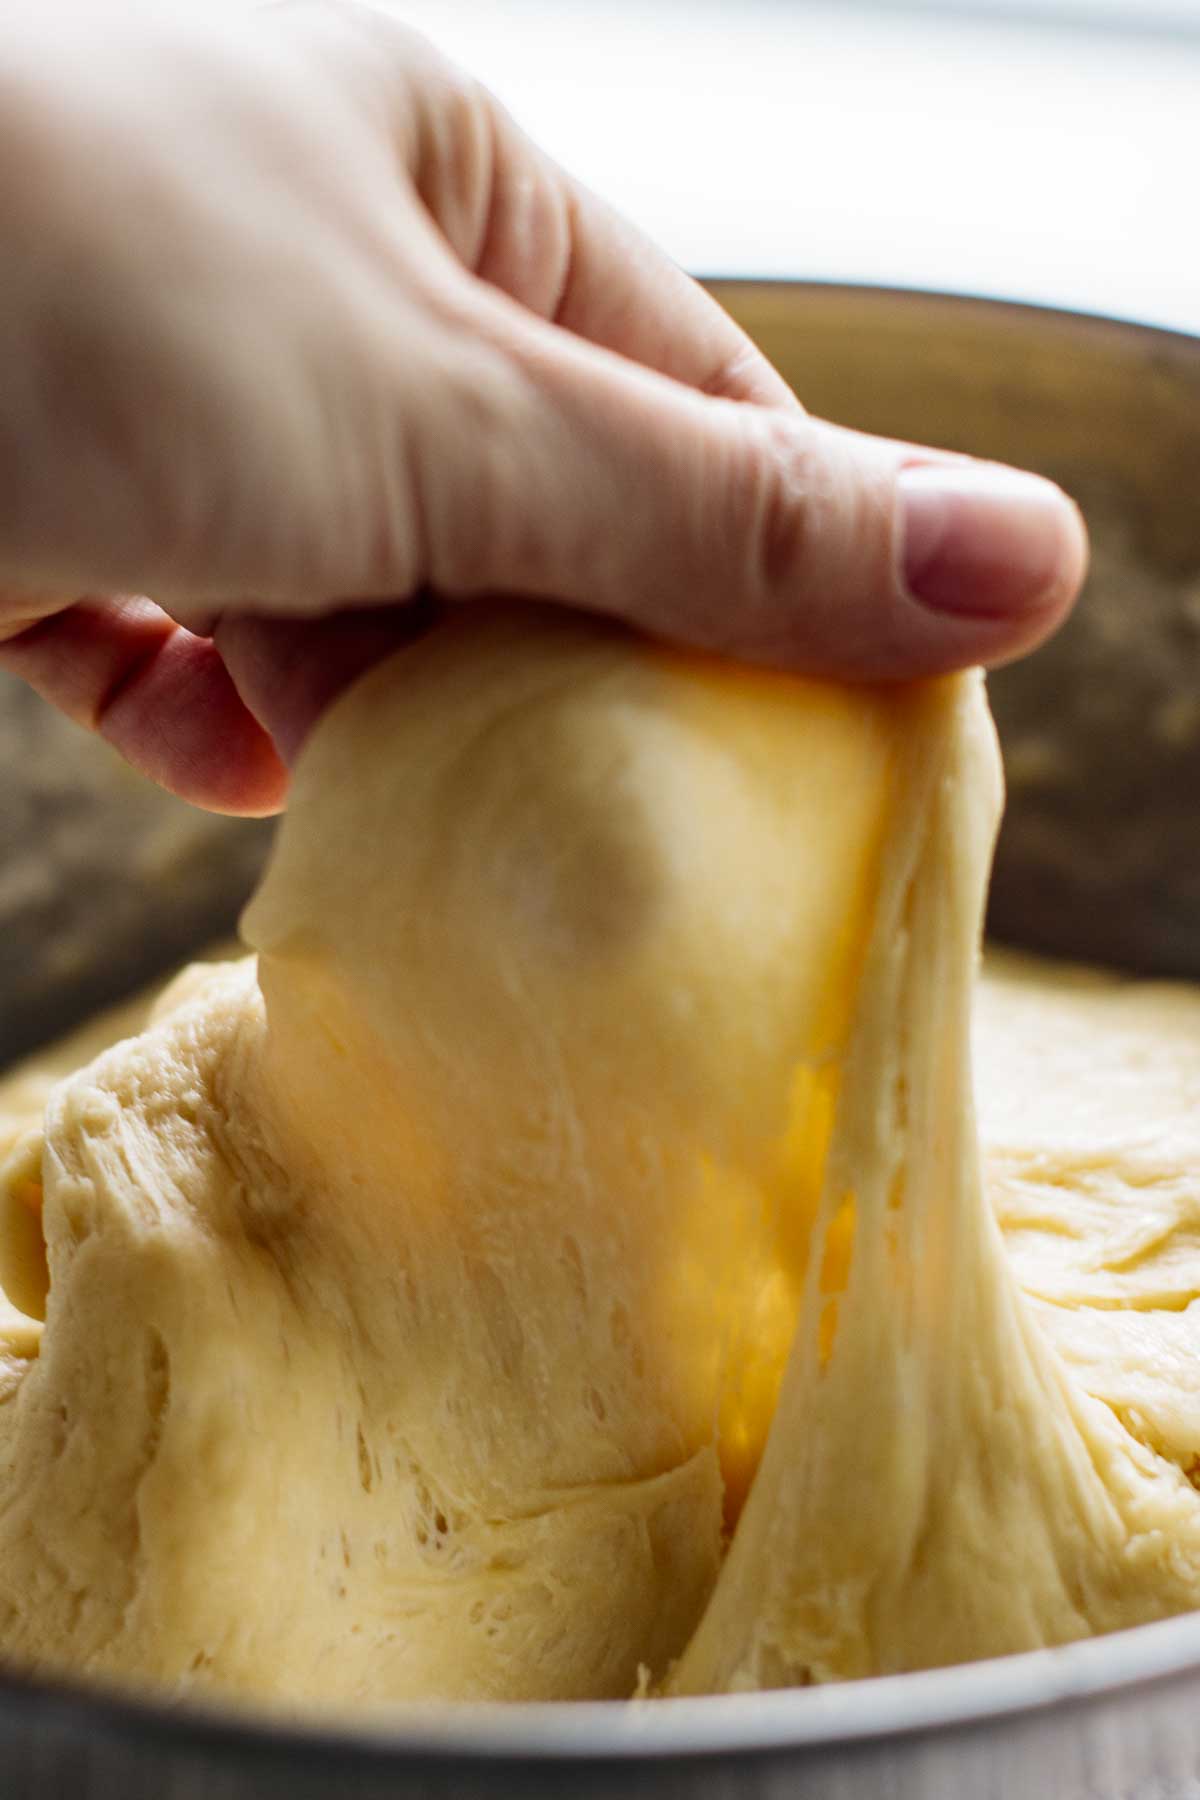
If you’re unsure about your kneading technique, try a no-knead recipe like this onion focaccia or my favorite no-knead sourdough brioche!
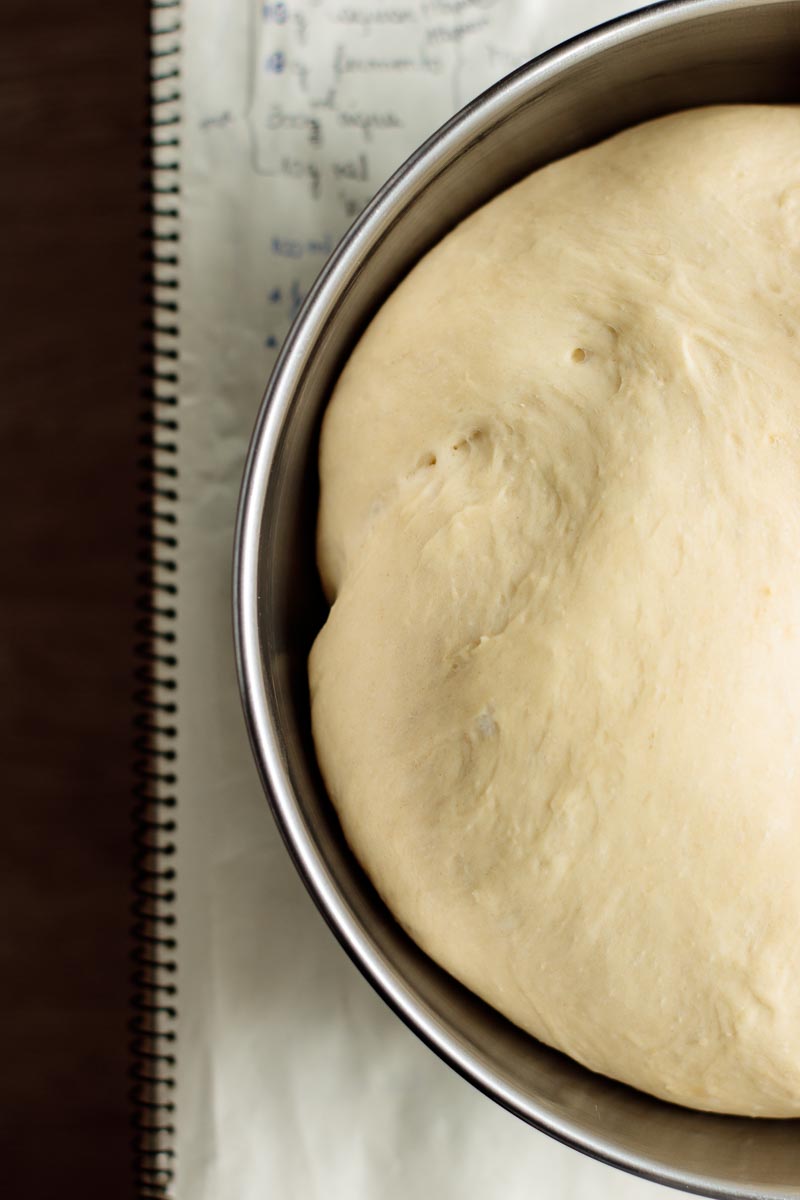
8. Let the Dough Rise in a Warm Spot
Temperature plays a huge role in rising dough. During warmer months, it’s easy to find a good spot, but in the winter, near a cold window won’t cut it. Look for a warm place, like near a stove or on top of the fridge. If your oven has a proofing setting, even better! Use it for the first rise.
9. Don’t Let Dough Rise Too Long
Dough can overproof if left to rise for too long. When this happens, the yeast consumes all its food and starts losing its rising power. Rising times can vary depending on the recipe (which may call for more or less yeast) and the room temperature.
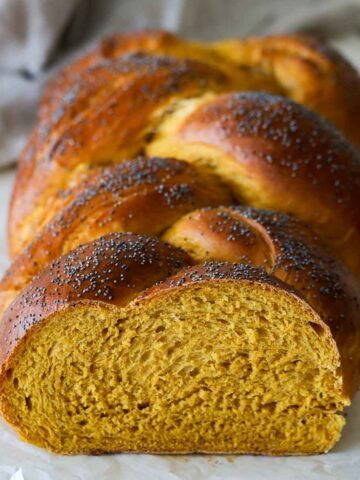
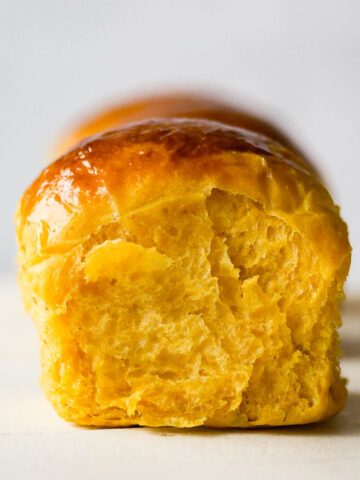
If you need to let the dough rise for longer, choose a recipe that uses cold fermentation. These typically call for some fermentation at room temperature, followed by a cold fermentation in the fridge. My parmesan sourdough and pumpkin brioche both include a cold fermentation step after the first rise.
10. Preheat Your Oven
Preheating is non-negotiable for bread baking. A hot oven ensures that the yeast has time to give the loaf its final rise before the crust sets. Always preheat for at least 15 minutes, and avoid opening the oven during the first 15 minutes of baking.
Bonus Tip 1: Let the Bread Cool Before Slicing
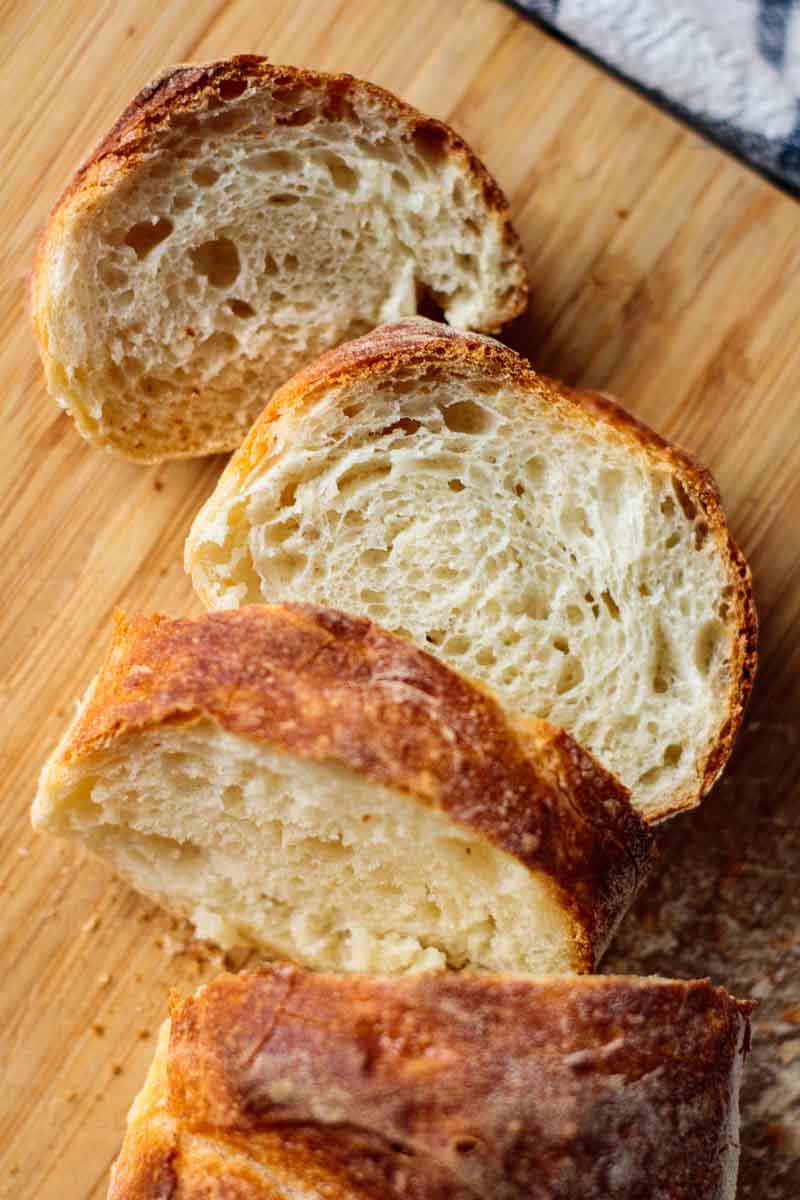
Resist the temptation to slice your bread right out of the oven! This is especially important for artisan bread, like a Dutch oven beer bread or a basic sourdough loaf. When a loaf comes out of the oven, I know you’ll want to eat it warm — resist the urge!
Right out of the oven, the bread is still baking and setting inside. If you slice it while it’s hot, you won’t give it enough time to properly set, and you’ll end up with a gummy crumb.
I know freshly baked warm bread is tempting, but trust me—a fully baked and cooled loaf will taste ten times better.
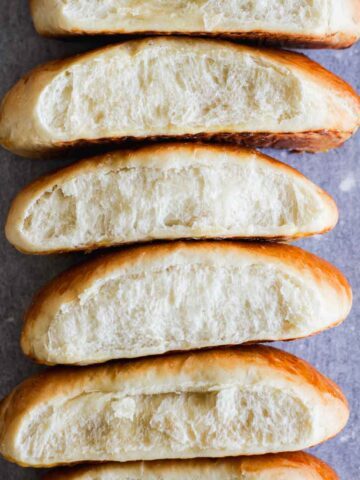
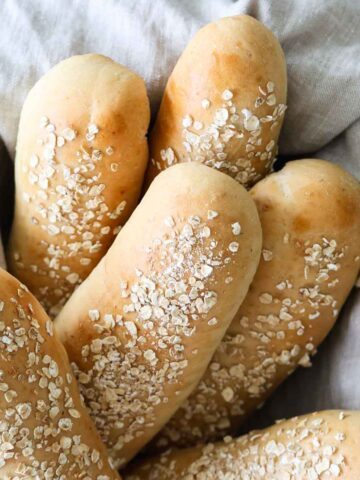
If you want bread straight out of the oven, try baking buns or rolls. My crusty sandwich rolls and sourdough pumpkin rolls are perfect to enjoy fresh from the oven.
Bonus Tip 2: Boost Flavor with a Sourdough Starter
Even if you’re in a hurry, adding a small amount of sourdough starter to your dough can give it a fantastic flavor boost. It adds the perfect touch of sourness without the long wait. If you don’t have a sourdough starter yet, it’s time to start one — I can show you how! Learn how to make a sourdough starter day by day.
When baking bread, patience is key. Following these tips will help you achieve consistently delicious, bakery-quality bread at home.
Now, how about trying some bread recipes?
Milk and Pop
Thanks Aaron! I'm updating all my posts 😉
Trevor
Great tips! Thank you for sharing.
Milk and Pop
Glad you like it, Trevor!
Vimi Gisby
I’ve been baking artisan breads for almost 3 years and success every time but recently, it’s been disasters and bread ended in the bin. Now I’ve gone back to bloomers etc and I knead by hand.
Milk and Pop
Really? Hope these tips can help you!