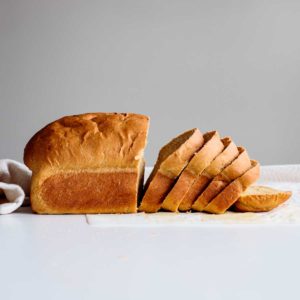
A fluffy bread that last for days and has no milk or butter on it: it’s possible! This dairy free bread recipe makes a great sandwich bread with only 6 simple vegan ingredients.
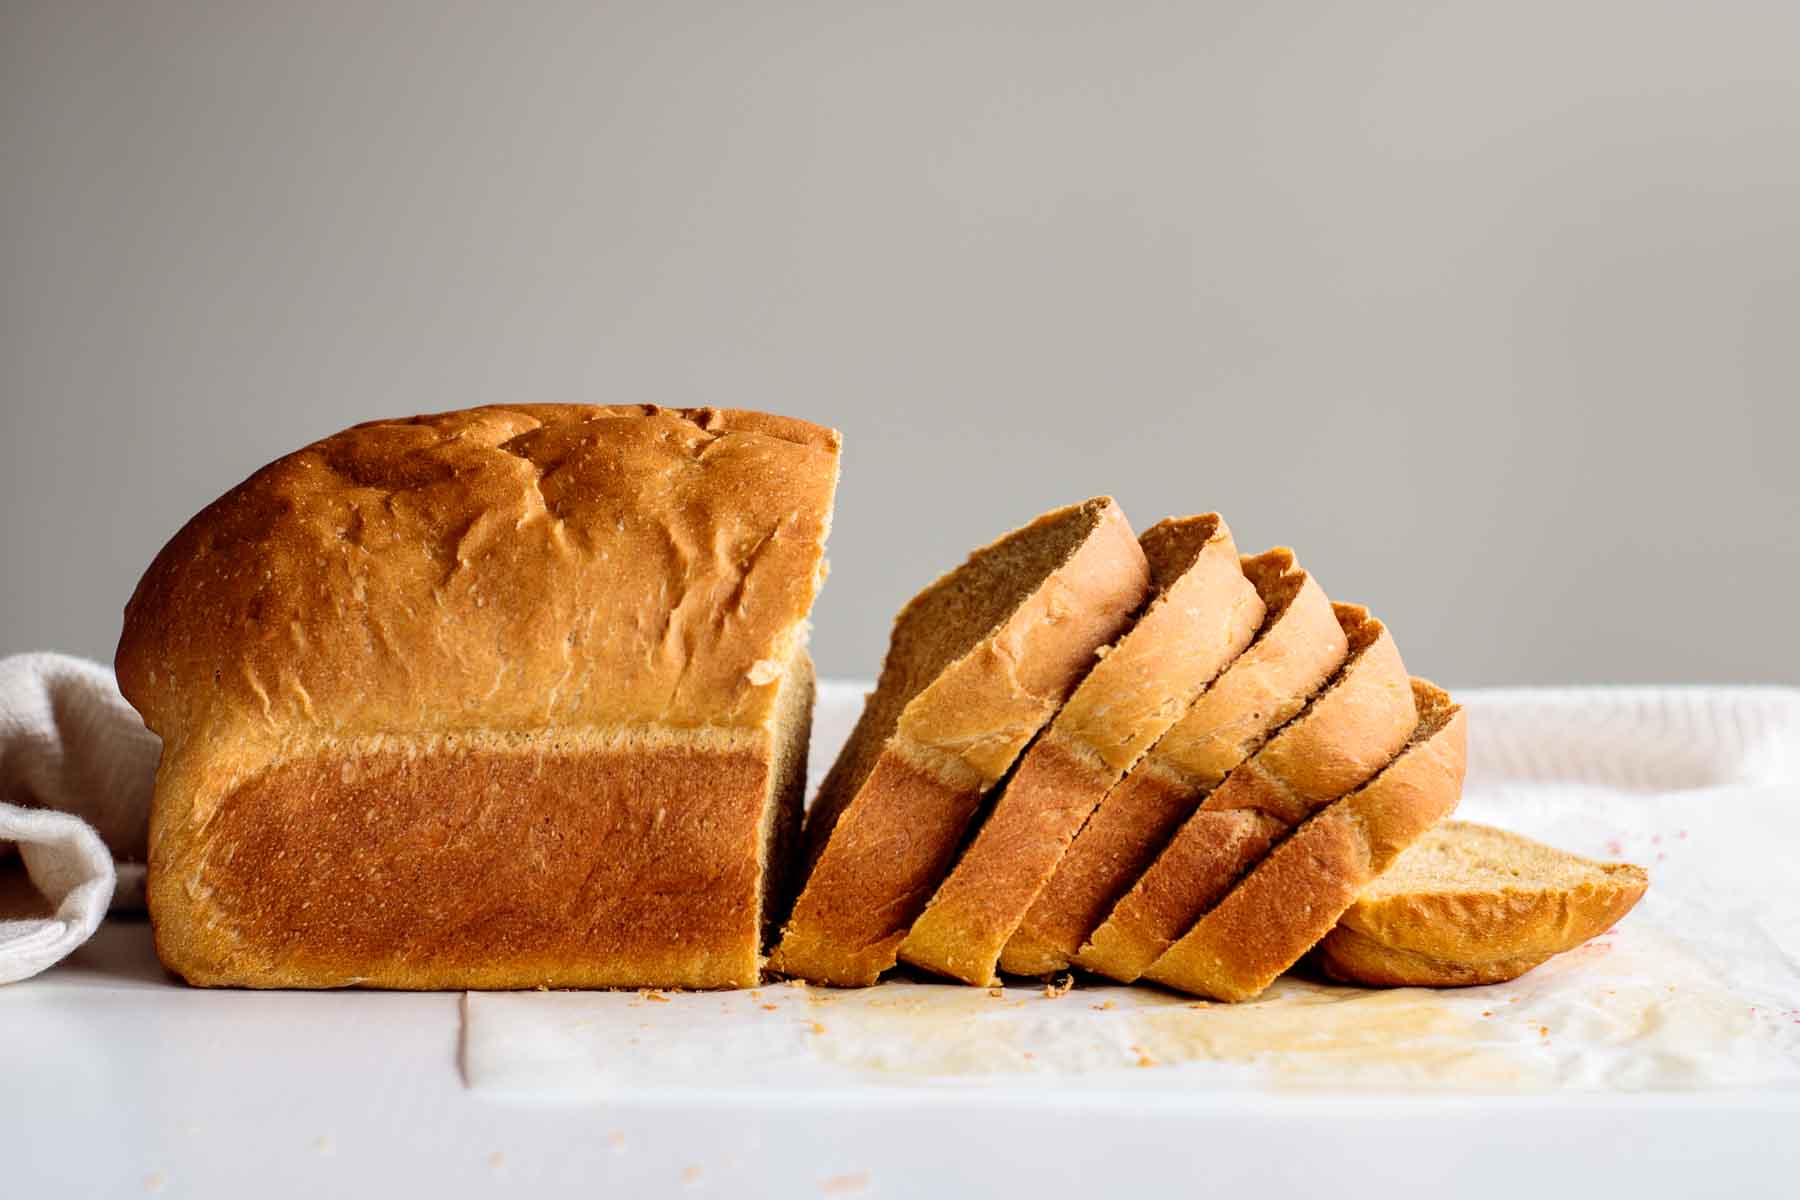
The perfect dairy free bread: you just found it. This bread is perfect for sandwiches and toast, and goes great with practically anything.
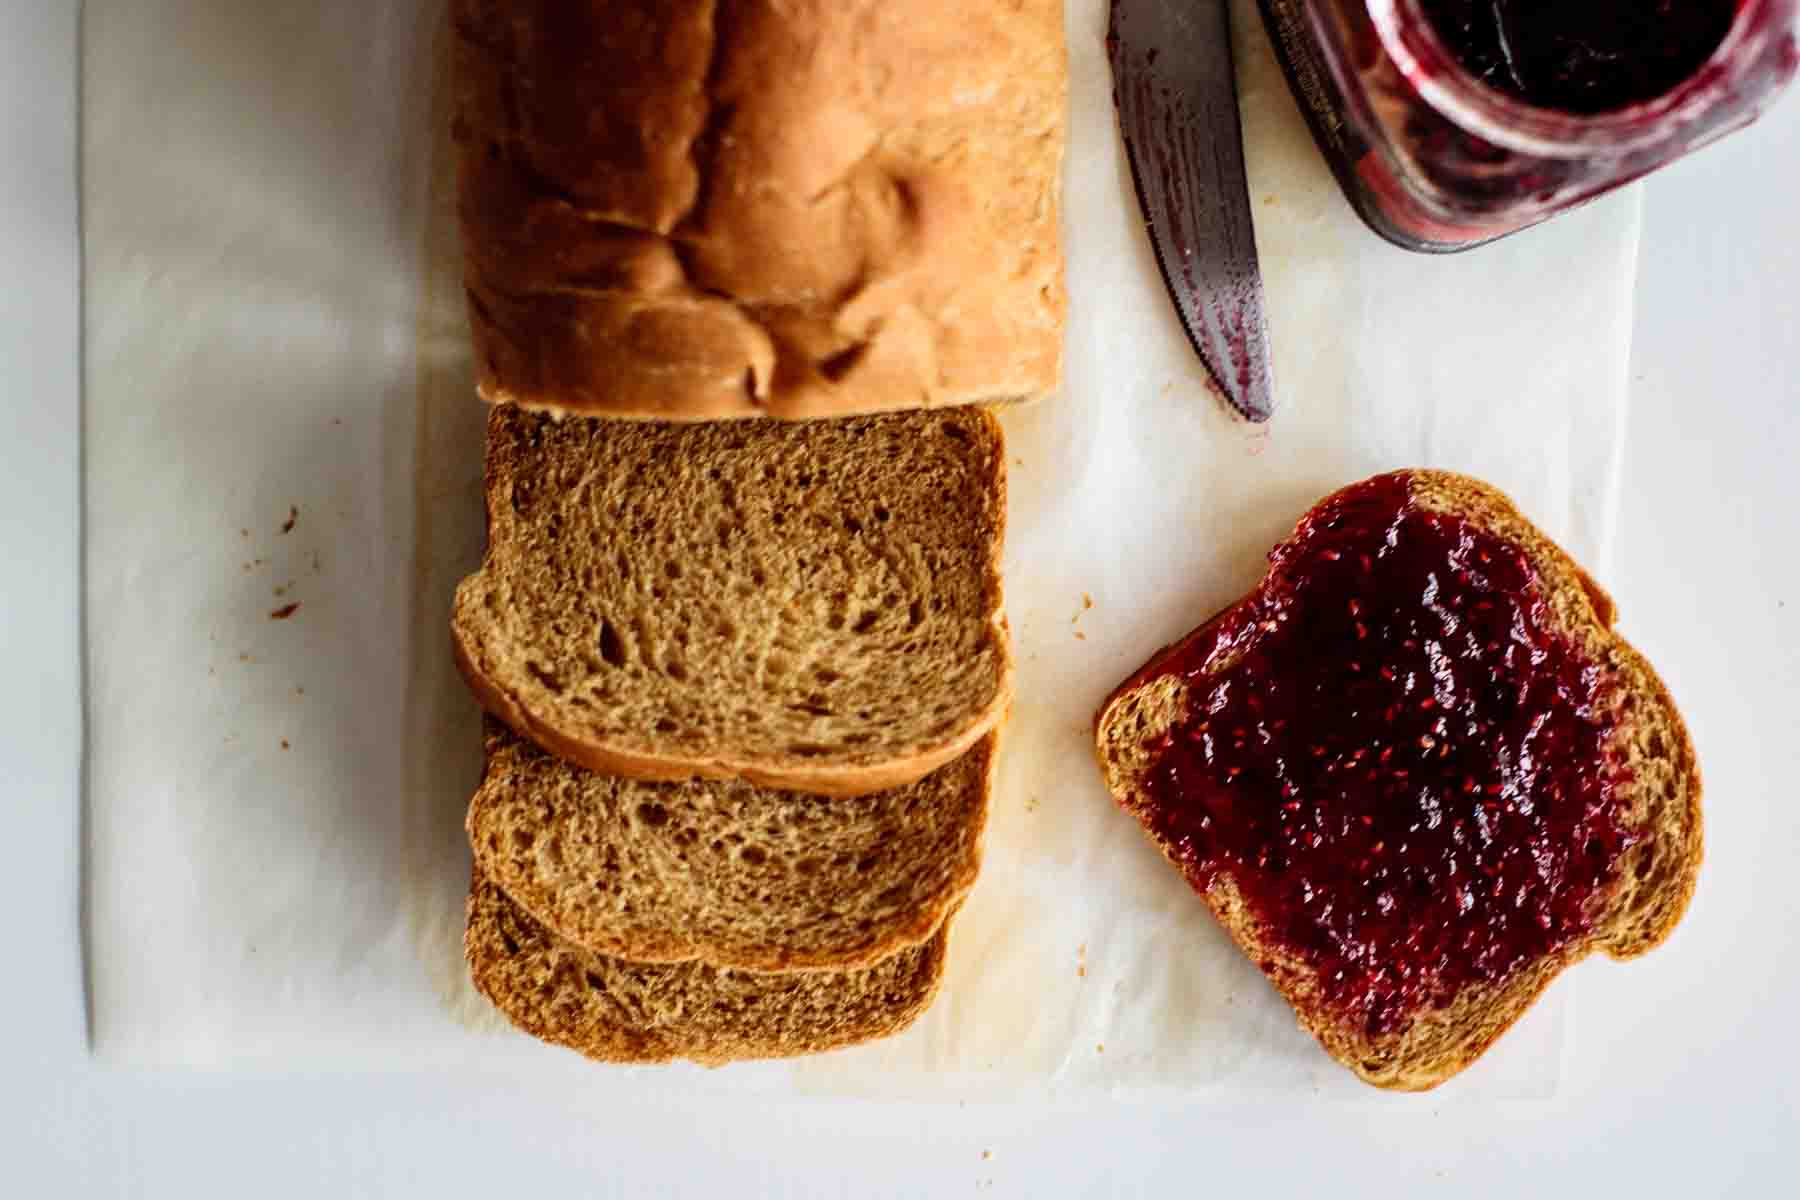
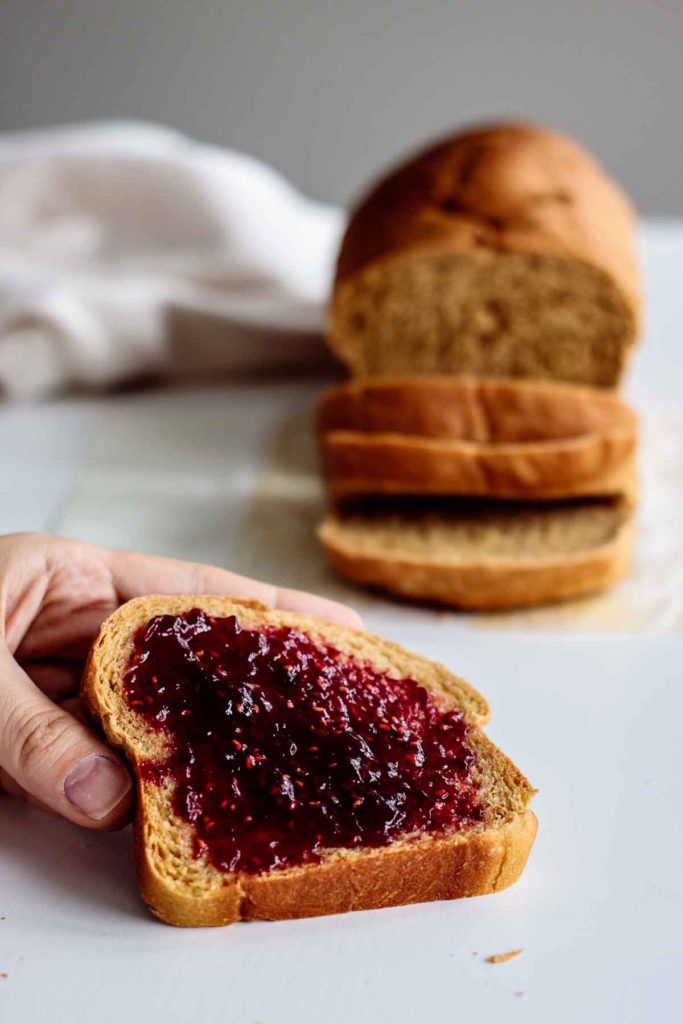
If you’re on a dairy-free diet and looking for a sandwich bread for your peanut butter and jam morning sandwich, try this recipe!
Searching for an egg free bread? This recipe has no eggs on it!
Why this recipe works
- It’s an easy recipe, perfect for beginner bread bakers;
- This sandwich bread is made with no animal ingredient;
- It uses only simple, inexpensive pantry ingredients (the perfect frugal bread!);
- The recipe was developed specially for people with food sensitivities/allergies;
- You can easily double the recipe and get 2 loaves if you have a big family (they’ll go FAST!).
Why you should bake your dairy free bread
Homemade bread freezes well. This dairy free sandwich bread freezes perfectly: bake 2 loaves, slice and freeze one to always have bread as good as fresh a minute away!
You know the ingredients. Isn’t great to know what you’re eating? Store-bough bread has many additives, so it can keep fresh for longer. These are gone in your homemade bread!
It’s fun to bake with your family. Have you run out of ideas of what to do with your little ones? Bake with them! It’s a fun family activity, and baking together will teach your kids to be fearless adults in the kitchen!
How to make it (step by step)
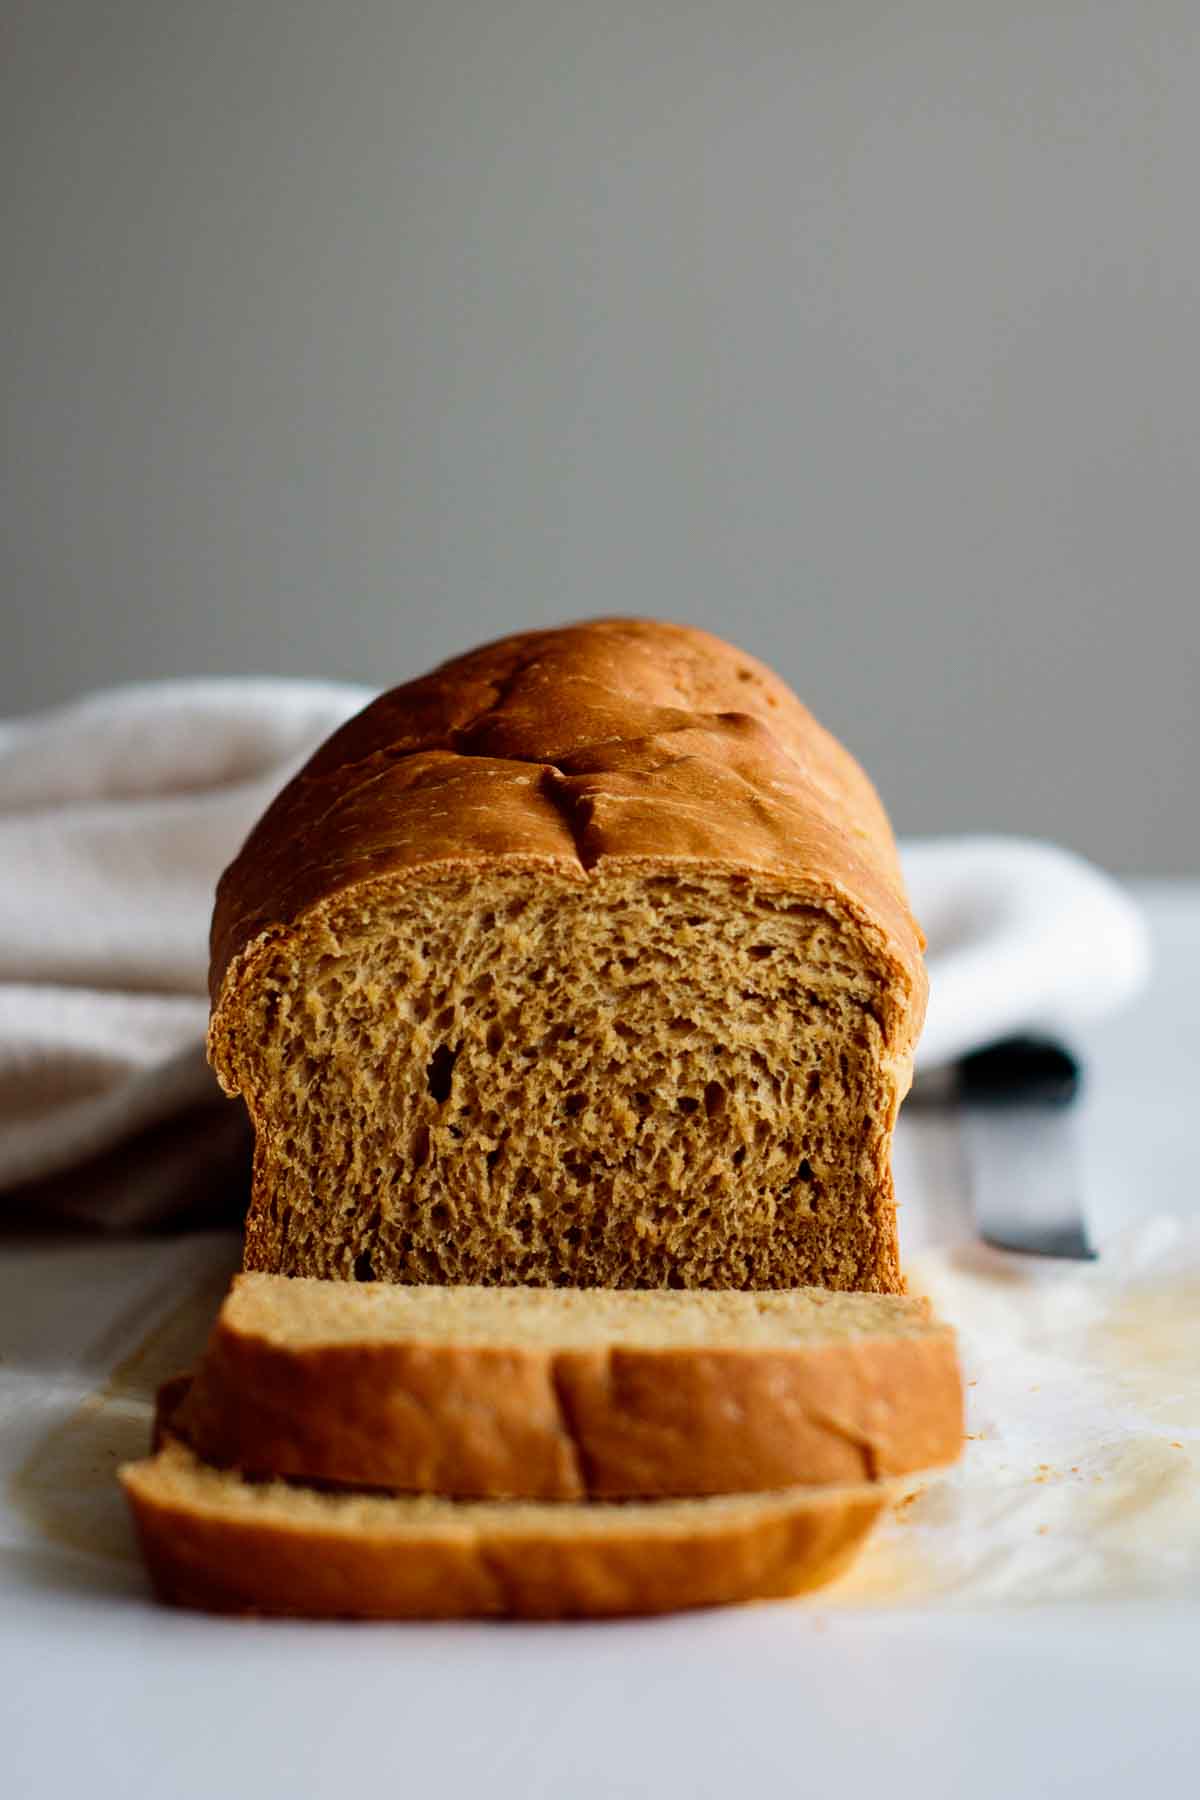
The secret here is to knead real good: that’s what will give you a fluffy, soft bread. If you don’t have a stand mixer or a bread machine, you’ll need to do it by hand.
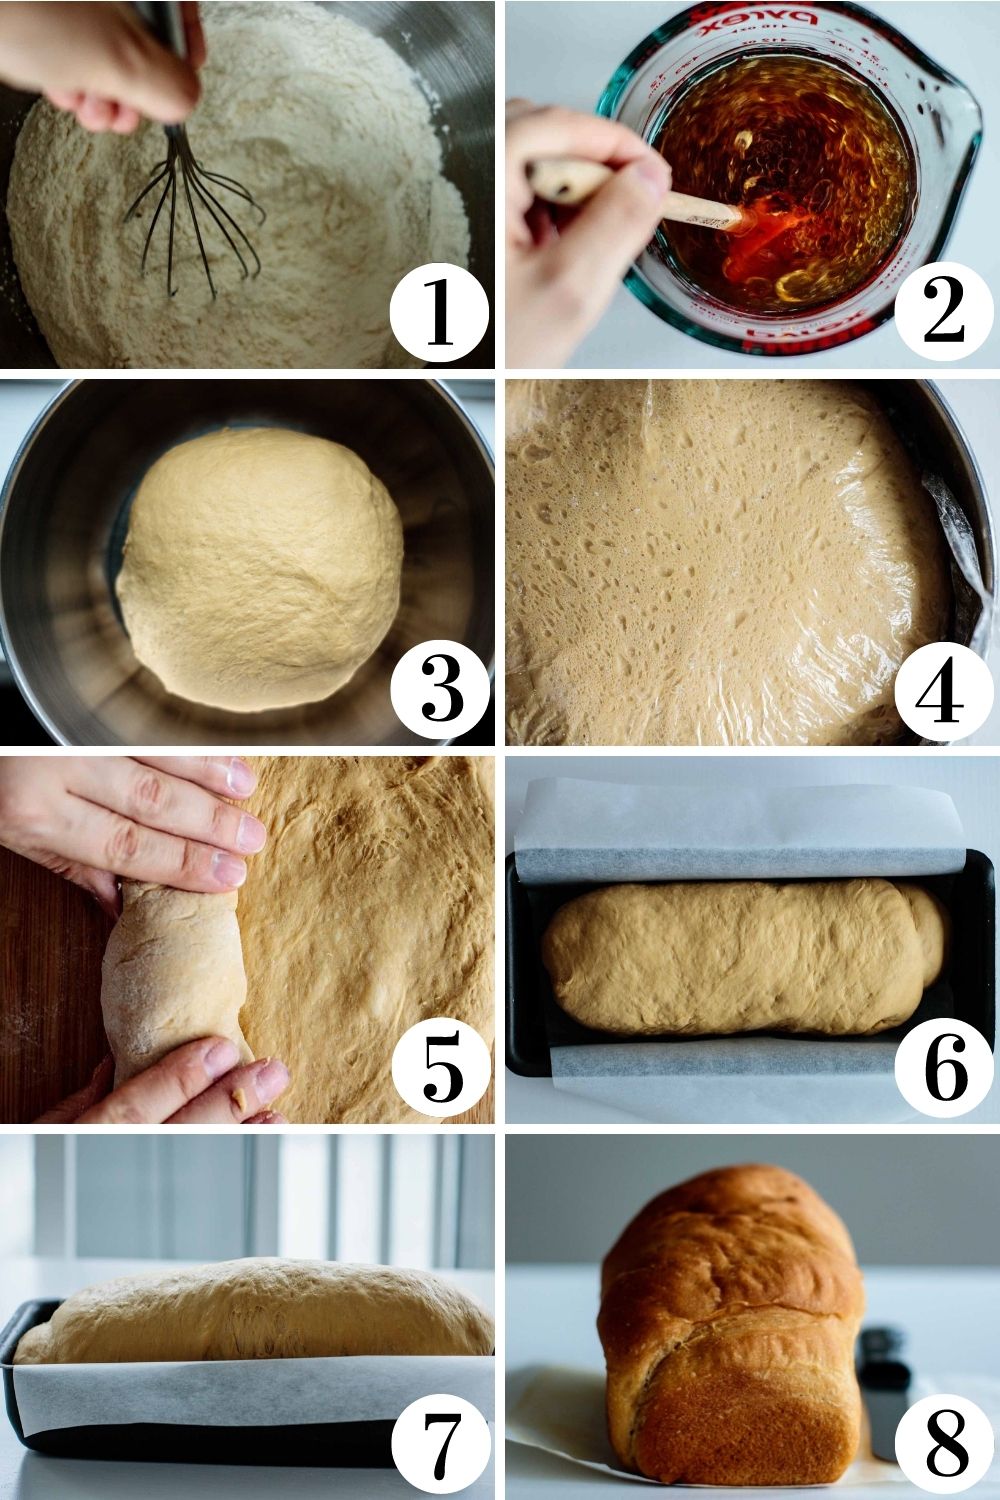
- Start by mixing dry ingredients. In a small bowl, mix water, oil and molasses.
- Mix wet ingredients. In a large bowl, mix flour, yeast and salt. Combine dry and wet mixtures.
- Knead until you get a good windowpane. I’ll show you in the video the dough texture you need to get. Knead for about 14 minutes if doing by hand, and 8 minutes if doing it with your stand mixer. The dough should feel tacky, but should not stick to your hand, and should not tear when stretched.
- Let it rest until it doubles. 1 hour and 30 minutes will usually do. If it’s winter, you may need 2 hours’ rest. Remember to leave the dough covered and in a warm spot.
- Roll the dough. Open the dough in a square, using your hands or a rolling pin.
- Roll the dough over itself and pinch to close. Place it on a loaf pan, lined with parchment paper.
- Let it rise for 1 hour. Yes, 1 hour, or until it doubles in size.
- Bake for 30 to 35 minutes. Bake it until the top is golden brown. It will smell wonderful when done.
PREHEAT YOUR OVEN. I can’t stress this enough: you need to preheat your oven for bread! This loaf is baked in a lower temperature (350°F), so it won’t even take too long to preheat it (usually 15 minutes will do).
Don't forget to let your loaf cool before slicing. The hardest part, I know! It needs to cool for at least 1 hour. Use a cooling rack if you have one.
Having trouble on one of the steps? Watch the recipe’s video below the recipe card.
Tips and tricks to get a perfect bread
Let me tell you a secret: bread baking doesn’t need to be scary! Follow all my tips and get a perfect loaf on your first try.
- You need to knead until you get a good windowpane! Do it and be rewarded with an extra soft sandwich bread.
- Use all-purpose flour. Using all purpose flour gave me a softer bread than using bread flour.
- Don’t rush the second rise. You want the dough to expand all it can, so it won’t grow too much in the oven. That will give you a perfect crust.
- Using lukewarm water is important, especially if you’re baking in the middle of winter or have a cold kitchen. Avoid adding cold water, but also make sure the water is not hot.
- Use instant yeast and skip the proofing part. I always use instant yeast on my recipes, when I’m not baking bread with sourdough.
- The dough will be tacky, but not sticky. If the dough is sticking, add 3 tablespoons to ¼ cup more of flour. Sometimes when the weather is too humid, you may need to adjust the amount of flour.
Ingredients substitutions
All purpose flour. Stay with all purpose for this bread. If you’re looking for a version with whole wheat, substitute 1 cup of all purpose flour for whole wheat flour.
Molasses. You can substitute for maple syrup or honey (non-vegan option). You'll get a sweeter bread if doing so.
Instant yeast. You can use active dry yeast, just don’t forget to proof it if doing so.
Water. You can use a vegan milk if you want, but you can get delicious bread with water only. If you want to use a dairy free milk, I suggest oat milk or almond milk. Just make sure it’s unsweetened and unflavored.
Oil. You can use canola or any vegetable oil. It’s possible to substitute for olive oil. Don’t use peanut oil or coconut oil.
Salt. Prefer to use fine sea salt. Do not substitute or omit this ingredient.
Storing and Freezing
Let the bread cool completely before storing. After cool, place bread on an airtight container or bread keeper. Store away from sunlight, room temperature. It’s good for 5 days.
This recipe freezes wonderfully! It’s better to freeze the bread already sliced. Place the slices in a freezer safe bag, seal it and store in your freezer. It’s good for up to 3 months.
To reheat, just use your toaster or a preheated oven on medium.
More dairy free bread recipes
Looking for more dairy free bread? I’ve got you covered!
Sandwich Rolls
French Baguette
Basic Sourdough Bread
Dutch Oven Beer Bread
📖 Recipe
Dairy Free Bread
Ingredients
- 2 ½ cup all-purpose flour
- 2 teaspoon instant yeast
- 1 ½ teaspoon salt
- 1 cup water
- 3 tablespoon oil
- 2 tablespoon molasses
Instructions
- In a small bowl, mix water, oil and molasses.
- In a large bowl (use stand mixer bowl if kneading with one), mix flour, yeast and salt.
- Combine dry and wet mixtures.
- Using a stand mixer or your hands, knead until you get a good windowpane. See the recipe's video to check the correct dough texture. Knead for about 14 minutes if doing by hand, and 8 minutes if doing it with your stand mixer.
- Let dough rise until it doubles, covered with a damp clean towel or plastic wrap. 1 hour and 30 minutes will usually do. Remember to leave it on a warm spot.
- Open the dough in a square, using your hands or a rolling pin. Then, roll the dough over itself and pinch to close. Place it on a loaf pan, lined with parchment paper. If using plastic wrap to cover, brush oil on top of loaf to prevent it from sticking to the dough.
- Let it rise for 1 hour, or until it doubles in size.
- Bake for 30 to 35 minutes at 350F. Bake it until the top is golden brown.
- Remove from baking pan and let it cool for 1 hour before serving.


Yvonne
I’m impressed with the results I got with this bread recipe. Soft, delicious, slices well. Excellent sandwich bread. Definitely will make again. Thank you! :))
Jocelyn
Just made this bread and it’s a 10/10! So delicious and really the perfect sandwich bread I was hoping for.
Milk and Pop
So glad you liked it, Jocelyn!
Cheyenne
I apparently am low on everything, would corn syrup work in place of molasses?
Milk and Pop
Hey Cheyenne,
I never tried this recipe with corn syrup, but have used it in bread and the ingredient works. I would add only 1 tablespoon, though, as corn syrup is a bit sweeter than molasses, right? Maybe 2 tablespoons of it would make this bread a bit sweeter than if using molasses.
Cheers!
Mimi
I have sensitivities to store bought bread additives and couldn’t find a bakery where the crust and bread would dry up in just two days and don’t freeze well. I’ve also tried making many different sandwich breads without success until this week and I have found it!
I made and followed this recipe as written Sunday night. The only thing I did different was brushed some butter on the crust when it came out of the oven. I’ve come to learn that it helps to keep the crust soft. Fast forward to Wednesday and the bread is just as soft and moist as it was on Sunday! My kids love it just as much. I think this will now be my got to recipe!
Thanks for sharing this amazing recipe! 🙂