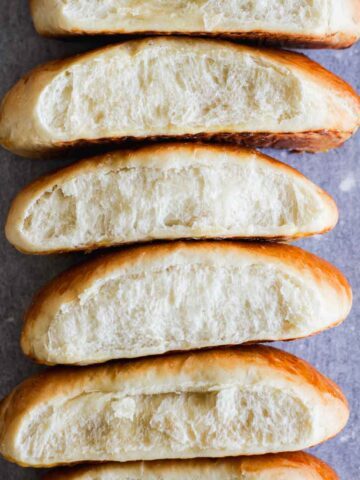
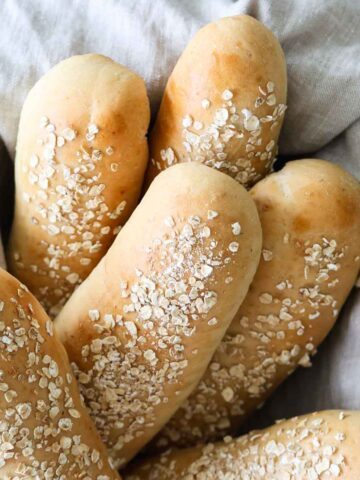
Soft, with a thin golden brown crust and the perfect texture, these amazing sandwich rolls will make their way into your heart (and into your sandwiches) after the first bite.
We all want to improve our cooking game, right? It feels great to be praised when you make something delicious. When someone says our food is worth savoring, it warms our hearts. You smile with joy when your kid asks for seconds—I know you do.
You need to try this bread. This is the bread for that perfect sandwich. The bread you’ll love to spread with butter and eat fresh from the oven. You’ll bake this, and by the next day, there won’t be any left because it’s so addictive to snack on. And, if by chance there are one or two rolls left, 10 minutes in the oven will make them as fresh as ever.
Keep reading: you want to bake this bread, I know you do. Spoiler: it’s super easy—and totally foolproof if you have a stand mixer.
How to make sandwich rolls from scratch
A perfect sandwich roll that has a crusty exterior, and a soft interior that doesn’t crumble. Seems difficult, right? Let me tell you that it’s far, far from it.
You’ll need bread flour for this recipe. You can, by all means, bake these rolls with all-purpose flour, but the final structure will not be the same. I have, however, already baked them using all-purpose, and they were still much better than store-bought rolls. So if you don’t mind, or if all-purpose is all you have at the moment, go for it!
Also, don’t forget to check if the yeast you’re using is instant/quick-rise yeast. If you’re using active dry yeast, you might need to proof it.
For this recipe, you’ll need to combine all the ingredients and mix until dough is formed. If you have a stand mix powerful enough to knead bread dough, use it to knead for 6 minutes (I use number 2 speed). If you don’t have it, or just prefer doing it by hand, knead for 8 to 10 minutes, or until dough is smooth and don’t stick into working surface anymore. If using a stand mix, dough should be smooth and will come out of the bowl easily after 6 minutes.
How to shape sandwich rolls
I think the best part for me of making my own sandwich rolls is that I can shape them the size I want to. If I’m having a party and want them small, I can have them small. If I’m having a Netflix binge-watching party all by myself, I can shape them big enough to fit everything I want in my super-sized sandwich. And if I’m a normal person and want them regular-sized, well, you got the message.
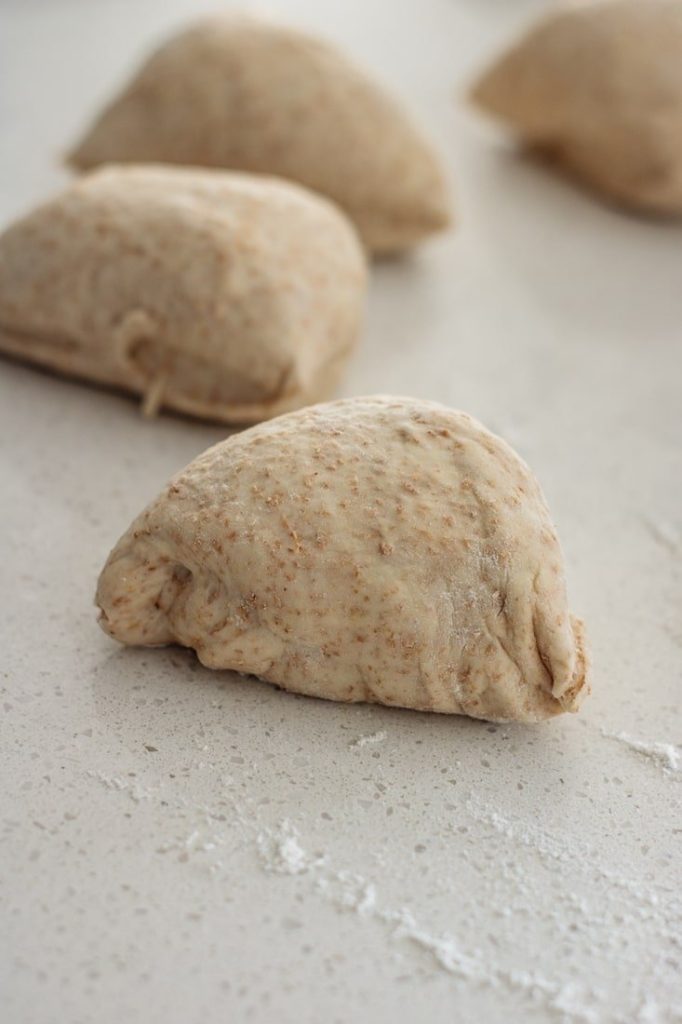

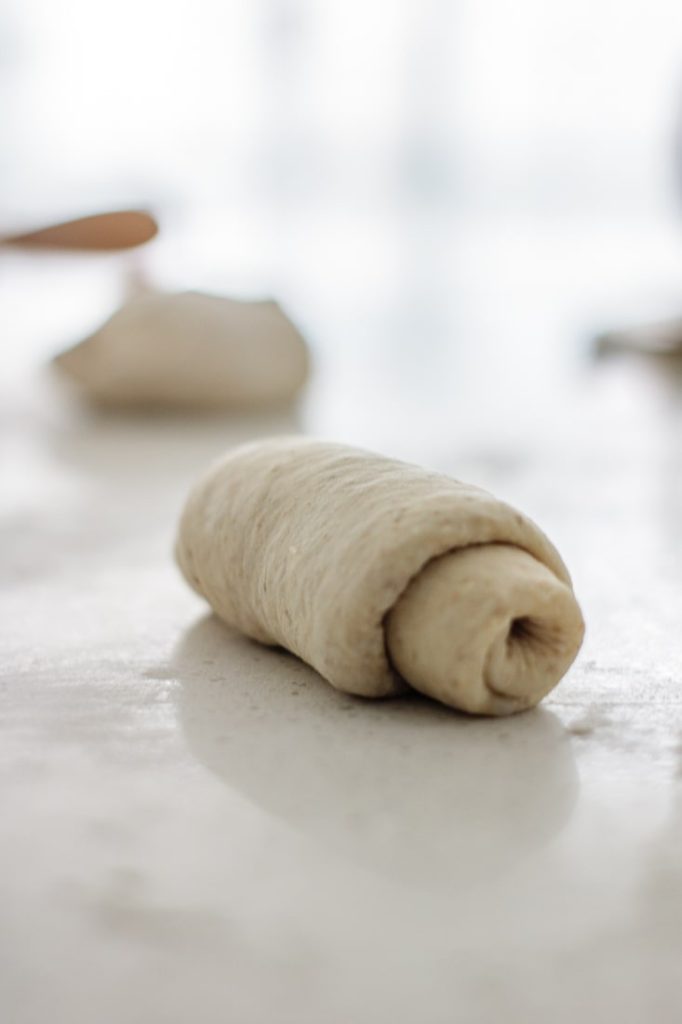
After the dough’s first rest, it will be elastic and super easy to shape. I usually portion this recipe into 12 pieces (18 if I want smaller rolls, 8 if I want bigger ones). Before shaping, don’t forget to flour lightly the surface you’ll be working on. Flatten each portion with a rolling pin, then tightly roll it up. You can tuck in and seal the edges to form an evenly cylinder.
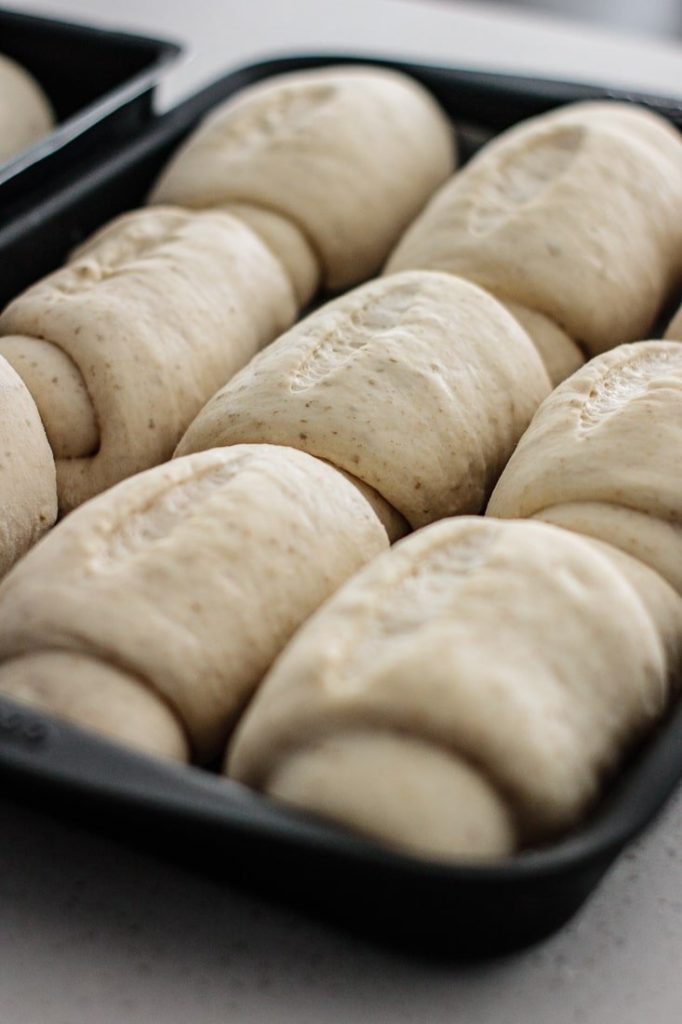
Once shaped, place them into a lined baking sheet for the second rise. I usually line mine with parchment paper and flour it lightly before placing the rolls.

All the secrets to baking the best rolls
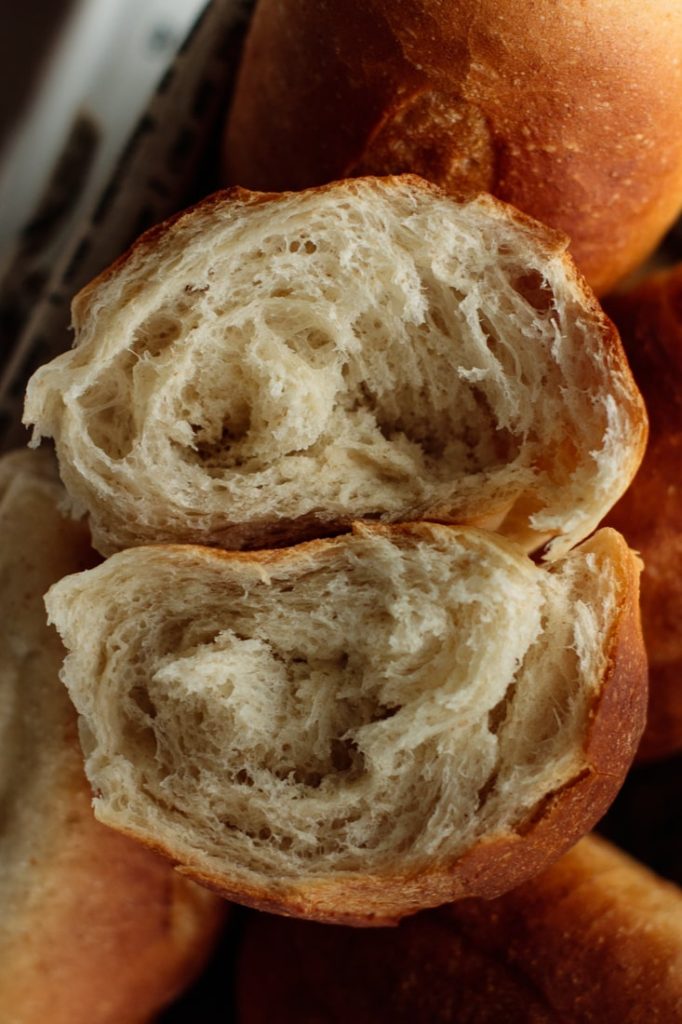
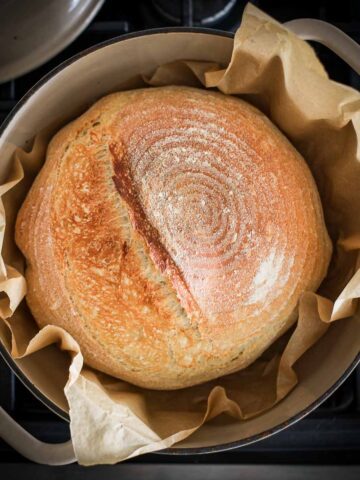
Here’s my game-changing tip: steam. You need to create steam in your oven for these sandwich rolls to become crusty. See that beautiful crust down there? Steam magic.
Start by preheating your oven to its maximum temperature. Preheat it with an empty baking pan on the bottom rack. You’ll fill it with water just before baking your rolls. Preheat your oven for about 30 minutes before starting.
Is your oven fully heated? Carefully add about 1 cup of water to the baking pan on the bottom rack (watch out for the steam—it burns!), and immediately place your rolls onto the middle rack.
Now, lower the temperature to 400°F and bake them for about 15 to 20 minutes or until they’re golden brown on the top.
Although they lose their extra crustiness fairly quickly (about 4 to 5 hours after they’re done baking), I like my rolls extra crusty when they’re out of the oven. I take an additional step that enhances the crust: I spray the rolls with water before putting them in the oven, and again two minutes before taking them out.
These two steps reward me with this:
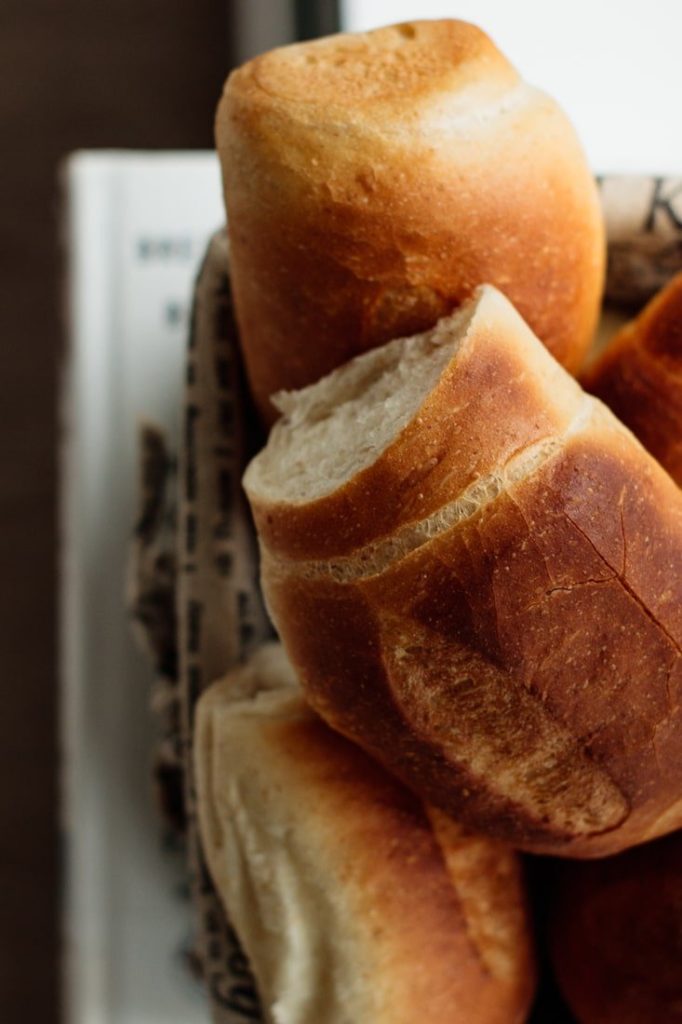
Beautiful, right?
Question you might be asking
Is this recipe vegan?
Yes, it is! Thi recipe makes perfect, crusty and vegan sandwich rolls.
How long will my rolls stay fresh?
For the first 5 hours, the crust will be as crusty as when fresh. The bread stays fresh for up to 4 days if stored at room temperature in a bread keeper. If you want them crusty again, reheat them in a preheated oven at a medium-low temperature for about 5 minutes.
How to freeze sandwich rolls?
Let them cool completely before freezing them. To do so, place them in an airtight bag, seal it and store in your freezer for up to 3 months.
Can I substitute any of the ingredients?
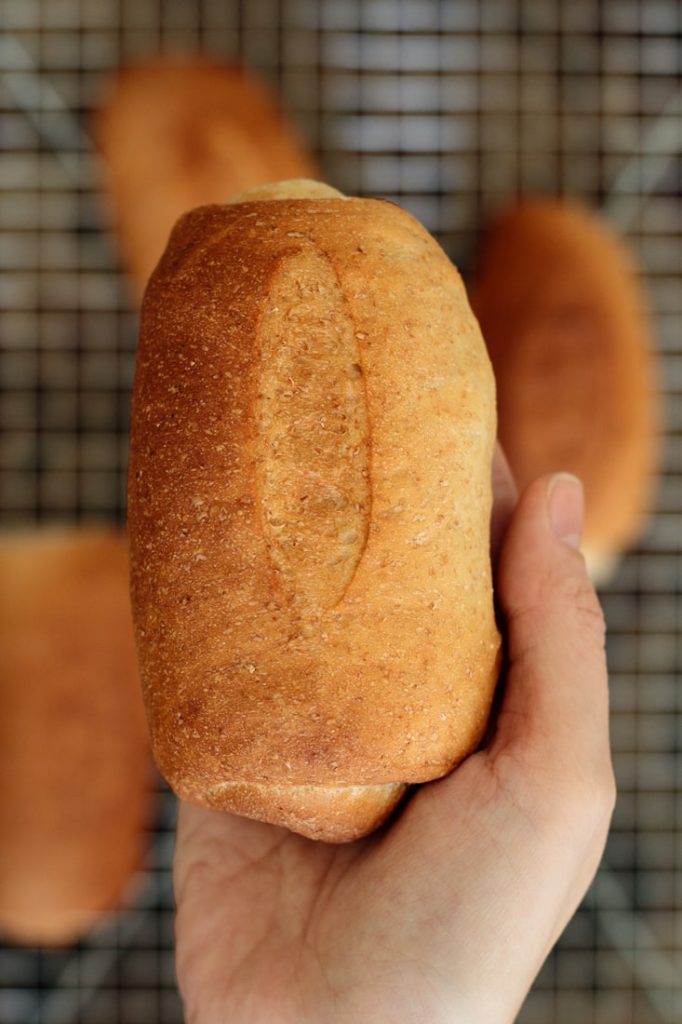
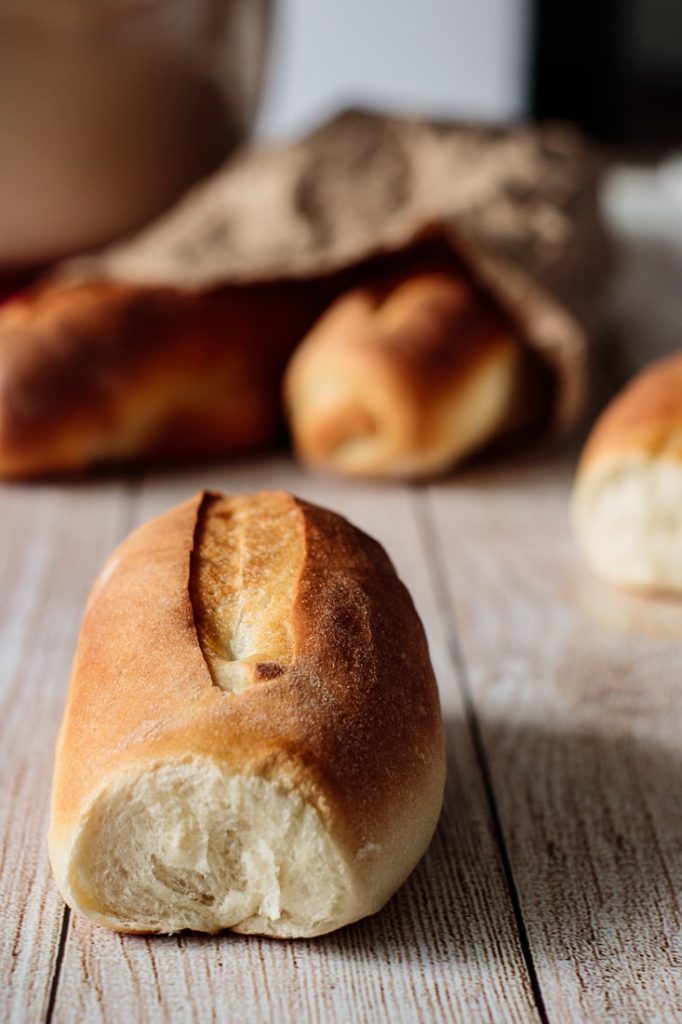
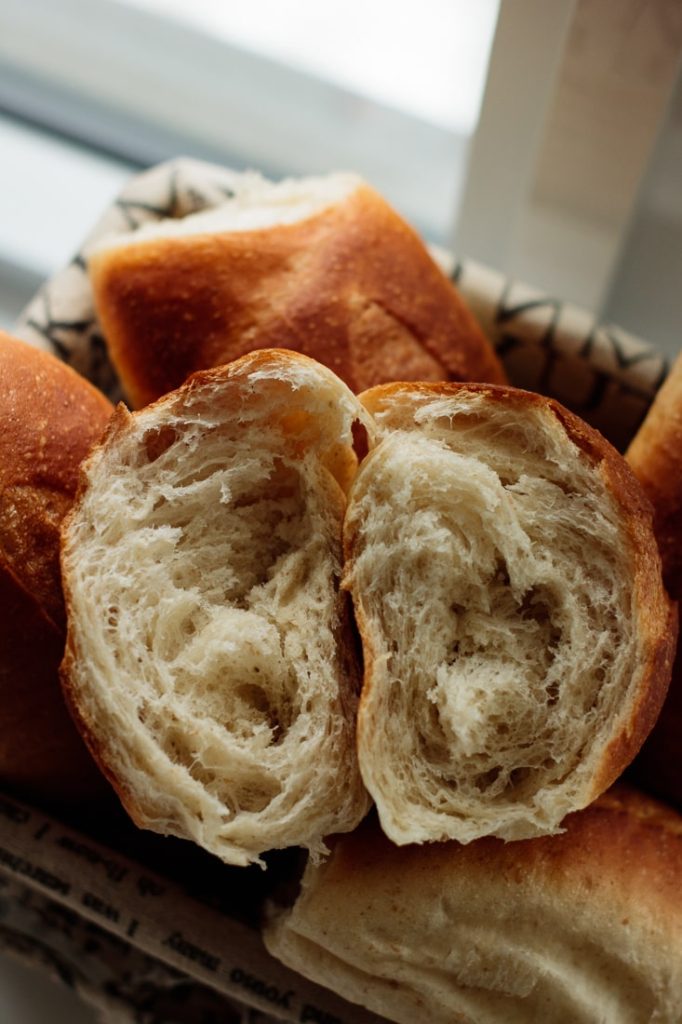
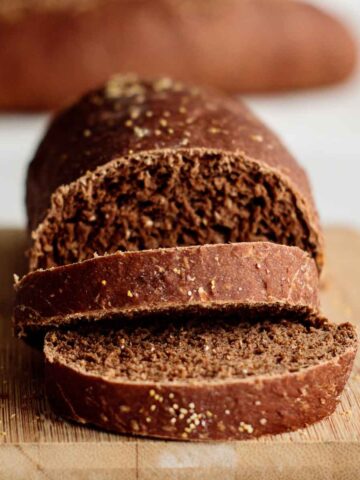
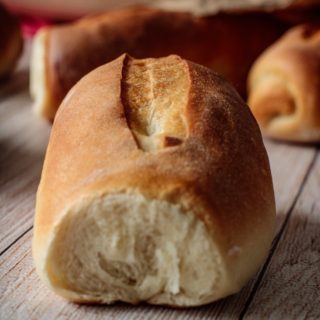
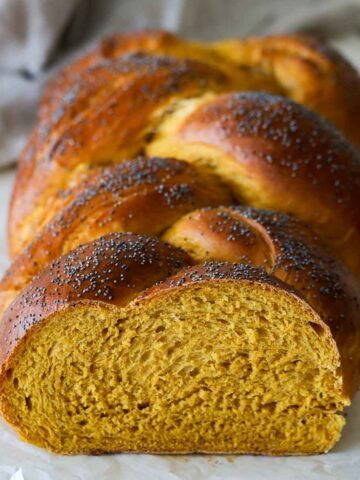
If you want to make this recipe with whole wheat, you can substitute half of the amount of bread flour with whole wheat flour. You can also use all-purpose flour, but skipping completely the bread flour significantly changes the structure. You can see some differences below: in the first photo, there's a whole wheat roll, and in the second, a white bread flour roll.

If you’re making them with active commercial yeast, you might need to proof it. Don’t forget to consider the amount of water you’re using for that, so you don’t add more than the amount asked for in the recipe.
And if by any chance you want to replace commercial yeast with sourdough starter, I use 110g of active culture for this one. Make the recommended changes in the recipe, omit the commercial yeast and don’t forget that rising time and proof time after shaped may differ from the ones in the recipe card.
More Bread Rolls


Have you tried this Sandwich Roll (Pão Frances) Recipe? Please leave a 🌟 star rating in the recipe card below, I'd love to know how it went!
📖 Recipe
Perfect Sandwich Rolls (Pão Francês)
Ingredients
- 4 1/4 cup bread flour *See note (1)
- 1 ⅓ cup water *See note (2)
- 1 tablespoon instant yeast
- ½ tablespoon salt
- ½ tablespoon sugar
Instructions
- In a large bowl, mix the bread flour, yeast, salt, and sugar. Add the water and stir with a spoon or spatula until the dough is formed.
- Knead the dough either in your stand mixer or on a clean, floured surface until smooth and tacky. If using a stand mixer, knead for 6 minutes. If kneading by hand, work the dough for 8 to 10 minutes, or until it is smooth and no longer sticking to the surface. If using a stand mixer, the dough should be smooth and come out of the bowl easily after 6 minutes.
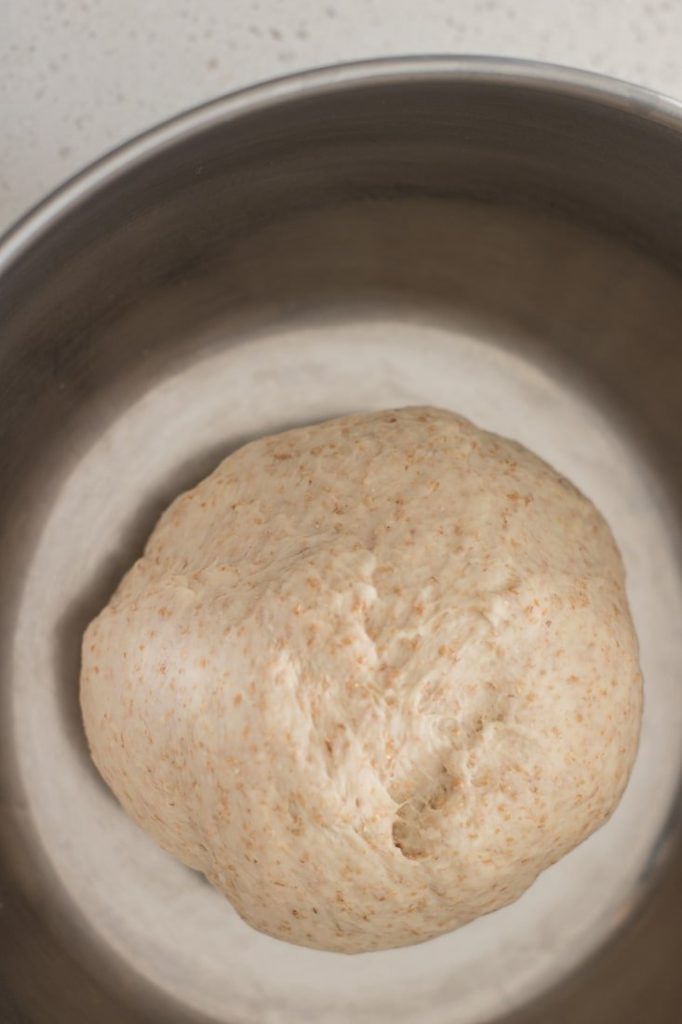
- Transfer the dough to a clean bowl and cover it with plastic wrap or a damp kitchen towel to prevent the surface from drying out. Let it rise for 30 minutes.
- On a clean surface, remove the dough from the bowl and divide it into 8, 10, or 12 pieces. Flatten each piece, then tightly roll it up, tucking in and sealing the edges to form an even cylinder.
- Place the shaped rolls on a prepared sheet pan for the second rise (I usually line mine with parchment paper and lightly flour it before placing the buns). Let the rolls rise for about 1h30m, covered.
- Twenty minutes before baking, preheat your oven to 450°F, with the oven rack in the middle. Place a baking sheet on the bottom shelf as well.
- Just before baking, score the tops of the rolls with a single vertical cut and spray the top of each with water.
- Add 1 cup of water to the heated baking pan on the bottom shelf to create steam, place the rolls on the middle rack, and close the oven door.
- Bake the sandwich rolls for 15 to 20 minutes, or until golden brown on top and sides.
- Optional: 3 to 5 minutes before they are done, open the oven door and spray the rolls once more with water to make them crustier.
- When done, remove rolls from the oven, placing them into a cooling rack. Wait for them to cool for at least 5 minutes before serving.
Shelly
Fantastic recipe! I make it at least once a week and even at 6k ft above sea level it works every time.this bread lover has never been happier,thank you for sharing
Michelle
In the text it says to preheat the oven to the highest temperature and then reduce to 400 degrees, but the recipe says to preheat and bake at 450 degrees. I’m guessing that the recipe directions of 450 are correct, because I used 400 and the bread was not quite done in the middle. No worries, though. I just toasted the roll in the toaster oven, and it was very crusty and good!
Ivory Goodwin
Hi, I just tried the recipe. I followed it with the cups, but I would very much like it if you could repost it with grams that is typically how I bake, but I didn’t want to do it incorrectly so I followed it in cups, but I feel like I would get a better result if it were in grams.
Tatiana Kamakura
Hi Ivory,
Recipe's in both grams and cups in the recipe cards, cheers 😉
Bill Honnold
Can you please provide the ingredients in grams?
Roberto Hradec
Ola Tati!
Can I ask you a question? Are you in the US? Does your bread flour has potassium bromate in the ingredients?
I never saw someone able to bake this type of bread and get that type of "crack" on the crust that I see in one of your photos. It looks EXACTLY like the ones I used to buy in Brazil.
I have been trying to bake this bread for the past 6 months, but I can't get that crust at all, and I even modified my oven to create steam automatically during the bake without opening the oven door, like the commercial ones in Brazil.
A few weeks ago I found out flours in the US still have potassium bromate, which used to be the main ingredient bakeries in Brazil used to make the bread get big and have that cracked crust.
So I'm wondering if the bread flour you have there have bromate in it now... The bread flours here in Canada don't have potassium bromate... not even the dough enhancers I can buy here have it.
Tatiana Kamakura
Hey Roberto,
I’m actually in Canada, and my bread flour does not contain potassium bromate. The “cracked” crust you see in my photos comes from high hydration, steam during baking, and scoring techniques, not bromate. Even without bromate, you can get a similar crust at home by using a wetter dough, creating steam at the start of baking, and scoring just before the loaf goes in. Hope that helps! Cheers 😉