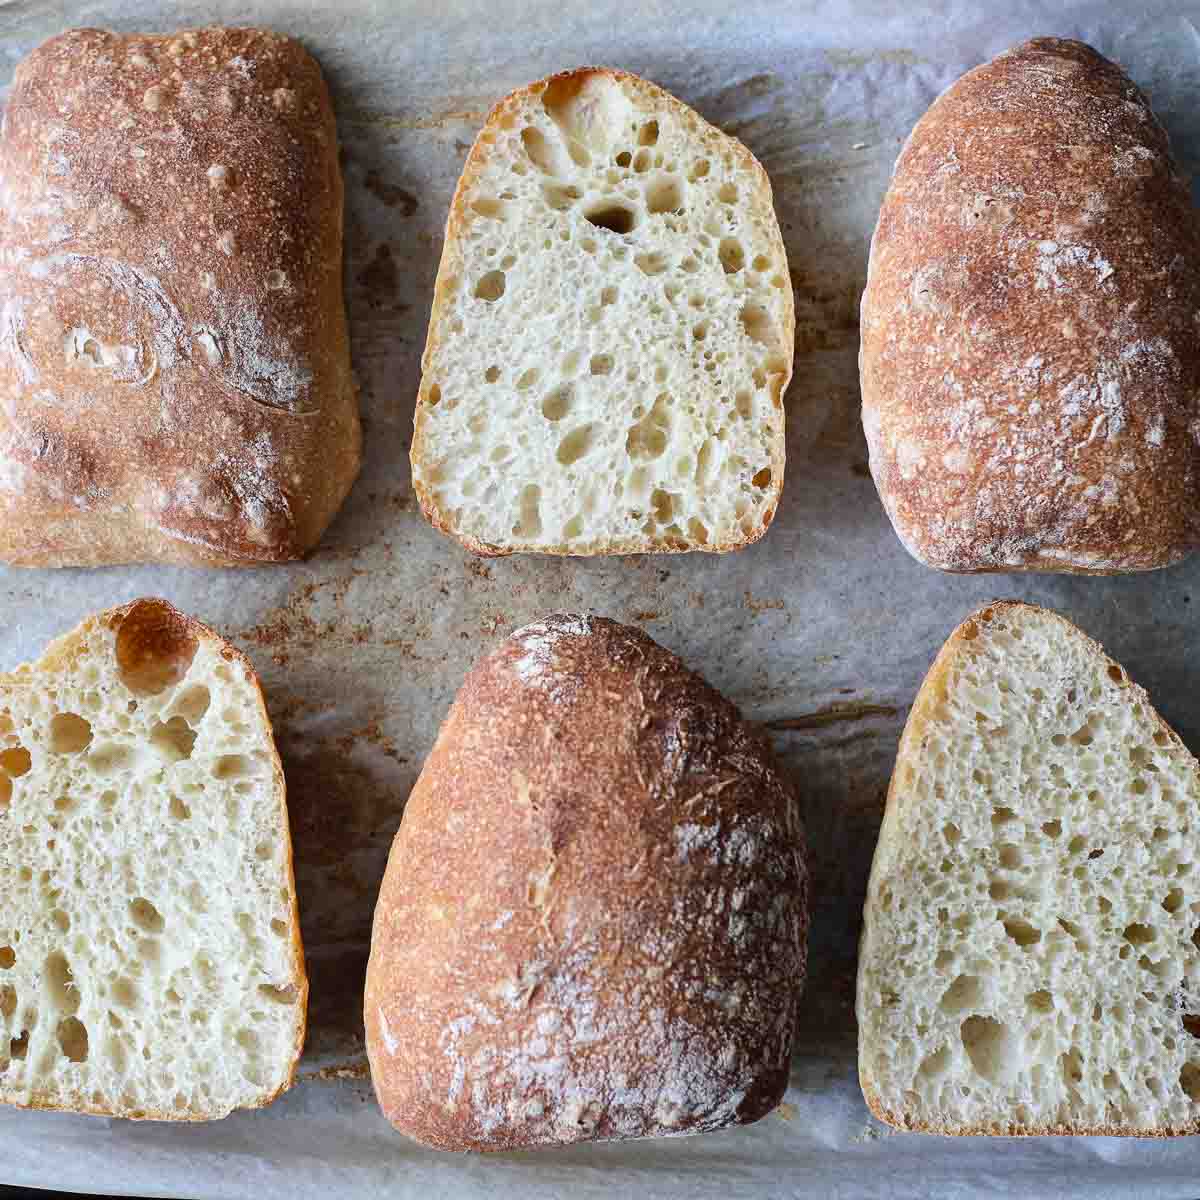
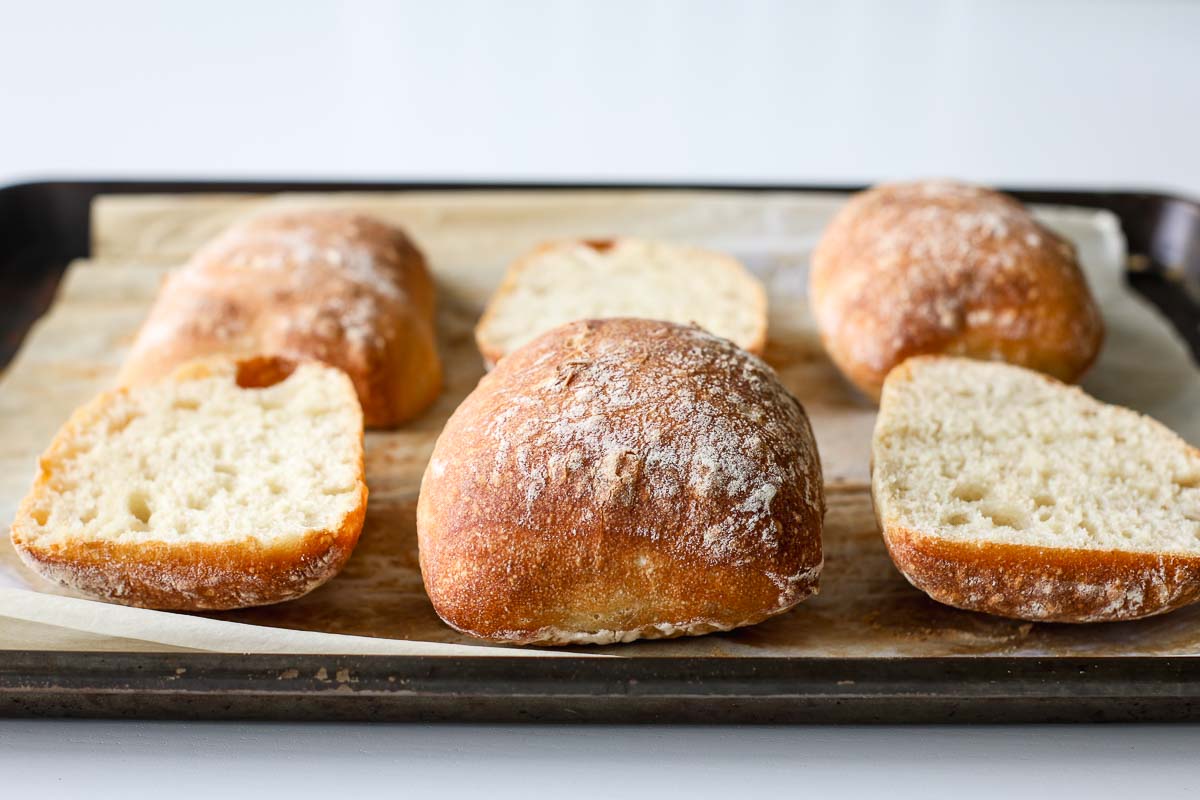
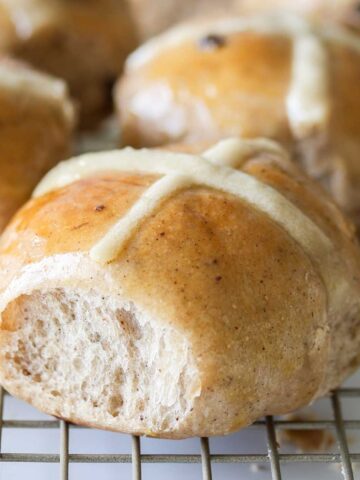
Rustic, chewy, and flavorful bread rolls with a beautiful open crumb, sourdough ciabatta is just as perfect for dipping into your favorite olive oil as it is for building your dream sandwich.
Made with an active sourdough starter, this recipe keeps things simple and beginner-friendly while delivering bakery-style results. Whether you're baking on a stone, steel, or a standard sheet pan, this quick homemade ciabatta is sure to become a favorite in your kitchen.
Jump to:
What makes ciabatta different from other bread?
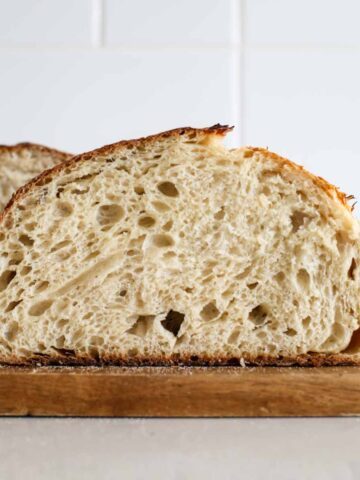
Ciabatta is a rustic Italian bread known for its chewy texture, crisp crust, and signature open crumb. Its name, which means “slipper” in Italian, refers to its flat, elongated shape that somewhat resembles a house slipper. It’s made with a high-hydration dough, which gives the interior its airy texture.
Sourdough ciabatta is a naturally leavened twist on this classic, using wild yeast from a sourdough starter instead of commercial yeast. Like traditional versions, it skips complex shaping and relies on slow fermentation to develop flavor and structure. The result is a loaf that’s both rustic and refined, with a crackly crust, tangy flavor, and an open crumb that makes each bite light yet satisfying.
Ingredients
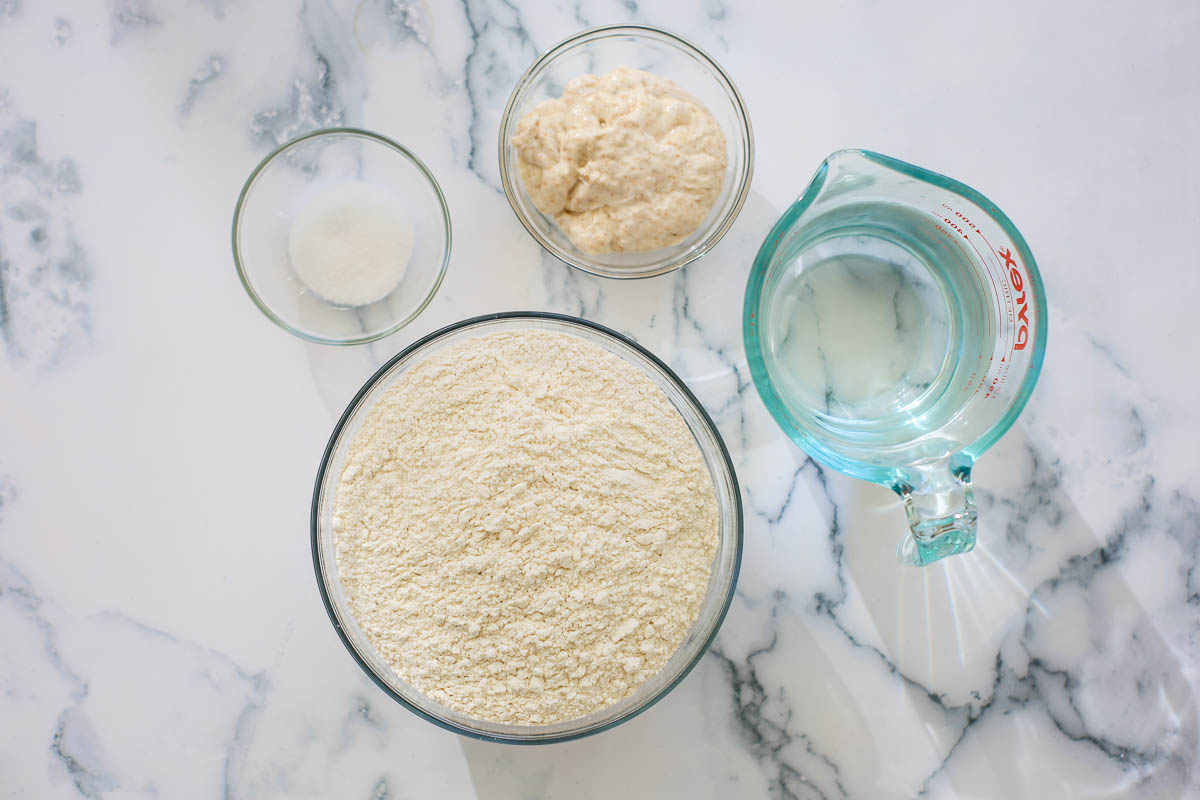
Bread Flour. It’s best to use bread flour for this recipe. A high-protein flour makes the dough easier to handle and gives it a more open crumb than regular all-purpose flour.
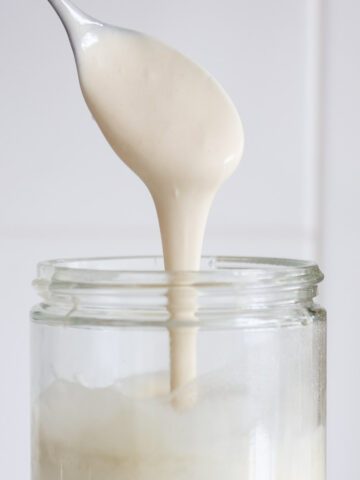
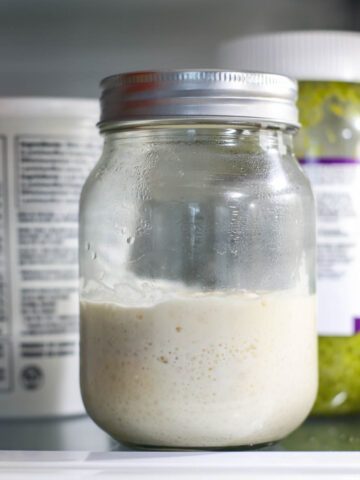
Sourdough Starter. Use an active sourdough starter. You can feed it, wait for it to peak, and use it, or use it straight from the fridge using the “peak and refrigerate” method.
Water. I use tap water in this recipe. When baking with sourdough, I find hard water works better than soft, as it makes the dough less wet, especially helpful when working with high-hydration doughs.
How to Make It
Start by mixing the active starter, water, and bread flour. This is a high-hydration dough, so expect it to be stickier than your regular sourdough.
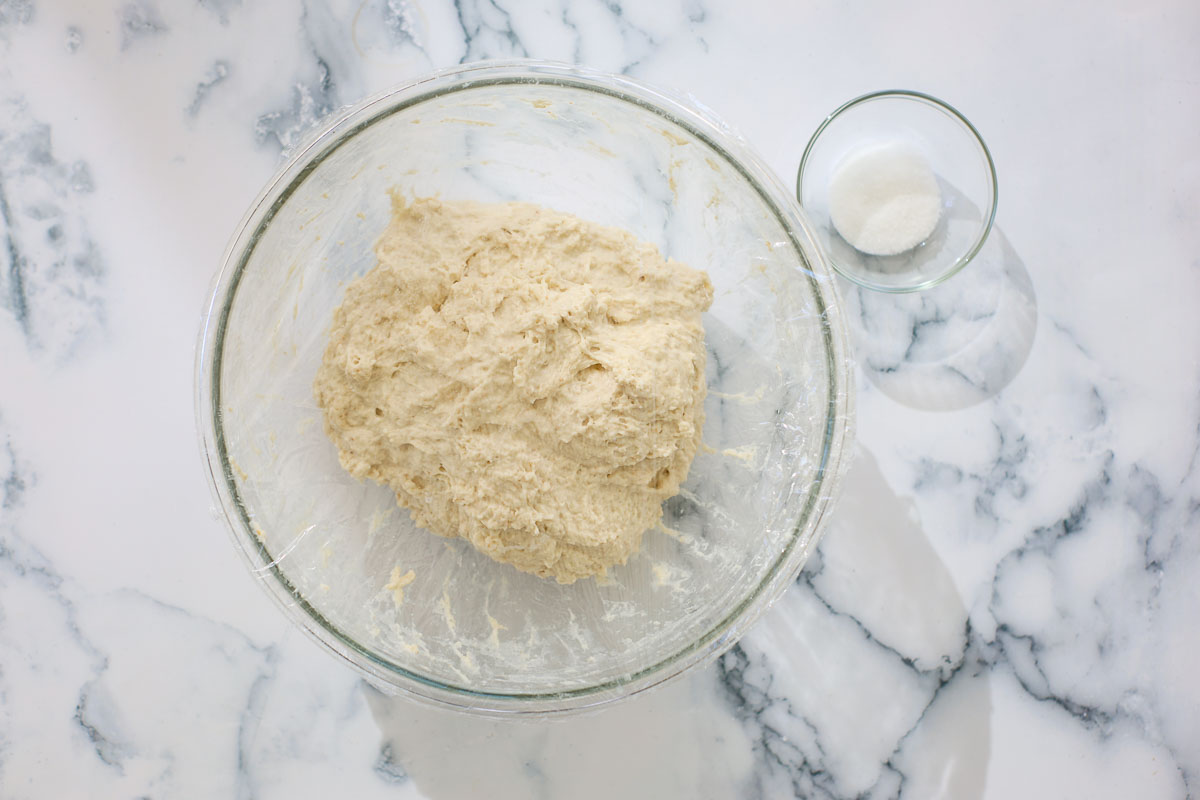
I like to do a 30-minute fermentolyze (mixing all ingredients except the salt and letting the dough rest), then add the salt just before the first stretch and fold. This helps develop gluten, making the dough easier to handle later.
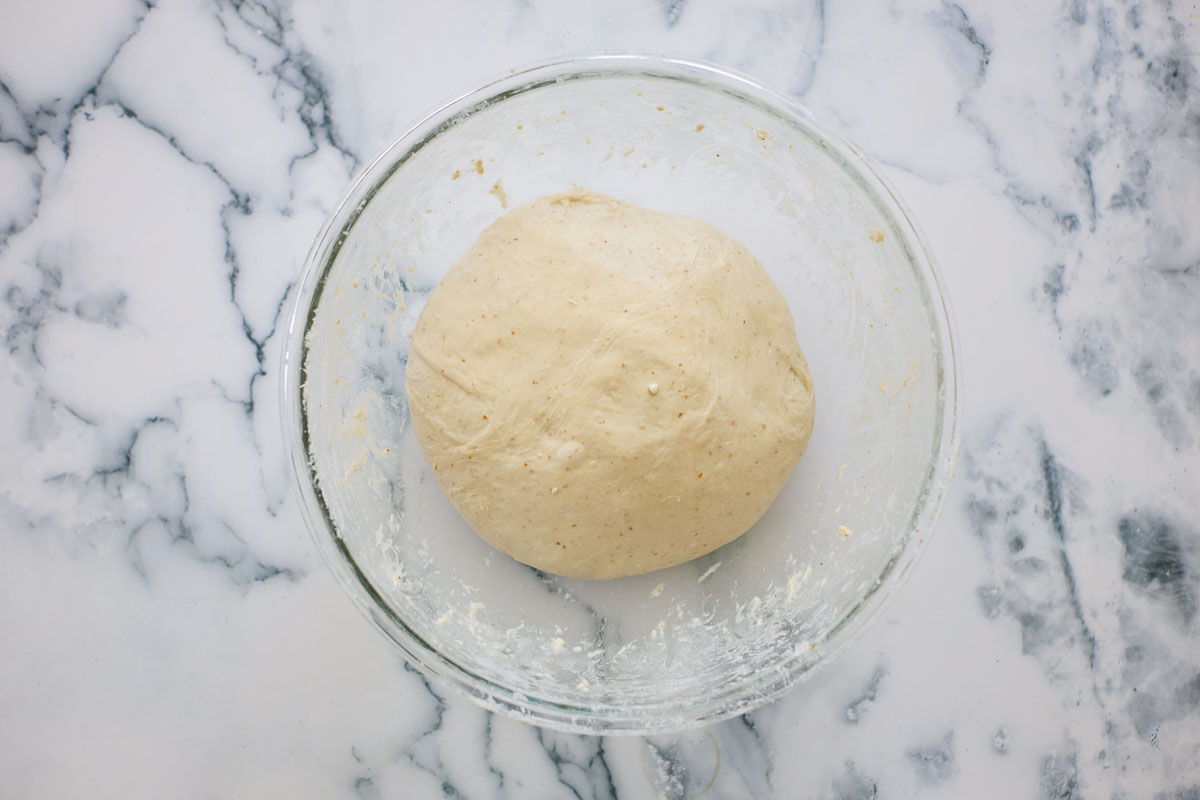
After the fermentolyze, do 5 sets of stretches and folds, spaced 30 to 45 minutes apart. The dough will gradually become less sticky, more elastic, and smoother. In the beginning, it’ll be quite sticky, so wet your hands slightly if you’re having trouble with the folds.
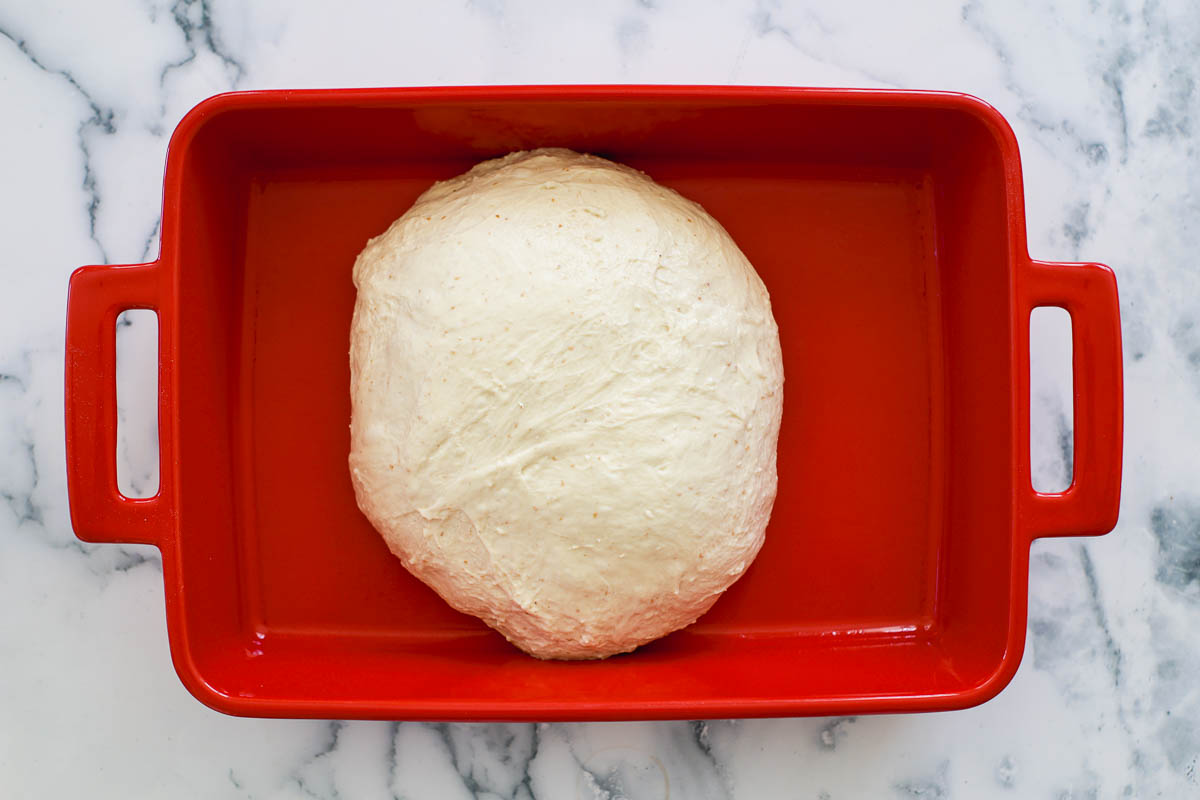
After the last stretch and fold, transfer the dough to a rectangular container, with about 9x13 inches.
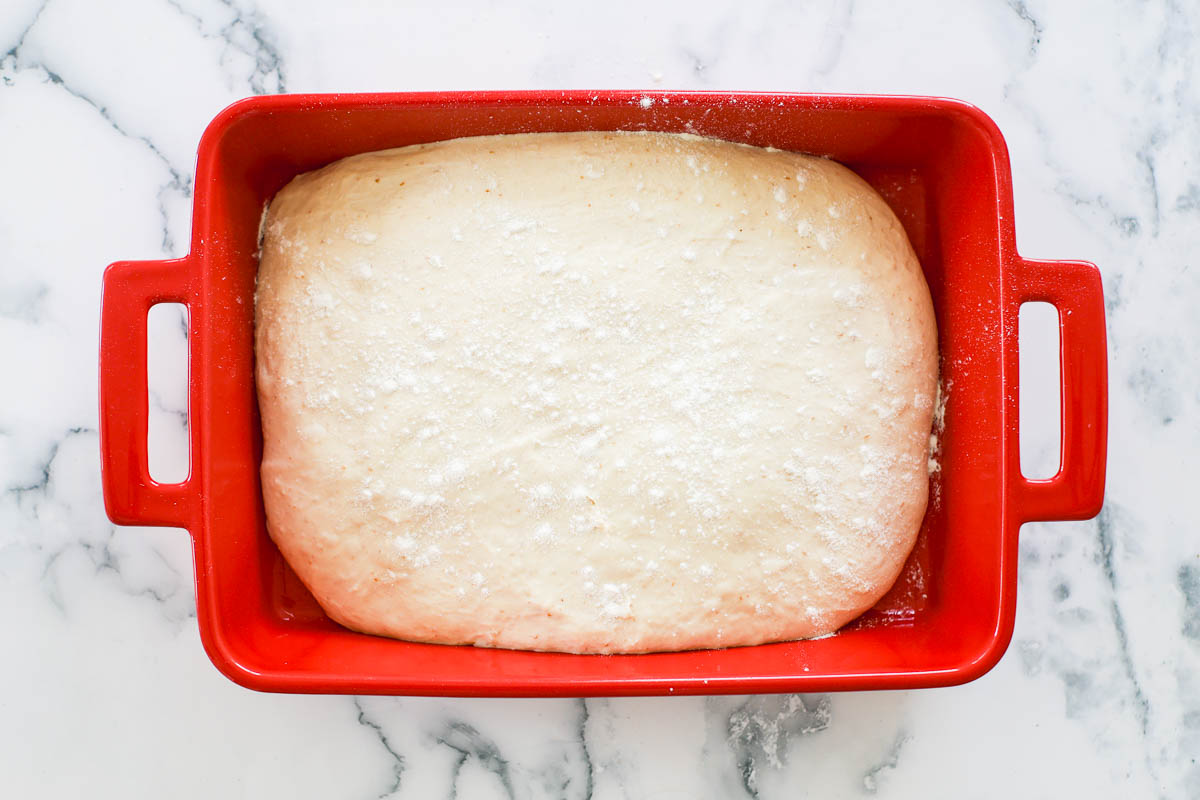
Let it bulk ferment until it’s jiggly and feels light. If you pull it from the container, it should come out without much resistance and no “cobwebs” (a sign of overfermentation).
If my kitchen is between 72°F/22°C and 74°F/23°C, total bulk fermentation time (which starts as soon as the dough is mixed) is about 7–10 hours. If I’m cold-proofing to bake the next day, I let it rise to no more than 85% of its size before placing the dough in the fridge.
How to Shape It
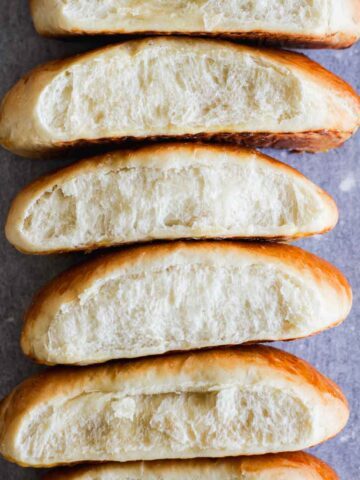
When bulk fermentation is done, flour the top of the dough and a clean work surface. Turn the container upside down and let the dough gently fall onto the floured surface. Handle it as little as possible to preserve the air bubbles developed during fermentation, this gives you ciabattas with a beautifully open crumb.
Shaping ciabatta is easy, but it can feel tricky if you’ve never worked with high-hydration dough. You don’t really shape it, you just cut the dough and gently place it on floured parchment paper.
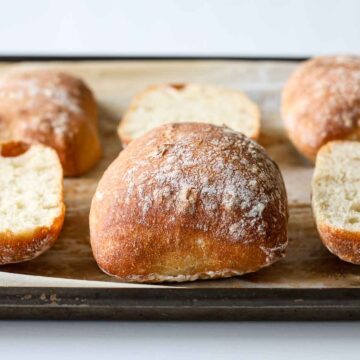
Once the dough is on the counter, only stretch it if necessary. If it already has a decent rectangular shape, flour the top (which was the bottom during fermentation), and use a bench knife to divide the dough into 6 or 8 portions. Press the knife down and shake gently until the dough tears completely beneath it. If you’re unsure, watch the video to see how I do it.
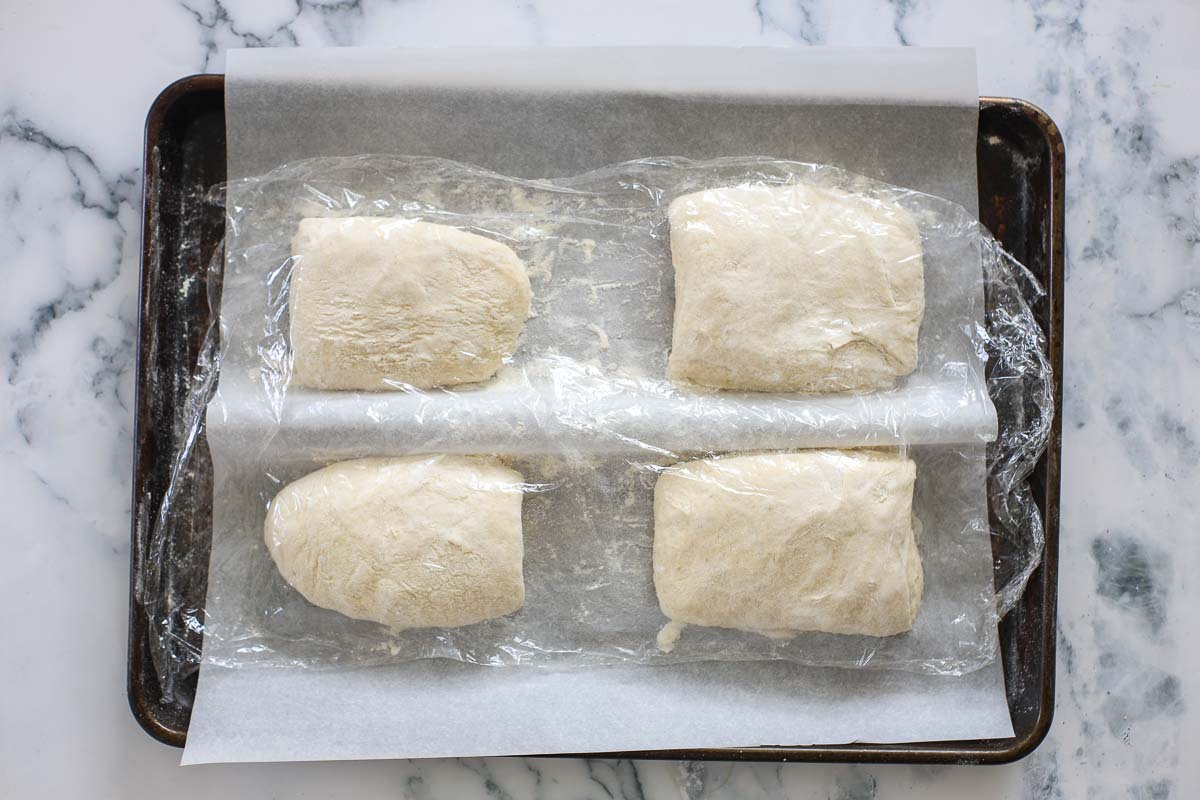
Line a sheet pan with parchment paper, flour it lightly, and gently transfer each ciabatta onto it, spacing them 1 to 2 inches apart so they don’t touch when baking.
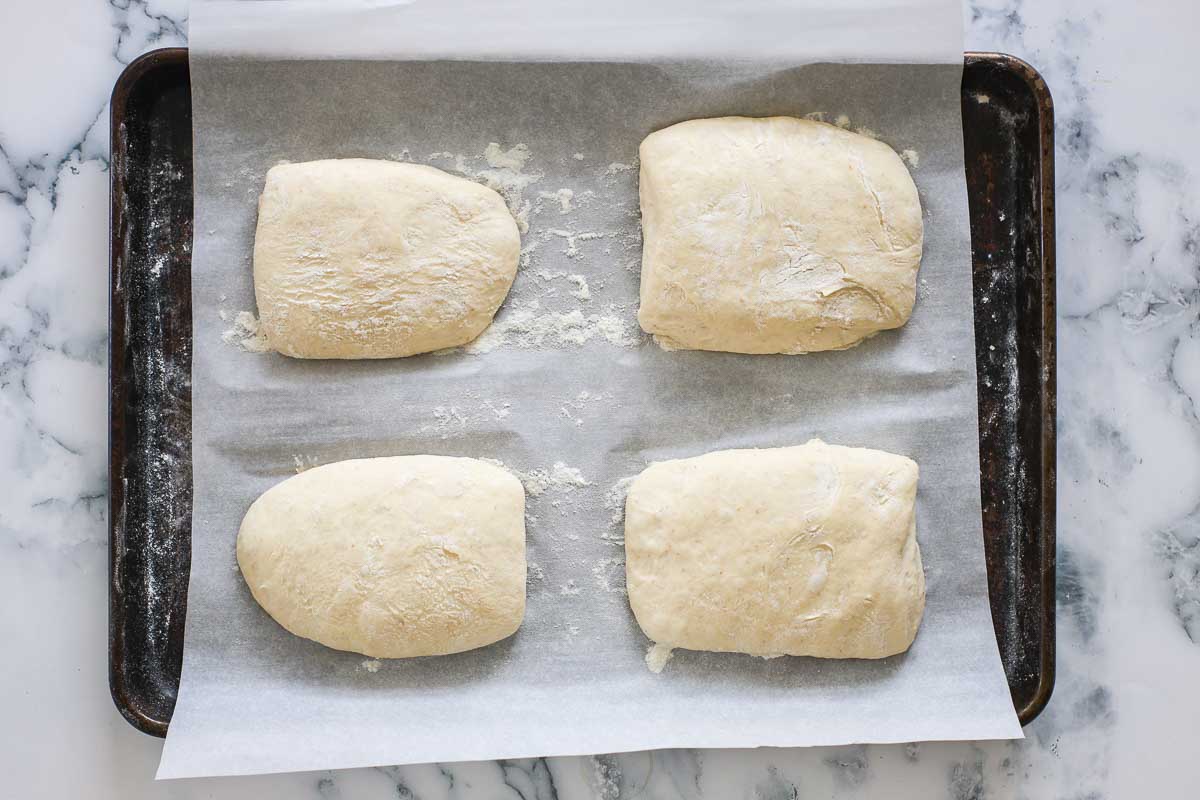
Let them proof for at least one more hour, or until they’re jiggly, airy-looking, and soft. This might take longer on cold days. In summer, or if your dough was fully proofed when divided, keep a close eye.
Bake the ciabattas in a preheated oven at 450°F/230°C for 25 minutes, or until golden brown on top. Let them cool for 10 minutes before serving.
Quick Same-Day Schedule
Feed your starter the night before or use it straight from the fridge if it was fed and refrigerated 5–6 days prior.
- 8:00 AM – Mix the dough + Fermentolyze
- 8:30 AM – Add salt + Stretch & Fold 1
- 9:00 AM – Stretch & Fold 2
- 9:30 AM – Stretch & Fold 3
- 10:00 AM – Stretch & Fold 4
- 10:30 AM – Stretch & Fold 5 + Transfer to rectangular container
For quicker fermentation, place the dough in the oven with the light on or use the proofing function—just don’t let it exceed 84°F/29°C. - 1:00 PM – Divide + Second proof
- 3:00 PM – Bake
Overnight Bulk Fermentation Schedule
Assuming your kitchen is between 62°F/17°C and 68°F/20°C overnight. If warmer, halve the amount of starter used to prevent overfermenting the dough.
- 8:00 PM – Mix the dough + Fermentolyze
- 8:30 PM – Add salt + Stretch & Fold 1
- 9:00 PM – Stretch & Fold 2
- 9:30 PM – Stretch & Fold 3
- 10:00 PM – Stretch & Fold 4
- 10:30 PM – Stretch & Fold 5 + Transfer to container
- 7:00 AM – Divide + Second proof
- 9:00 AM – Bake

Expert Tips
- If cold-proofing, use a container with a lid to store the dough in the fridge.
- When cold-proofing, let the dough rise about 75–85% depending on temperature, then shape it the next morning or afternoon.
- You can flour the dough for shaping with rice flour or Einkorn if you’re gluten-sensitive.
- I like to use a stand mixer to mix the dough and add the salt after fermentolyze. Use the dough hook on low speed.
- To make ciabatta dinner rolls, cut the dough into 12 to 16 squares. Follow the same proofing and baking instructions.
- If substituting some bread flour with whole wheat, don’t exceed ⅓ of the total flour for best results. The crumb may be slightly less open.
Storing and Freezing
Ciabattas will stay fresh for about 5 days if stored properly. Keep them in a bread box or similar container, away from direct sunlight.
To freeze, let the ciabattas cool after baking, then place in a freezer-safe bag. They’ll keep for up to 3 months.
More Sourdough Recipes


📖 Recipe
Sourdough Ciabatta Bread Rolls Recipe
Equipment
- 1 Sheet pan
- Parchment paper
Ingredients
- 110 g active starter
- 380 g water for US measurements, consider 1 ½ cups plus 1 ½ tbsps of water
- 12 g salt
- 500 g bread flour
Instructions
- Start by mixing the active starter, water, and bread flour.
- Do a 30-minute fermentolyze, then add the salt just before the first stretch and fold. This helps develop gluten, making the dough easier to handle later.
- After the fermentolyze, do 5 sets of stretches and folds, spaced 30 to 45 minutes apart. The dough will gradually become less sticky, more elastic, and smoother.
- After the last stretch and fold, transfer the dough to a rectangular container (about 9x13 inches). Let it bulk ferment until it’s jiggly and feels light. If you pull it from the container, it should come out without much resistance and no “cobwebs”.
- When bulk fermentation is done, flour the top of the dough and a clean work surface. Turn the container upside down and let the dough gently fall onto the floured surface. Handle it as little as possible to preserve the air bubbles developed during fermentation.
- Once the dough is on the counter, only stretch it if necessary. If it already has a decent rectangular shape, flour the top (which was the bottom during fermentation), and use a bench knife to divide the dough into 6 or 8 portions. Press the knife down and shake gently until the dough tears completely beneath it. If you’re unsure, watch the video to see how I do it.
- Line a sheet pan with parchment paper, flour it lightly, and gently transfer each ciabatta onto it, spacing them 1 to 2 inches apart so they don’t touch when baking. Let them proof for at least one more hour, or until they’re jiggly, airy-looking, and soft. This might take longer on cold days. In summer, or if your dough was fully proofed when divided, keep a close eye.
- Bake the ciabattas in a preheated oven at 450°F/230°C for 25 minutes, or until golden brown on top. Let them cool for 10 minutes before serving.

Mary
Hi from South Africa 🙂 I just baked them, they came out lovely.
I was worried, as I fermented overnight in the fridge, and there was a slight webbing when I turned out the dough on the counter, but they rose beautifully in the oven
It's quite hot here, so I let them rise only half an hour, before baking.
Thanks for the great recipes.
Tatiana Kamakura
Hi from Canada, Mary! So glad you like them and everything went ok!
Thanks for trying them, cheers!