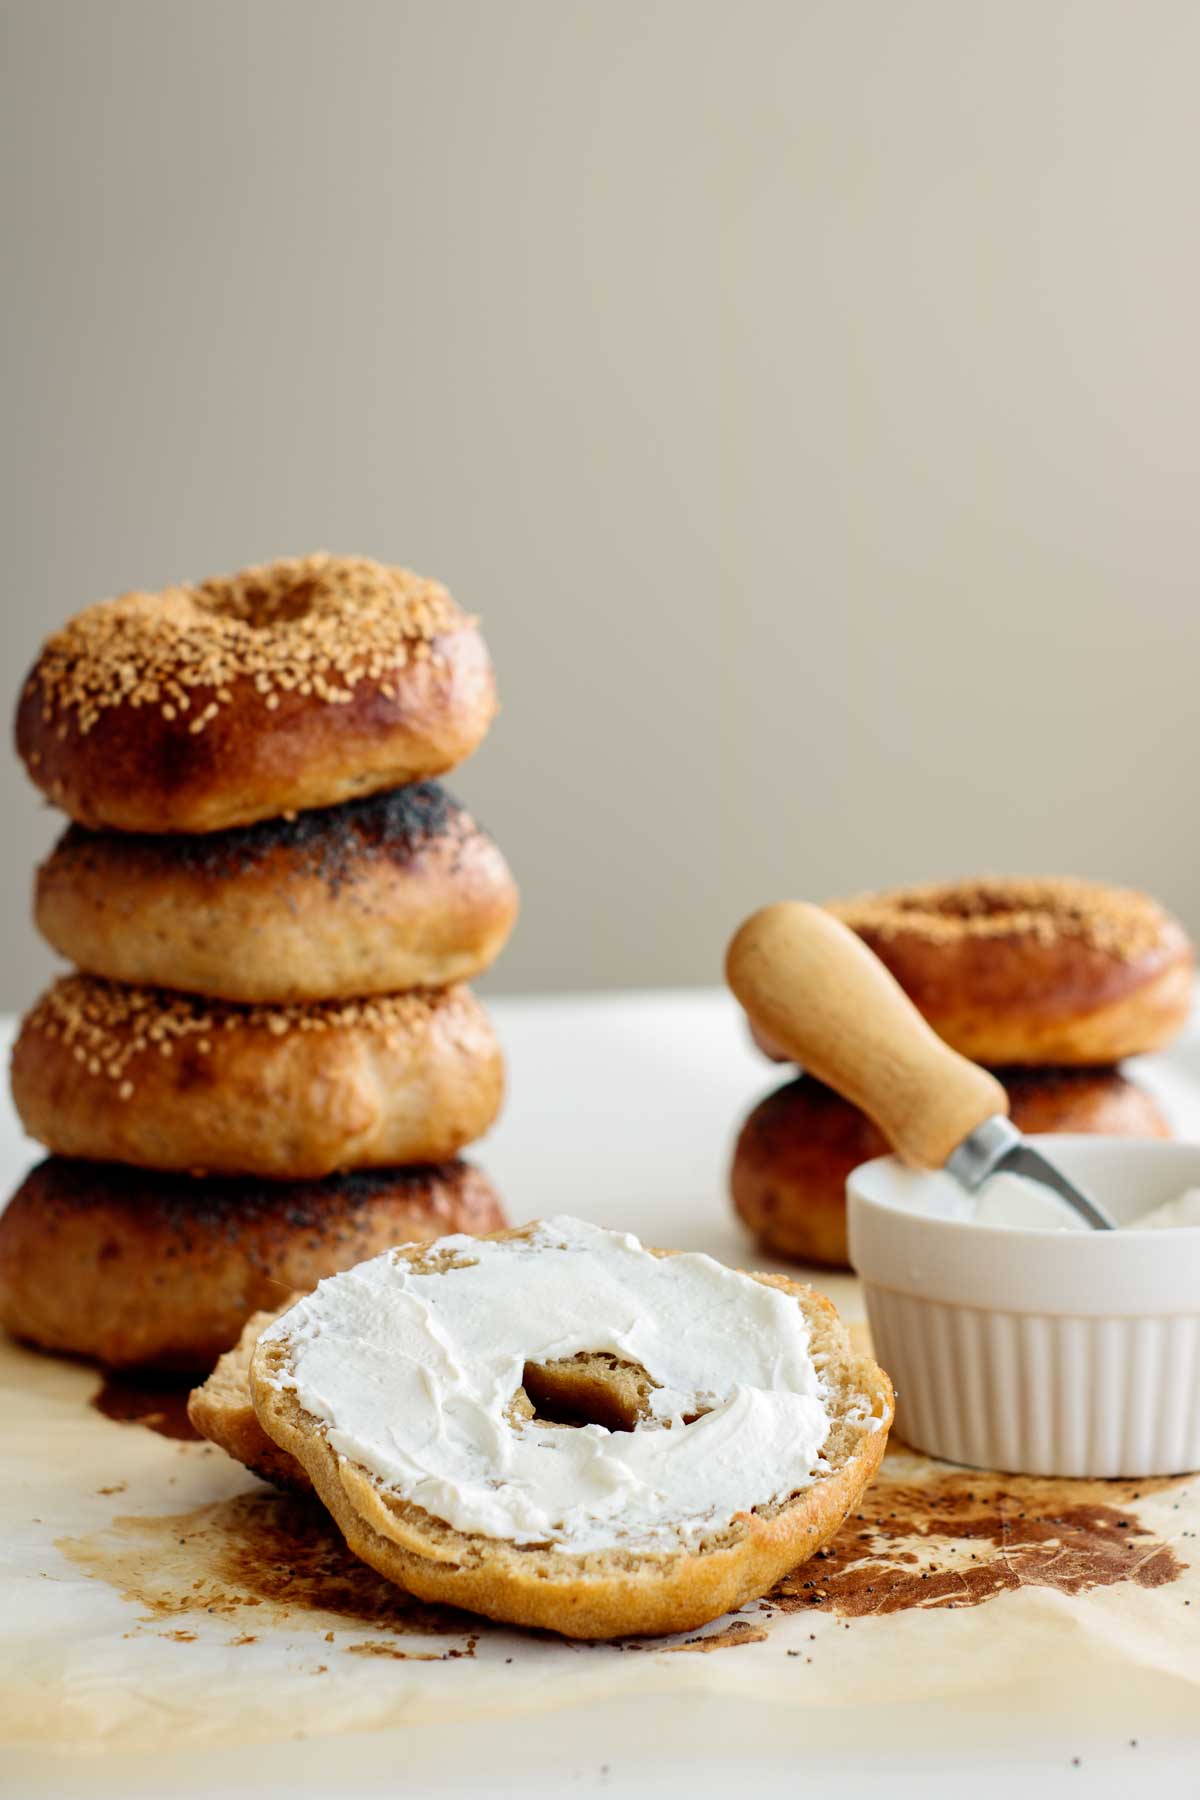
Chewy and crusty, with a deep flavor that only sourdough bread can give you, these Sourdough Bagels are worth the extra time! With simple ingredients and a step-by-step video, I promise you the best ever homemade bagel.
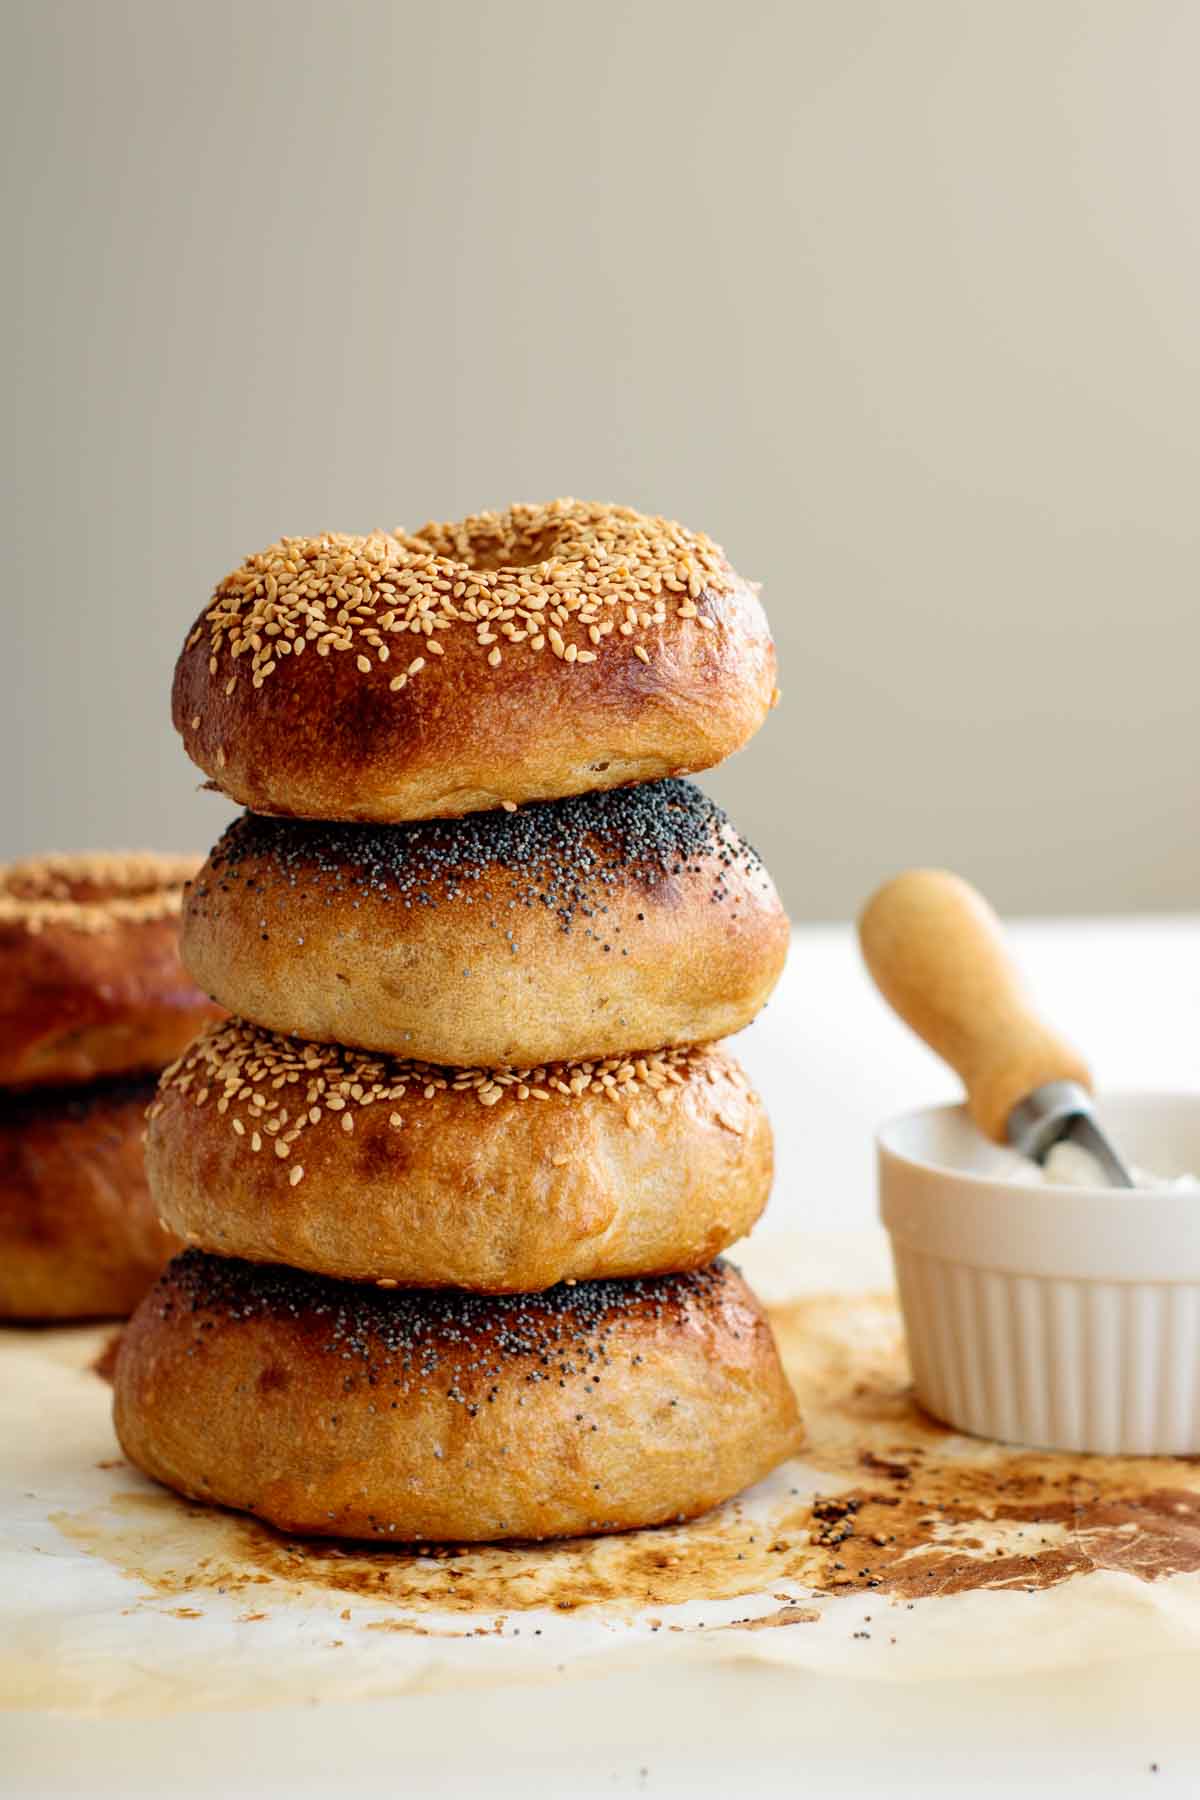
I know a few people afraid of making bagels at home. They look so difficult to make! Well, let me tell you: they only look difficult. After the first time baking one, you’ll agree with me!
This bagel is made using sourdough starter, so if you still don’t have one, I can teach you how to grow your own here. Looking for a bagel recipe without sourdough? My pumpkin bagel recipe always works and makes a chewy and crusty bagel as good as this one!
Baking Schedule
Let’s talk about how much time you’ll need to get your new favorite bagel.
Quick note about feeding. Usually I feed my starter only once, but mine is VERY active. I don’t know how your starter behaves, so I recommend feeding it twice before beginning. If you’re baking with sourdough for long, you probably know your starter and how many times it needs to be fed before a recipe. In that case, follow what you know.
If you’re letting dough rest overnight and are using a refrigerator.
Day 1
Morning - Feed your sourdough starter. I feed it about 8 hours before starting the recipe, as I know after feeding my starter reach its peak in about 6 to 8 hours. So let’s say I’m starting the dough at 7 PM: I need to feed my starter at 11 AM.
Evening - Make the dough. Put the dough together and let it ferment for at least 1 hour before placing it covered inside your fridge. If the dough is ready by 7 PM, let it ferment for 1 hour covered on your counter and place it inside your fridge at 8 PM.
Day 2
Morning - Shape your bagels. You can do it as soon as the dough is out of the fridge, or wait for 1 hour so it gets closer to room temperature and your hands won’t freeze as much. They will need 1 to 3 hours to rise and puff after shaped, so if shaping at 6 AM, they’ll be ready to bake between 7 and 9 AM.
If you’re letting dough rest overnight and leaving it non-refrigerated.
This is good if you have a young starter, or if yours is not very active. I don’t recommend leaving outside your fridge on hot summer nights, as it may easily overproof if temperature gets too high.
Day 1
Afternoon - Feed your sourdough starter. I feed it about 8 hours before starting the recipe, as I know after feeding my starter reach its peak in about 6 to 8 hours. As I’m not using the fridge to slow down fermentation, I’m making the dough later, so it has less chance to overproof during the time I’m asleep. I’m starting the dough at 9 PM: I need to feed my starter at 1 PM.
Evening - Make the dough. Put the dough together and let it ferment covered on the top of a counter. I would not let it ferment for over 9 hours outside the fridge, nor would do it in summer.
Day 2
Morning - Shape your bagels. Shape them as soon as you wake up. My dough started fermenting at 9 PM, so it should be good to shape between 5 and 6 AM. It won’t take as long for them to puff after shaped, usually it takes me about 1 hour. If shaping at 6 AM, bagels should be ready to bake between 7-8 AM.
If you want to start in the morning to get bagels for dinner.
Feed your starter the night before.
This is good if you have a young starter, or if yours is not very active. Great if you’re new to sourdough and are still learning how your starter behaves and have a less busy/more flexible schedule.
Morning - Make the dough. If making at 7 AM, it should be ready to shape between 3-4 PM.
Afternoon - Shape bagels. They should be ready to bake between 4-6PM.
Evening - Bake bagels.
These schedules will work better if you know how your starter works and how active it is. Also, it can vary A LOT if your kitchen is too warm or too cold, so take that into consideration. My kitchen stays in the middle, between 19°C-21°C on normal days.
Also, if you’re using the fridge to slow down fermentation, you can leave the dough there for a lot more than 8 hours (sometimes I let mine ferment for 24 hours, it can be left fermenting for over 36 hours). Adapt the schedule as you need when using the fridge.

Ingredients and Substitutions
Bread flour. Bread flour is what will make your bagel chewy. If substituting for all-purpose, you’ll lose half the chewiness, but it can be done. You can also substitute half the amount of white bread flour for whole wheat flour and still get a nice, chewy bagel.
Sourdough starter. Make sure your starter well fed and at is at its peak when starting the dough. It needs to be active for the recipe to work, specially if you’re refrigerating the dough overnight.
Water. Use filtered, chlorine-free water for better taste and fermentation.
Salt. Don’t forget the salt, as it plays a very important role in fermentation. Fine sea salt if ok for this recipe.
Molasses and honey. I use this combination for my bagels, as it is much easier to find than malt and gives a very similar outcome. If you’re looking for a vegan recipe, you can substitute honey for maple syrup or brown sugar, if maple syrup is hard to find where you live.
Baking soda and brown sugar. You need to add baking soda and brown sugar to the water you’ll use to boil your bagels. Baking soda is responsible for the pretzely taste the crust of your bagel has and also helps with caramelization, as does brown sugar. Brown sugar can be replaced by white sugar.
How To Get A Stronger Sourdough Taste
When making a sourdough bread, it may not always have a strong sourdough taste. Although the taste is also starter-dependant, you can make it stronger by increasing fermentation time.
To do that, you’ll need to refrigerate your dough, as it can be left fermenting for longer without overproofing. So if I’m not in a hurry and I want a stronger sourdough taste on my bagel, I usually start the dough 24 hours before I want to shape it.
That’s why I don shape my bagels the night before. I don’t have that much space in my fridge, so it’s more practical for me to store a bowl on my shelf than a baking sheet full of shaped bagels.
If opting to do a longer fermentation, after 24-36 hours of cold fermentation, shape and bake your bagels as instructed below.
How To Make Them
Let’s make these sourdough bagels together, step-by-step. Watch the video for a more visual explanation, and if you still have doubts, feel free to ask me in the comments!
1. Feed your starter. You’ll need an active starter for this recipe or your dough will not rise, so be sure to feed it before starting. Use your starter when it’s peaking (that’s just before it starts to fall on its jar).
2. Mix the dough. In a large bowl, or the bowl of a stand mixer if using one, mix flour, salt, water, starter, molasses and honey/maple syrup. Mix until all the ingredients are combined and no dry spots remain. Knead for 5 minutes if using a stand mixer, 10 minutes if doing by hand. Place dough in a clean bowl and cover with a damp towel or plastic/beeswax wrap.
3. First rise. Let it rise on a warm spot in your kitchen or place it inside your fridge to rise overnight (or longer if you wish a more developed sourdough taste). If using your fridge, don’t let it rise for longer than 36 hours and cover using plastic/beeswax wrap.
4. Divide dough. After the first rise, the dough should feel soft and lighter. Divide it into 8 pieces. Let it rest for 10 minutes.
5. Shape into balls. Shape each piece into a tight ball. Watch the video to see how I do it.
6. Shape into bagels. Starting by the first ball you’ve shaped, use your thumb to poke a hole straight down through the middle of the dough. Stretch the hole bigger than you want it to be: it will shrink considerably as soon as you place it on the parchment paper, and it will shrink more after the second rise.
7. Second rise. Careful to place each bagel so they have enough space between them and don’t touch when rising. Let bagels rest until they look puffy and feel lighter. It can take 1 to 2 hours for them to be ready, it will all depend of temperature and how active is your starter.
8. Boil bagels. Preheat oven to 450° F. Boil water with baking soda and sugar. Handle bagels carefully now. Gently, grab one by one and boil 45 to 50 seconds each side. You can boil 2-3 bagels per time, it will depend of the size of your pan. Just avoid them touching as that can make them deflate too.
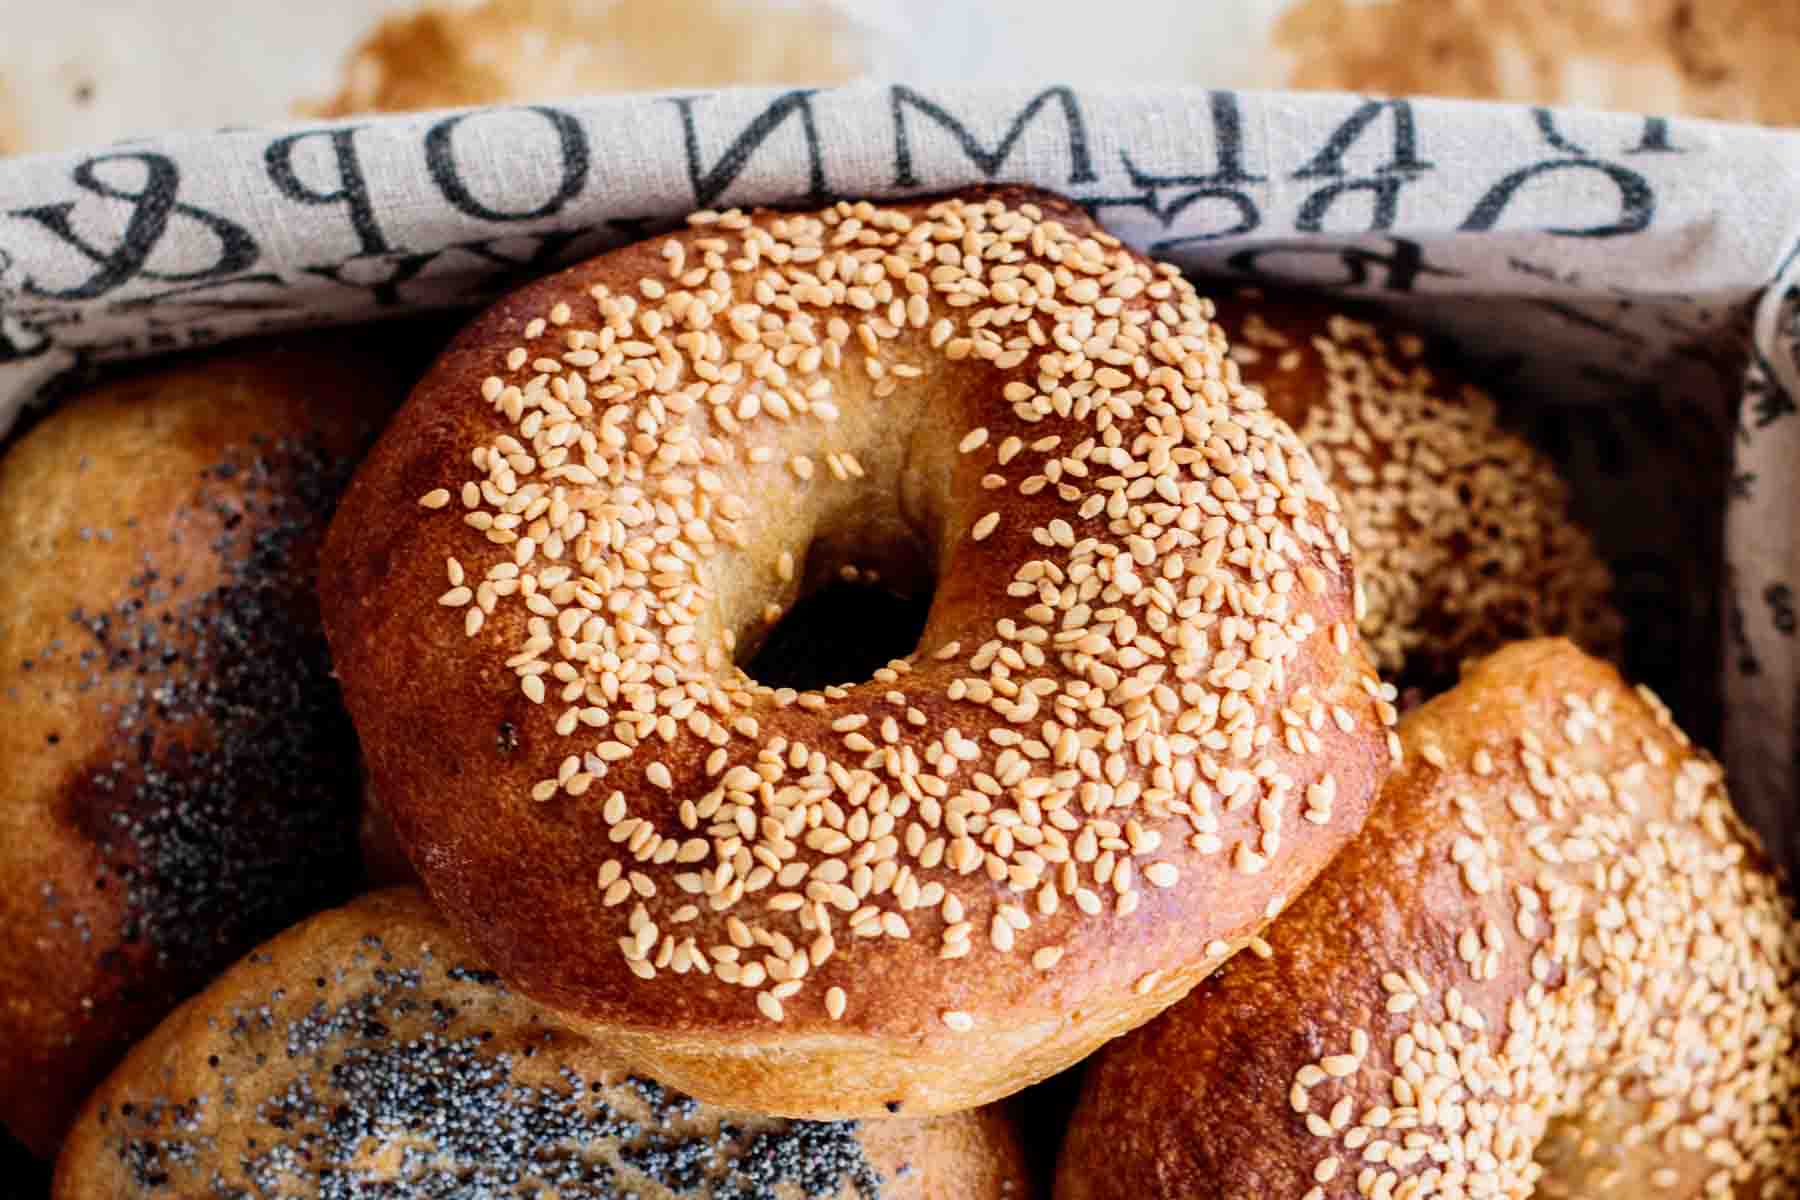
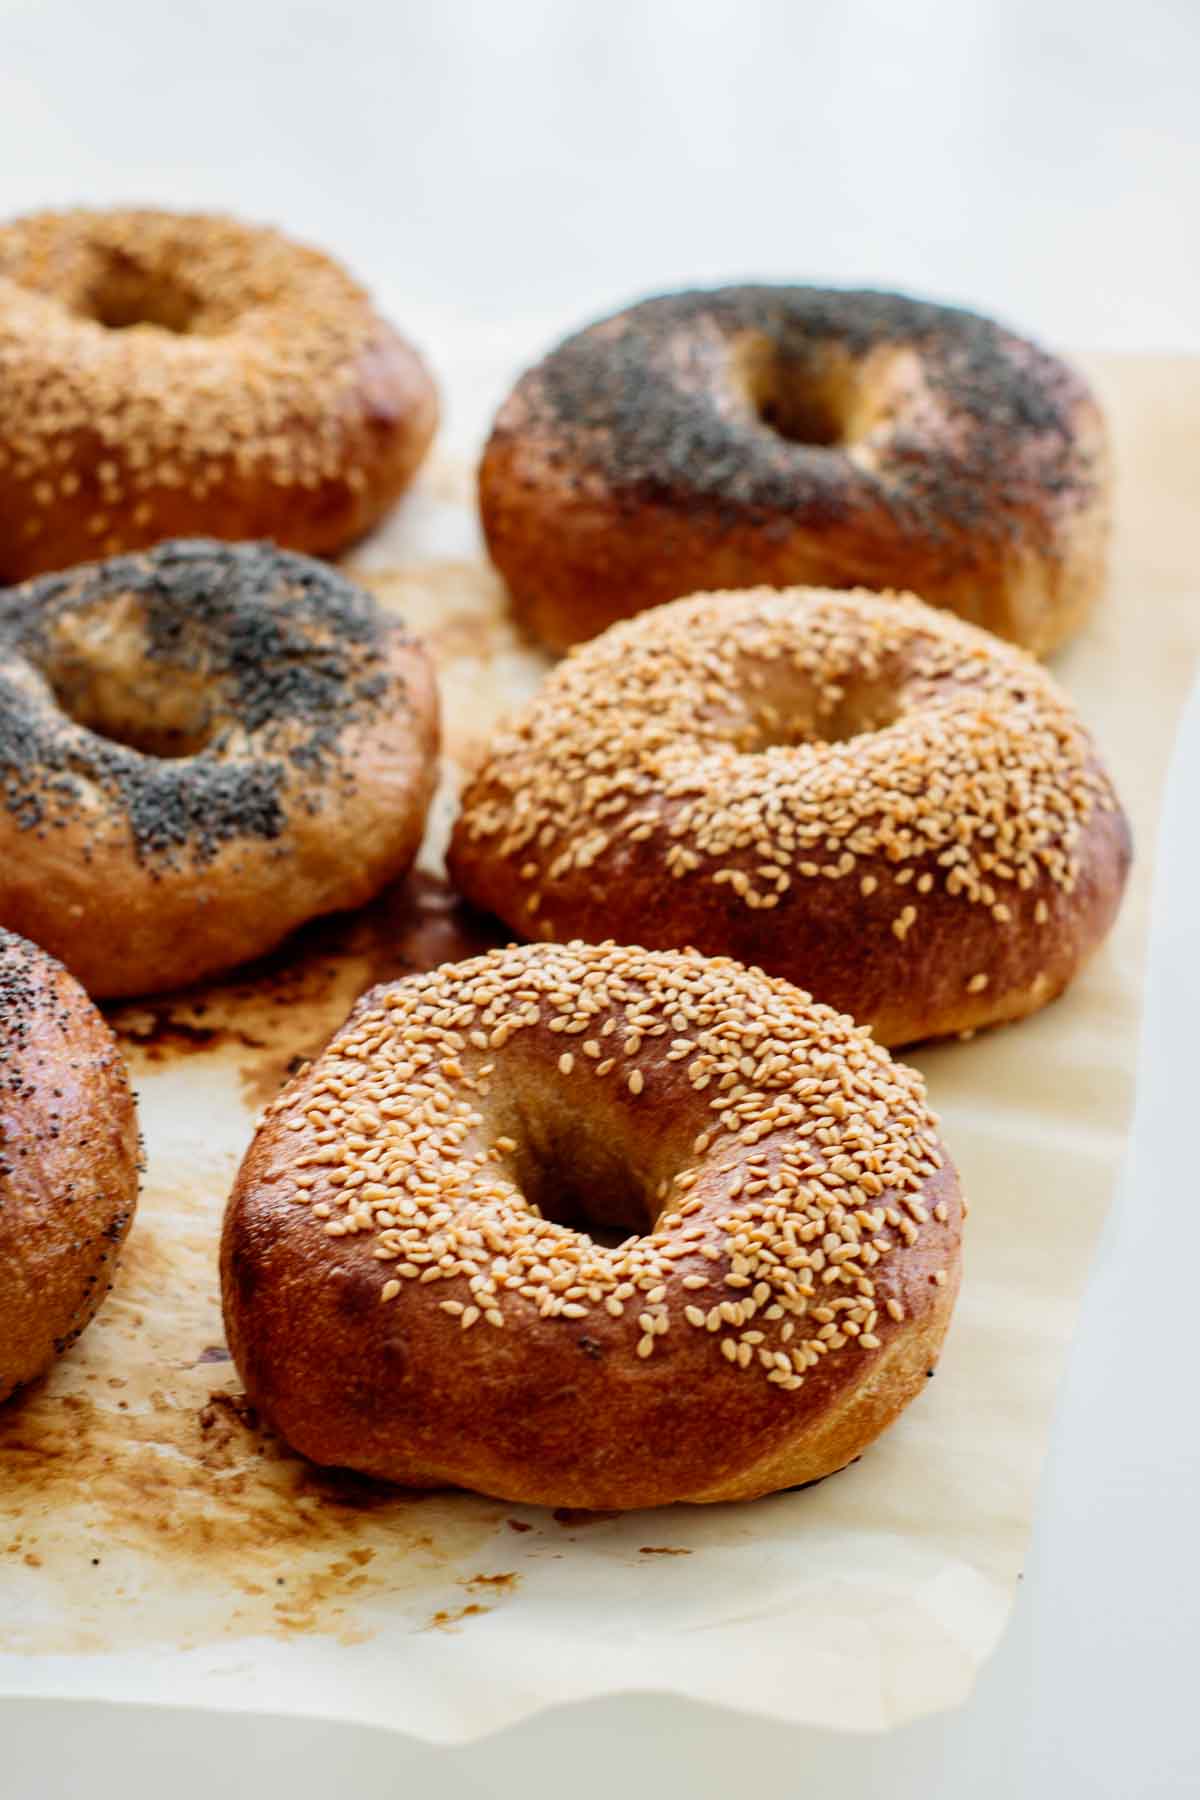
9. Top bagels with desired topping. Remove bagels from water and place them on a cooling rack if you have one. Top them with your topping of choice. I love sesame seeds, poppy seeds, or everything bagel seasoning for these bagels.
10. Bake bagels. Place bagels on a lined sheet pan and bake them for 20 minutes.

Quick note about deflating: don’t worry too much if you’re having problems with that! One or two will probably deflate unless you’re a bagel pro. And the bagels won’t deflate completely, they will still rise considerably.
Tips For Getting The Best Sourdough Bagel
- Make sure your starter is active. I can never stress this enough, specially if you’re using your refrigerator to slow down fermentation. A non-active starter will ruin your recipe.
- Your starter must be a 100% hydration starter. If yours isn’t, it can mess up this recipe. A 100% hydration starter is one that you feed with the same amount of water and flour.
- Use bread flour. It gives you a chewier bagel, and it’s best for gluten development.
- Prevent the top of your dough from drying out. If your apartment/house is more on the dry side, a damp towel may not be enough to prevent the top from drying out. If you don’t know if that’s your case, I recommend using beeswax reusable paper or plastic wrap.
- Make a very thigh ball before shaping. A very thigh ball will give you an easier to shape bagel. Watch the video to see how’s done.
- Flour well the surface you’re placing your shaped bagels. Do it, or you’ll risk deflating your bagels when transferring them to the boiling water.
- Start preheating the oven and heating the water at the same time. You’ll need both ready together, as the bagels should be baked as soon as they’re boiled.
- Although I’m giving you also the measures in cups, I recommend weighting, at least the flour, for this recipe, as cups can vary too much and can affect the outcome.
- DO NOT SCOOP FLOUR DIRECTLY WITH A CUP. Don’t have a kitchen scale? No problem! If you’re going to use cups, first fluff the flour with a spoon. Then, instead of scooping the flour directly with a cup, use a spoon to add the flour to the cup until it reaches the top. Last, level off the top with a knife. That way will give you a more accurate measurement.
- Humidity can ruin a recipe. If, after kneading, you get a dough that is sticking to your hand, add more flour. I rarely have to do that, probably because my apartment is more on the dry side. But if you live in a very humid city, or it’s raining heavily for days, you might need a bit more flour. Start with ¼ cup more.

How To Avoid Deflating Your Bagels
After shaping, place them into a floured surface. Flour with all-purpose flour or cornmeal and flour well so they won’t stick when you grab them after the rise.
Place them distant enough so they won’t be touching after the last rise.
Don’t let bagels touch on the first seconds when boiling, as that might also help to deflate them.
Why Are Bagels Boiled Before Baking?
If you’re questioning yourself about the need to boil bagels, let me tell you: you cannot skip this step! It’s easier than it looks, and it’s what makes bagels unique.
Boiling bagels make them not have a crusty exterior, what can easily happen when baking with sourdough. It also kills off some of the yeast, so the bagels won’t puff up when baking. Boiling also cooks the bagel’s exterior, helping them to hold their shape when in the oven.
When adding sugar and baking soda to the water, boiling also helps with caramelization, giving your bagel a beautiful golden brown exterior.
The amount of time boiling can also affect the texture of bagels. The longer we boil, the chewier and thicker the crust will get, and the denser its interior will be. A shorter boil produces a softer and tender interior.
For this recipe, I recommend boiling 45- to 50 seconds per side. With that amount of time, you’ll get a fairly chewy crust and a bagel-like interior. I don’t recommend boiling longer than 1 minute and 20 seconds per side.

Toppings
My favorite toppings for bagels are poppy and sesame seeds. But you can (and should) get creative and try lots of toppings to find the one you love! Here are some great ideas for you:
- Everything bagel seasoning;
- Fresh grated parmesan;
- Sea salt;
- Cinnamon sugar (if you’re looking for a sweeter bagel).
Do I Need Barley Malt Syrup For Bagels?
Barley Malt Syrup is the classic sweetener for bagels. It has a very unique flavor and aroma, but it’s not always easy to find.
Mixing molasses and honey can give your bagel a similar flavor while spending way less money, so on this recipe, this mixture is my choice of sweetener.
If you want to keep your bagel vegan, you can substitute honey for maple syrup.
Storing and Freezing
Bagels are always at their best the day they’re baked, but these sourdough bagels are good for up to 5 days if stored correctly. After bagels are cooled, store them in a bread keeper, an airtight container or any bag you can seal, to prevent them from drying out.
Do not store sourdough bagels inside the fridge. They will dry out.
To freeze, let your sourdough bagels cool completely. Then store them inside freezer safe bags, seal and store in your freezer for up to 3 months. I don’t recommend freezing unbaked bagels. Freeze them sliced in half to make it easier to reheat.
To reheat, cut in half and heat in a toaster or oven.
If after all this you still have a question, don’t be shy! Leave it in the comments below and I get back to you as soon as I can.
More Recipes With Sourdough Starter
Sourdough English Muffins
Sourdough French Toast
Basic Sourdough Loaf
Sourdough Pancakes
Sourdough Tortillas
📖 Recipe
Sourdough Bagels
Ingredients
- 5 cups 650g bread flour
- ½ cup 120g sourdough starter
- 1 cup 240g water
- 1 teaspoon 6g salt
- 1 tablespoon 20g molasses
- 1 tablespoon 20g honey
- water for boiling about 1 gallon, depending on the size of your pan
- 1 tablespoon baking soda
- ¼ cup sugar
Instructions
- You’ll need an active starter for this recipe or your dough will not rise, so be sure to feed it before starting. Use your starter when it’s peaking. The peak is just before sourdough starter starts to fall on its jar.
- In a large bowl, or the bowl of a stand mixer if using one, mix flour, salt, water, starter, molasses and honey/maple syrup. Mix until all the ingredients are combined and no dry spots remain.
- Knead for 5 minutes if using a stand mixer, 10 minutes if doing by hand. Place dough in a clean bowl and cover with a damp towel or plastic/beeswax wrap.
- Let it rise on a warm spot in your kitchen, or place it inside your fridge to rise overnight. If using your fridge, don’t let it rise for longer than 36 hours and cover using plastic/beeswax wrap. A damp towel won’t be enough for the dough not to develop skin if doing cold fermentation inside the fridge.
- After the first rise, your dough should feel light and soft. Divide it into 8 pieces. Let them rest for 10 minutes.
- Shape each piece into a tight ball. Watch the video to see how it’s done. Starting by the first ball you’ve shaped, use your thumb to poke a hole straight down through the middle of the dough. Stretch the hole bigger than you want it to be: it will shrink considerably as soon as you place it on the parchment paper, and it will shrink more after the second rise.
- Careful to place each bagel so they have enough space between them and don’t touch each other when rising. Let bagels rest until they look puffy and feel lighter. It can take 1 to 2 hours for them to be ready, it will all depend of temperature and how active is your starter.
- Preheat oven to 450° F, shelf on middle rack. Using a large pan, boil about a gallon of water with baking soda and sugar. Both your oven and the water must be ready at the same time.
- Handle bagels carefully. Gently, grab one by one, place them into the boiling water and boil 45 to 50 seconds each side. You can boil 2-3 bagels per time, it will depend of the size of your pan. Just avoid them touching as that can make them deflate too.
- Remove bagels from water and place them on a cooling rack if you have one. Top them with your topping of choice. I love sesame seeds, poppy seeds, or everything bagel seasoning for these bagels.
- Place bagels on a lined sheet pan and bake them for 20 minutes, or until golden brown on top.



Jo
Amazing recipe! Thank you. A question I do have - When using the fridge method do you let them warm up to room temperature before shaping them?
Milk and Pop
Hi Jo!
You can shape them straight away, or you can wait for an hour so your hands won't freeze. Got the same result with both methods!
Cheers!
Carya
There doesn’t seem to be enough water in this recipe. My dough would not come together. Is there a typo in the recipe.
Milk and Pop
Hi Carya!
That's strange, I never had problems with the recipe, but I will surely check it this weekend. Did you add more water for it to come together?
Thanks so much for your feedback, and sorry for any problem!
Carya Cunningham Sloan
I ended up adding an extra cup of water for it to come together. The bagels ended up being amazing!
Milk and Pop
So glad they came out good! 💗
Adam Kellner
In the end these looked and tasted amazing. The videos, however, imply a MUCH softer dough than I had with my experience. While I followed the recipe, my dough was so dense that it was initially almost unkneadable. After splitting it in 2 and changing into gym clothes, i was able to knead it somewhat. It certainly never appeared puffy or maleable but they still cooked up perfectly.