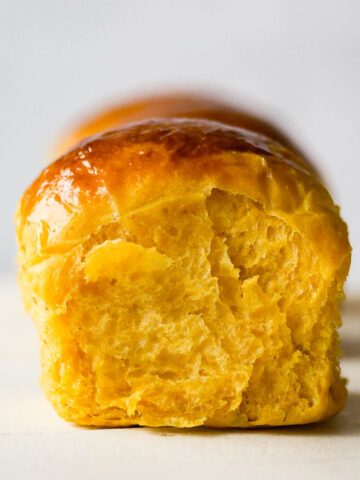
Couldn’t finish that beer and about to toss it? Hold on! Let me show you a new way to use those leftovers. Dutch Oven Beer Bread is the perfect recipe for a delicious and flavorful artisan bread without the extra hassle.
I used to drink a lot when I was younger. Up until recently, I never knew what it was like to leave a beer half-finished or have wine sitting around. But now that I’m more of a light drinker, there’s always a bottle of wine waiting in my fridge or some warm, unfinished beer that’s about to go down the drain. I hate wasting things, especially beer. So I had to figure out a way to use it up without forcing myself to finish it.
I found ways to use leftover wine years ago (have you tried onion chutney?), but leftover beer? Bread, of course!
Why try this recipe
- You’ve got some leftover beer;
- You don't want the extra work of baking bread with sourdough and don't have the time to make a poolish starter (but if you do, try my sourdough beer bread!);
- You want to bake beer bread without baking powder.
- You need a vegan beer bread recipe (just make sure your beer is vegan).
Does this bread taste like beer?
Usually, no, it doesn’t! But it might a bit, depending on the beer you use.
I typically use pilsner for this recipe, and any strong beer taste completely disappears once it’s baked. I’ve also tried it with a stout, and using a Guinness gives this bread a fantastic flavor and a beautiful color.
A strong IPA? That might leave some of its taste behind—but in a good way! You can even use cider, and it might leave a little flavor too, but it works just as well for this recipe.
What’s the best beer to use for beer bread?
It depends! Using a pilsner is my go-to choice for this bread: it changes the flavor just enough to be a crowd-pleaser. If you don’t mind a stronger beer flavor, feel free to try it with whatever you like.
I don’t use any sugar in this recipe, so if you prefer a slightly sweeter bread, choose a less bitter beer, or swap it out for cider, which works great in this recipe too.
Will it make me drunk?
No, it won’t. The alcohol evaporates during baking, leaving just the flavor behind.
What if I don’t have a stand mixer for kneading?
If you don’t have one, you’ll need to knead it by hand. Knead the dough for about 15 minutes to get the same results you’d get from a mixer.
Can I bake it without a Dutch oven?
I’d recommend sticking with a Dutch oven for this recipe, but if you don’t have one, you can still make it. Preheat your oven for about 15 minutes before baking. Shape the dough into a ball, place it on a sheet pan, and bake for 30-35 minutes, or until the top is golden brown.
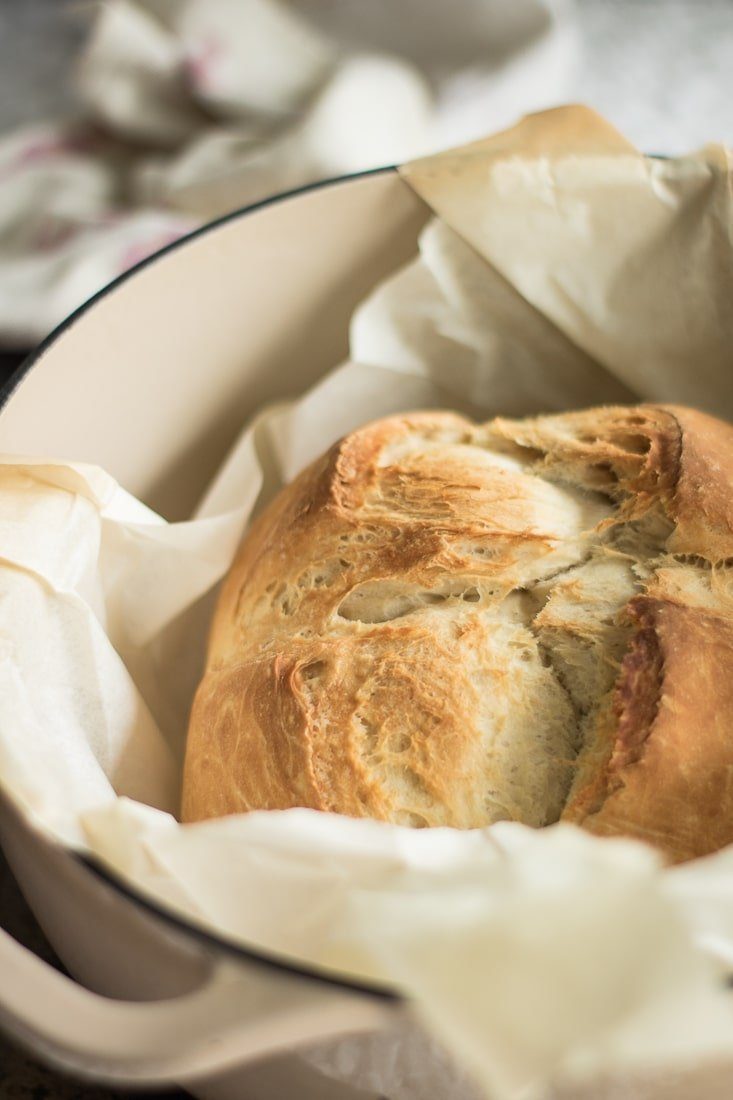
Just keep in mind, the crust won’t be the same. The Dutch oven helps create a humid environment that gives the bread that artisanal-like crust.


Storing and Freezing
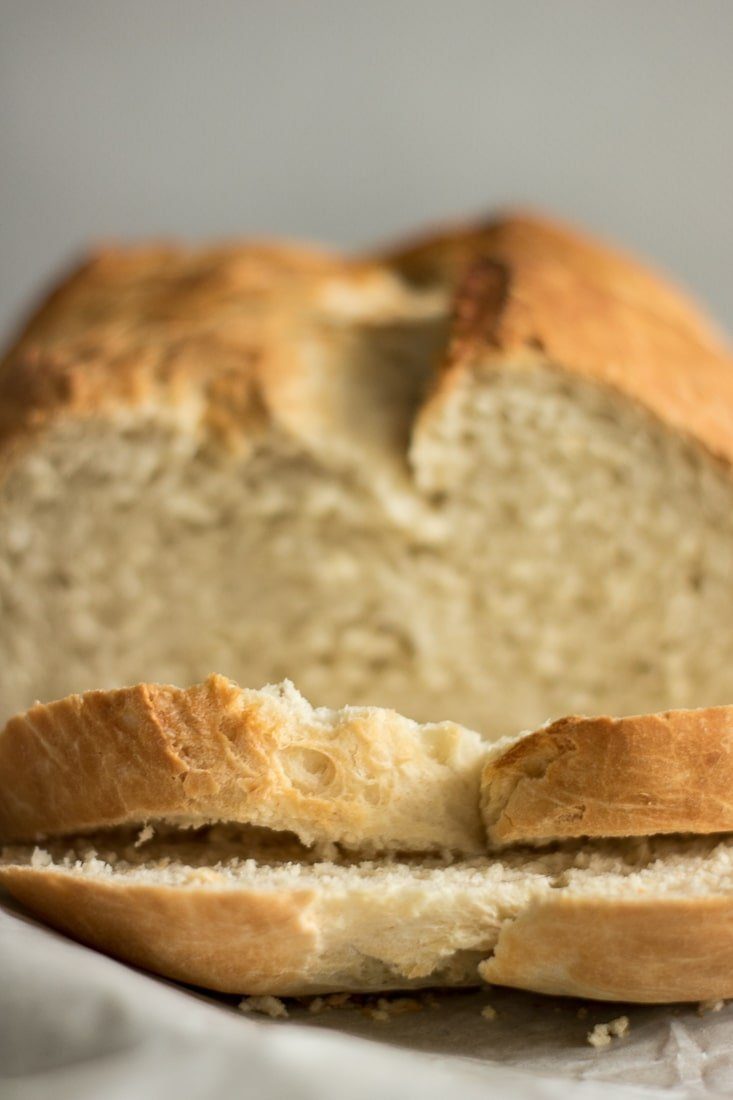
Store it in a bread keeper or a sealed container once it’s cooled. It stays fresh for about three days. After that, it starts to dry out—but it’s still great for toast!
This bread also freezes well. Wait for it to cool completely, then store it in a freezer-safe bag, sealing it shut. You can freeze it whole, or sliced.
What should I serve with this bread?
I love it with some blackberry jam spread on top! It’s also perfect for toasting or making grilled cheese. And if you go with grilled cheese, don’t forget to add a little onion chutney for a next-level sandwich.
Looking for more bread recipes? If you’re really short on time, try my quick bread recipe. If you’re craving something indulgent, check out my pumpkin challah!
Have you tried this Dutch Oven Beer Bread? Please leave a 🌟 star rating in the recipe card below, I'd love to know how it went!
📖 Recipe
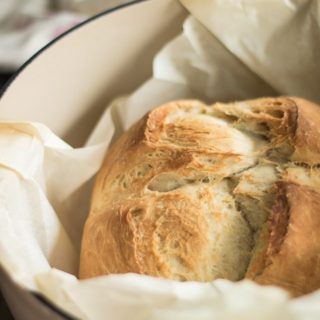
Dutch Oven Beer Bread
Equipment
- Dutch oven
Ingredients
- 3 ¼ cup all-purpose flour
- 2 ½ teaspoon instant yeast
- 350 ml beer room temperature
- 1 ½ teaspoon sea salt
Instructions
- In a large bowl, or the bowl of your stand mixer, combine the flour, yeast, beer, and salt.
- Using the dough hook on low speed, mix until a dough starts to form and there’s no dry flour left, about 2 minutes. Scrape down the sides of the bowl if needed.
- Once the dough has come together, knead it in the mixer for about 5 minutes, or until the dough is smooth and elastic.
- Cover the bowl with plastic wrap or a damp kitchen towel and let the dough rise for 1 ½ to 2 hours, or until it doubles in size.
- Line a Dutch oven with parchment paper and lightly dust it with flour.
- Shape the dough into a ball by pulling the edges into the center. Place it in the middle of the Dutch oven, seam side down. Let it rest for 40 minutes to 1 hour, or until it looks puffy and light.
- Preheat the oven to 400°F. Adjust your oven rack to the middle position.
- Using a sharp knife or razor, score the top of the loaf with two ¼-inch deep cuts, forming a cross.
- Cover the Dutch oven with its lid and place it in the oven. Bake the bread for 25 minutes.
- After 25 minutes, carefully remove the lid and continue baking for another 30 minutes, or until the loaf is a deep golden brown on top.
- Remove the bread from the Dutch oven and transfer it to a wire rack.
- Let the bread cool completely before slicing and serving.
Liz B
I’ve made this bread many times and while the texture has been wonderful, the bread was always flat ( using a heart shaped Dutch oven)After adjusting a few things I have finally succeeded in what I feel is a perfect loaf! Nice rise and texture is beautiful!
Angie
The bread is delicious but my dough is coming out very, very wet even with 390 g of flour. Have you weighed the flour you use?
Tatiana Kamakura
Hi Angie,
I've updated the recipe card and added a metric version. Cheers!
Danielle Alapont
What is the alternative to using instant yeast? I didn’t have any so I tried fry active yeast slightly heated in the beer. The dough didn’t rise…. :(. I used dry active yeast all the time. Not sure why this didn’t work….
Tatiana Kamakura
Hi Danielle,
Check if your yeast hasn't expired. Active yeast should be activated in water with sugar before using it, so activating it with beer might not have been ideal. Hope that helps! Cheers.
Dorrie Gratto
Sorry I forgot to rate the recipe 😊
Dorrie Gratto
Taste of this loaf was amazing!!! Great crumb!!! Top crust was perfect, unfortunately the bottom crust was hard. My oven temperature was right on so next loaf I will put a baking tray on the bottom rack to see if it makes a difference. Question for you my house is very cool should I be proofing the dough in the oven with the light on??? I’m a rookie when it comes to making dough.Thank you for sharing this recipe!!😊
Tatiana Kamakura
Hi Dorrie,
You can proof inside your oven with the light on, or use the proofing mode if you have it. Happy baking!